Wedding nails are one of those details that can feel small until the final week arrives. Suddenly you are deciding on shape, color, nail art, salon appointments, and whether one broken nail will ruin the whole look. A clear bridal manicure timeline takes that pressure away by spreading the decisions across several weeks instead of leaving everything until the day before.
The best approach is to start about 6 to 8 weeks before the wedding. That gives you time to improve your nail care, settle on a shape, test colors, save inspiration, and book the right appointment. You also have room to change your mind without creating a last-minute problem.
You do not need to spend hours on your nails every week. Most of the early routine takes only 5 to 10 minutes at a time. The important part is knowing when each decision needs to happen.
By the final 1 to 2 days, you should already know exactly what manicure you want. At that point, the job is no longer choosing. It is getting the finished look done and protecting it until the ceremony.
What You Need
Bridal Manicure Timeline at a Glance
- 6–8 weeks before: Start growing and caring for your nails.
- 4–6 weeks before: Choose your nail shape.
- 3–4 weeks before: Save your bridal nail inspiration.
- 2–3 weeks before: Test your bridal nail color.
- 2–3 weeks before: Book your final manicure appointment.
- 1–2 weeks before: Complete any trial manicure.
- Final week: Protect your nails from damage.
- 2–3 days before: Remove old polish.
- 1–2 days before: Get your bridal manicure.
- Until the ceremony: Protect the finished manicure.
- Wedding day: Pack a small nail emergency kit.
Also read: How to Make Short Nails Look Longer With Polish
Start growing and caring for your nails 6–8 weeks before
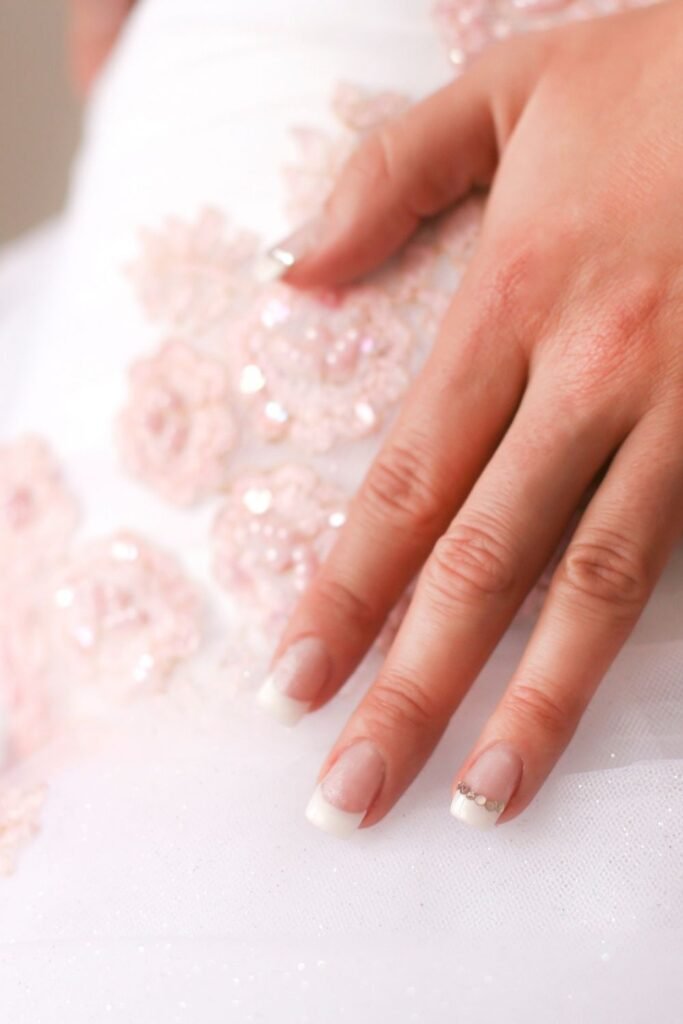
Begin with a short weekly nail check. File any rough edges, trim splits before they travel farther down the nail, and apply hand cream or cuticle oil every day.
Keep the shape fairly conservative at this stage. You are trying to preserve length, not create the final bridal shape yet.
Give this routine 6 to 8 weeks if possible. That gives small breaks time to grow out and makes it easier to see which nails need extra protection before the wedding gets close.
Choose your nail shape 4–6 weeks before
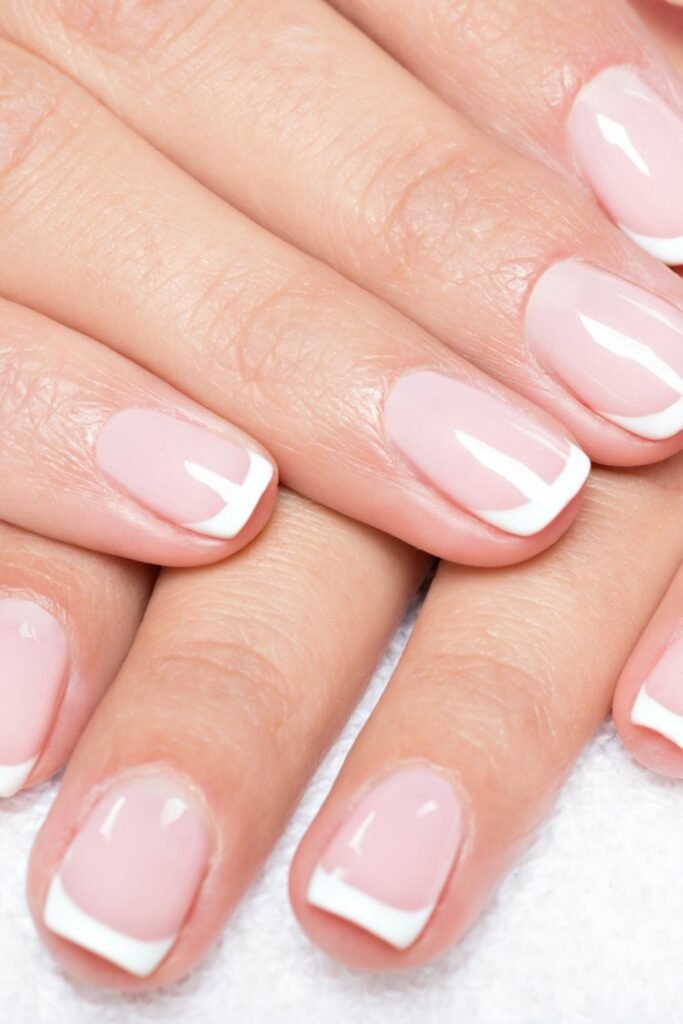
Pick one shape you can maintain comfortably through the wedding. Almond and oval shapes create a softer look, while square and soft-square nails give a straighter edge. Short nails can still look polished in any of these shapes.
Look at your current nail length before choosing. If you want a much longer almond shape but your natural nails are short, decide now whether you are comfortable using extensions.
Keep the shape consistent from this point forward instead of switching every week.
Save your bridal nail inspiration 3–4 weeks before
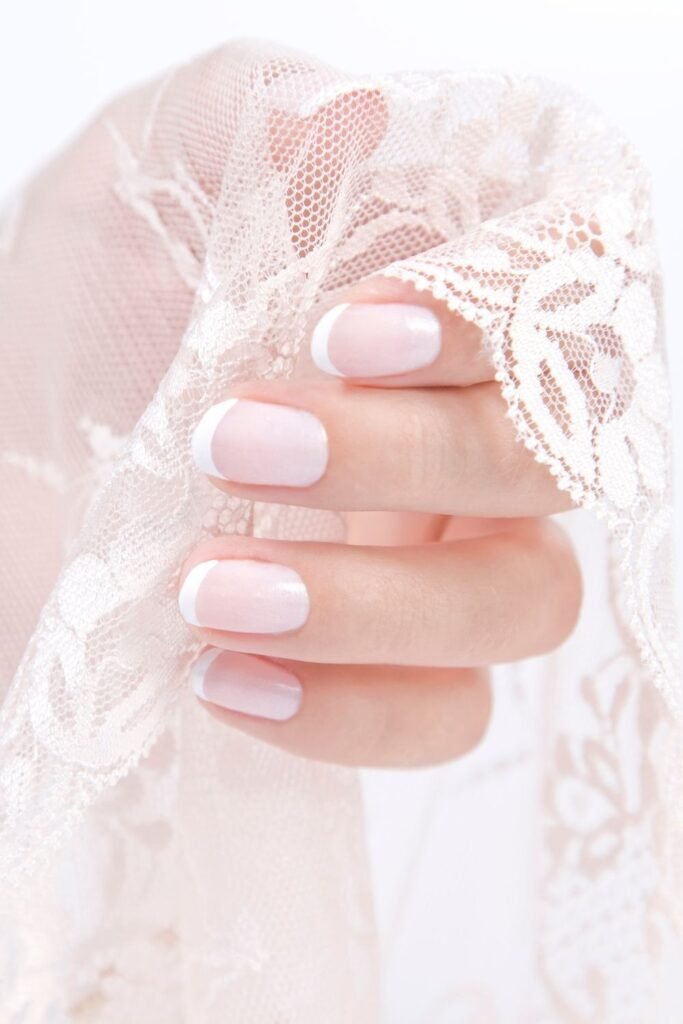
Collect about 3 to 5 nail photos that you would realistically wear. Save examples with a similar nail length and shape to the manicure you plan to have.
Include the details you care about most: base color, French-tip width, chrome finish, small nail art, or a plain glossy look.
Avoid building a folder with twenty completely different styles. A smaller group makes it easier to see the pattern in what you actually like and gives your nail technician a clearer reference.
Test your bridal nail color 2–3 weeks before
Try your shortlisted shades on actual nails instead of choosing from the bottle. Paint 2 to 4 options on separate nails or swatch sticks and look at them in daylight.
Compare each shade with photos of your dress, bouquet, and jewelry. A sheer pink may look softer beside cool silver jewelry, while a warmer nude may work better with gold tones.
Keep the winner written down or photographed so you do not have to remember the exact shade later.
Book your final manicure appointment 2–3 weeks before
Reserve the appointment once you know the type of manicure you want. Tell the salon if you need gel, extensions, detailed French tips, chrome, or nail art because these services may require more time than a basic polish manicure.
Aim to schedule the final appointment for 1 to 2 days before the wedding. If your preferred nail technician is popular or your wedding falls during a busy season, book even earlier than 2 to 3 weeks ahead.
Write the date and time into the same calendar you use for your other wedding appointments.
Complete any trial manicure 1–2 weeks before
Book a trial if you are uncertain about the length, shape, color, French-tip thickness, or nail art. Use the trial to test the full look rather than experimenting for the first time during the final appointment.
Wear it for several days and pay attention to how the length feels while dressing, typing, opening bags, and handling small items.
If something bothers you, take a photo and note the exact change you want, such as a shorter almond shape, thinner tip, or warmer nude.
Protect your nails during the final week
Treat the last 7 days as a damage-prevention window. Wear gloves for dishes and cleaning, file any rough edge as soon as you notice it, and avoid using your nails to open cans, scrape labels, or pick at packaging.
Keep applying hand cream or cuticle oil daily, especially after washing your hands. This is not the week to experiment with aggressive buffing, cuticle cutting, or a new strengthening treatment.
Remove old polish 2–3 days before
Take off any old color gently about 2 to 3 days before the final appointment. Soak a cotton pad with remover, press it against the nail for 10 to 20 seconds, then wipe toward the tip instead of rubbing hard.
If you wear gel, dip, or extensions, follow the correct removal method or have a salon remove them. Do not peel product from the nail plate. Once the old color is gone, leave the nails clean and avoid testing new shades.
Get your bridal manicure 1–2 days before the wedding
Schedule the final manicure about 24 to 48 hours before the ceremony. This keeps the finish fresh while still leaving room to fix a chipped nail, adjust the shape, or correct a detail you do not like.
Bring your saved reference photos and confirm the shape, length, color, and nail art before the service begins. Look at both hands together before leaving. If one nail feels too long or one detail looks uneven, ask for the adjustment while you are still at the salon.
Protect the finished manicure until the ceremony
Treat the manicure carefully from the moment you leave the salon. Avoid long showers, hot tubs, heavy cleaning, opening packages with your nails, or anything that puts pressure on the tips.
If you need to wash your hair, pack, or handle decorations, do it gently and use the pads of your fingers instead of the nail edges. Keep hand cream nearby, but avoid getting oily products directly under any extensions or press-ons.
For regular polish, give the manicure several hours to harden fully before doing anything that could leave dents.
Pack a small nail emergency kit for the wedding day
Keep a small pouch with the few items you may actually need: a fine nail file, matching polish, a clear top coat, cotton swabs, and nail glue if you are wearing tips or extensions.
You do not need a full manicure kit. The goal is to handle a small chip, rough edge, or loose nail quickly without creating a bigger problem.
Give the kit to yourself, a bridesmaid, or someone who will stay nearby during photos and the reception so it is easy to reach if needed.
Frequently Asked Questions
When should I get my bridal manicure before the wedding?
For most brides, 1 to 2 days before the wedding is the best timing. This keeps the manicure looking fresh for photos and the ceremony while still leaving a little room to fix a chipped nail, change the shape, or correct a small detail if something does not look right.
If you use regular polish, getting it done closer to the wedding can help reduce visible wear. Gel manicures usually last longer, but it is still better not to leave the appointment until the morning of the wedding when your schedule is already busy.
How early should I start planning my bridal manicure timeline?
Start your bridal manicure timeline about 6 to 8 weeks before the wedding if possible. This gives you enough time to improve your basic nail care, grow out small breaks, choose a shape, test polish colors, and decide if you want gel, extensions, French tips, or nail art.
Starting early also gives you more flexibility. If you change your mind about the length or color after a trial, you still have time to adjust the plan without adding stress during the final week.
Should I do a bridal nail trial?
A trial is worth considering if your wedding manicure is different from what you normally wear. It is especially useful for extensions, detailed French tips, chrome finishes, unfamiliar nail shapes, or nail art that needs to match a specific inspiration photo.
Try to schedule the trial about 1 to 2 weeks before the wedding. Wear the manicure for several days and notice how the length feels during normal activities. Take photos too, since a shade or design can look different in pictures than it does when you are looking at your hands up close.
Should bridal nails match the wedding dress?
Your nails do not need to match the exact color of your wedding dress. Instead, think about how the manicure works with the full bridal look, including the dress tone, jewelry, bouquet, shoes, and overall style of the wedding.
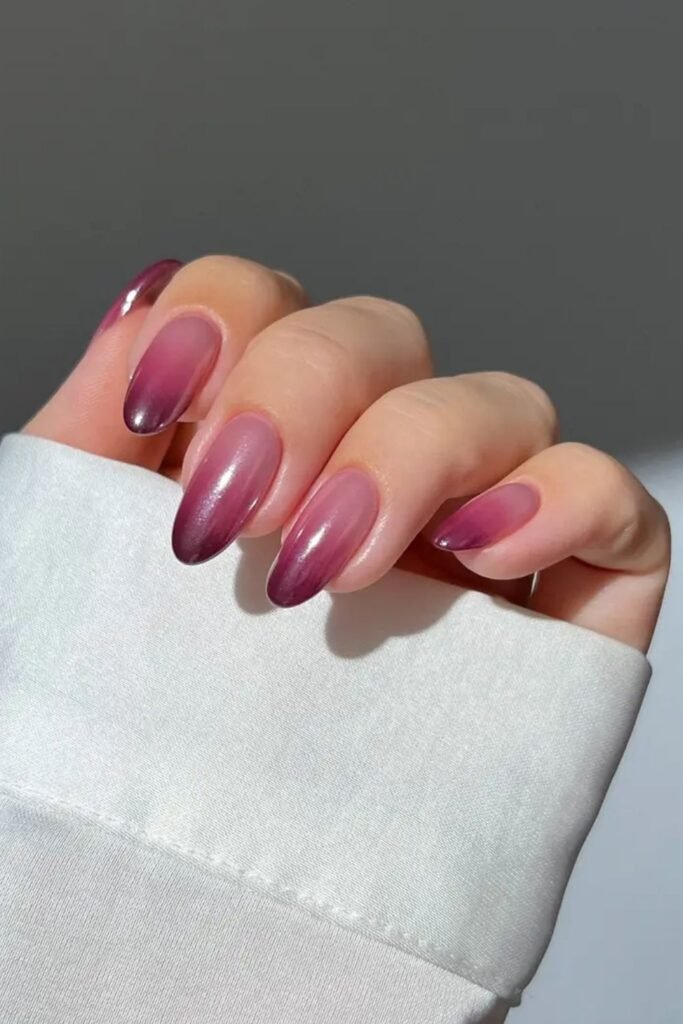
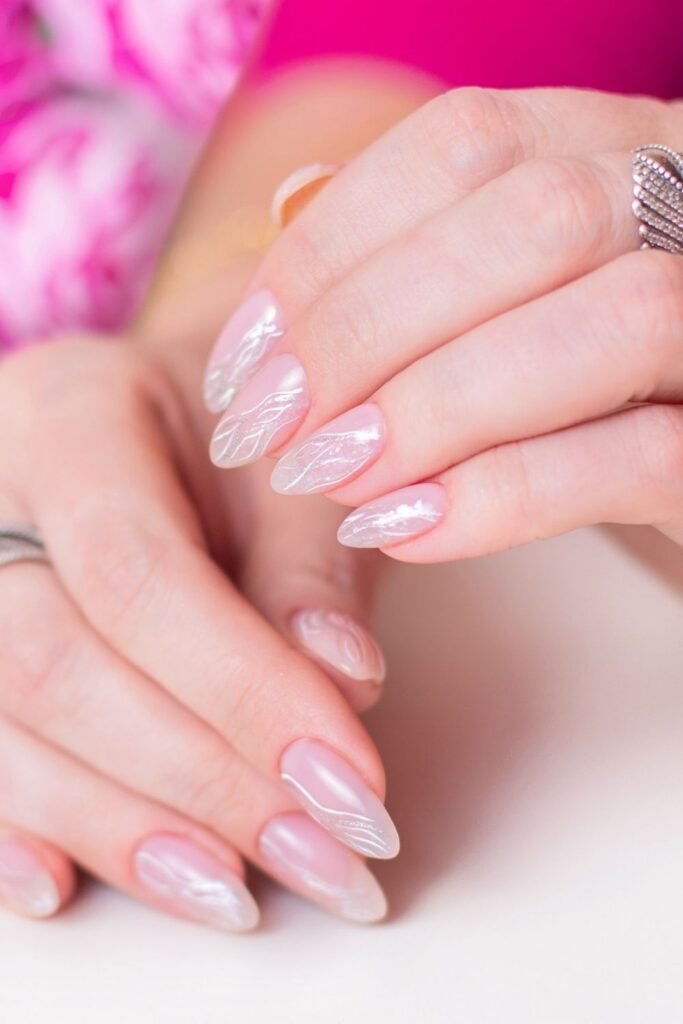
Soft nude, sheer pink, milky white, and French manicures are popular because they blend easily with many bridal styles. If you prefer something stronger, you can choose chrome, red, pearl, or subtle nail art. The best choice is one that feels connected to your look without competing with it.
What should I put in a wedding-day nail emergency kit?
Keep the kit small and focused on problems you could realistically fix during the day. Pack a fine nail file, matching nail polish, clear top coat, cotton swabs, and nail glue if you are wearing press-ons, tips, or extensions.
If one edge becomes rough, file it gently instead of picking at it. For a small chip, use a tiny amount of matching polish and let it dry before adding top coat. Give the kit to a bridesmaid or someone close to you so you do not have to carry it yourself during the ceremony and photos.
Bridal Manicure Quick Reference
4–6 weeks before: Choose your nail shape
3–4 weeks before: Save inspiration photos
2–3 weeks before: Test colors and book your appointment
1–2 weeks before: Complete a trial manicure if needed
Final week: Protect your nails from damage
2–3 days before: Remove old polish
1–2 days before: Get your final bridal manicure
Wedding day: Keep a small nail emergency kit nearby
Finish Your Bridal Manicure Plan
A good bridal manicure timeline means most nail decisions are finished before the busy final days of wedding prep.
Start early enough to care for your natural nails, choose your shape, test colors, and book the right appointment. By the last 1 to 2 days, your only job should be getting the final manicure done and keeping it protected.
Save your chosen shade, nail shape, and reference photos in one place so your nail technician can see exactly what you want.
Pin this guide to your wedding board so you can check each nail-care milestone as the wedding gets closer.