

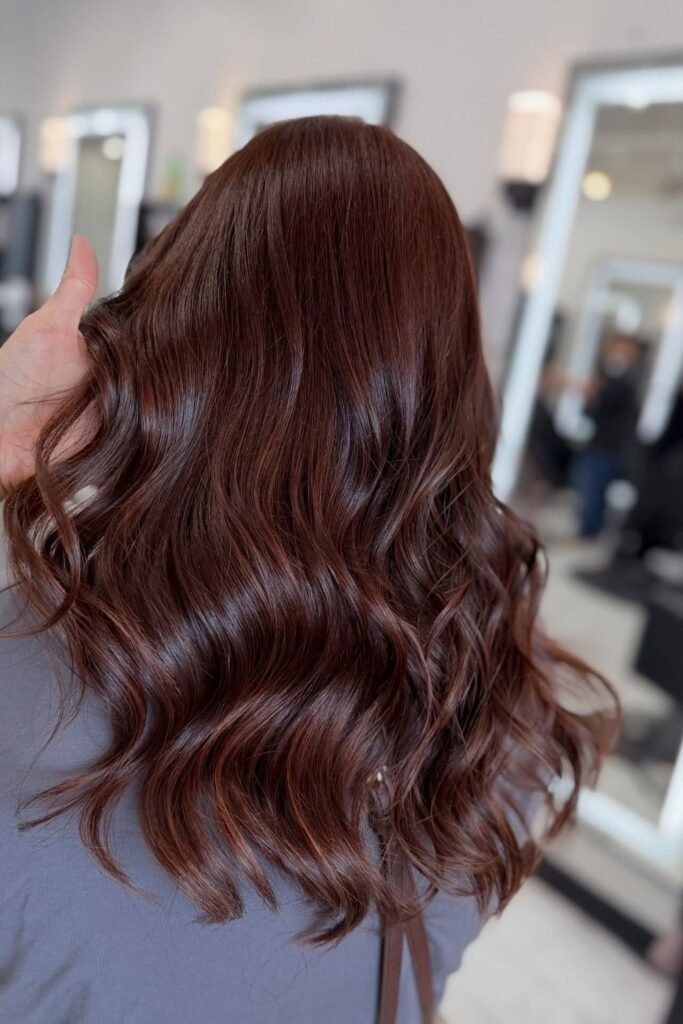
Your hair looks fine in the mirror. Then you see a photo and it reads as one solid block of brown. Nothing catches the light, nothing moves, and no amount of shine spray fixes it. That happens because every strand sits at the same depth, so light bounces back the same way across your whole head. Learning how to add dimension to brown hair fixes that, and you never have to go blonde to get there.
This guide covers both halves of the job, because one half alone does not work. You will lift a small number of pieces two to three shades, gloss them back down into a brown tone that suits your skin, then style in a way that puts those lighter pieces exactly where the light hits. Color on limp, straight hair disappears. Styling with no color underneath has nothing to show off. Done together, they read as real, expensive-looking depth.
Being honest about the time: your patch test happens 48 hours before anything else. Color day runs about two hours of hands-on work plus processing. Styling adds another half hour. You need a mirror, good daylight, and a bathroom you do not mind splashing. Read all twelve steps before you mix a single scoop.
- Powder lightener (1 scoop)
- 20 volume developer
- Demi-permanent gloss in your brown tone
- Plastic or glass mixing bowl
- Tint brush, 2 inch width
- Plastic gloves (two pairs)
- Foil sheets or plastic wrap
- Old towel and an old t-shirt
- 4 sectioning clips
- Tail comb
- Timer or phone
- Bond-building mask
- Sulfate-free shampoo
- Heat protectant spray
- Round brush, 2 inch barrel
- 1 inch curling iron
- Dry texture spray
- Test a hidden strand 48 hours ahead
- Pick your tone from three brown directions
- Mix lightener and set up your station
- Section dry hair into four quadrants
- Paint the face-framing pieces first
- Feather lightener through mid-lengths and ends
- Check a test strand every 10 minutes
- Rinse and shampoo everything out
- Gloss to cancel brass and set the tone
- Rebuild strength with a bond-building mask
- Blow-dry with a round brush for movement
- Bend alternating sections and finish with texture spray
Test a hidden strand 48 hours before you color
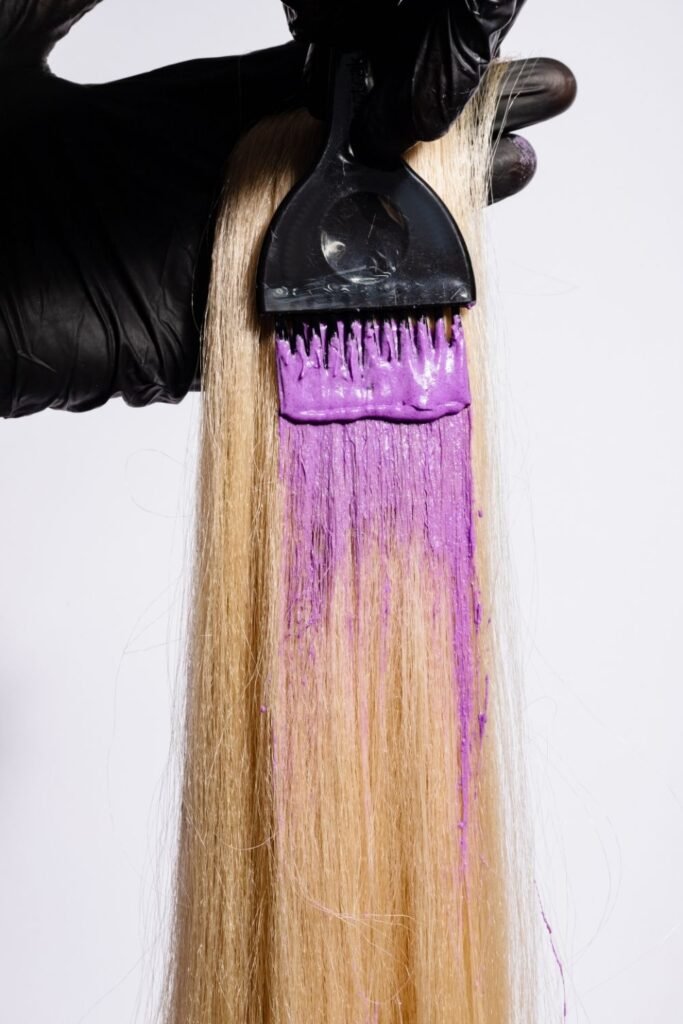
Two different tests happen here. Dab a pea-sized amount of mixed lightener on your inner elbow and leave it 20 minutes to rule out a skin reaction. Then paint one thin strand at the nape, underneath, where nobody would spot it. Rinse that strand after 25 minutes and let it dry all the way. Wet hair lies about its color. Old box dye, henna, and hard water minerals can pull a strange orange or green that no gloss will cover, and this is the only way to find out before it happens across your whole head.
Pick your tone from three brown directions
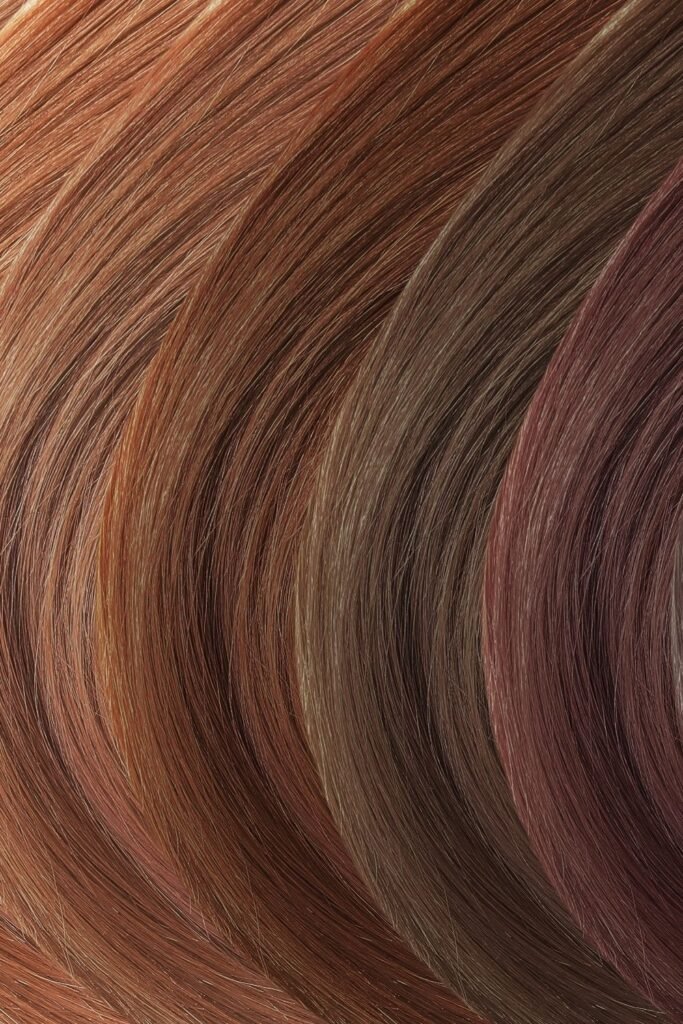
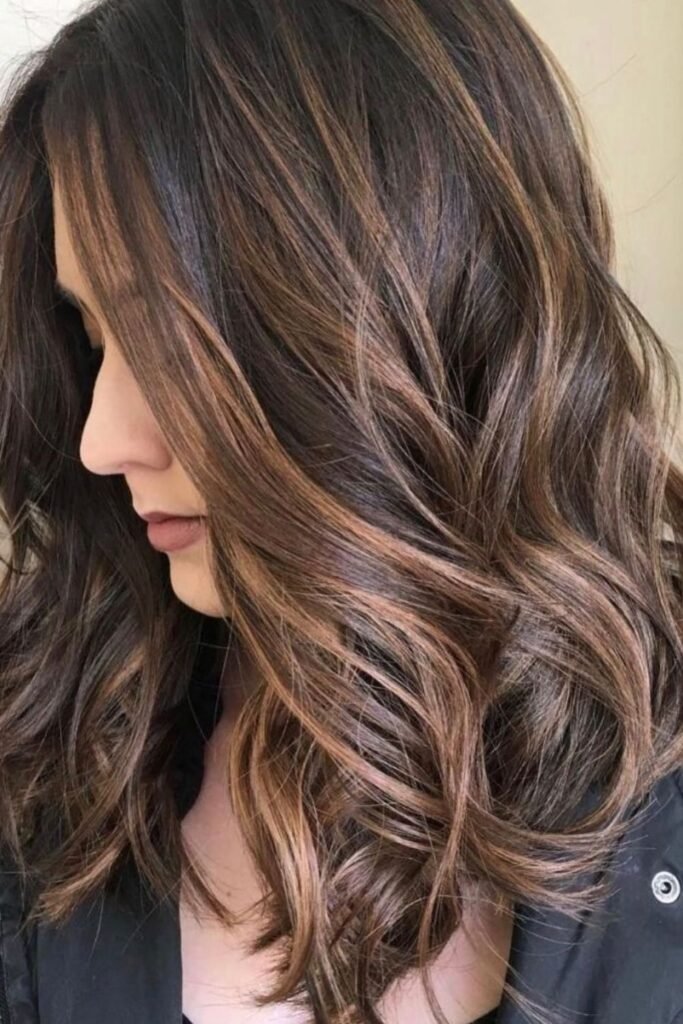
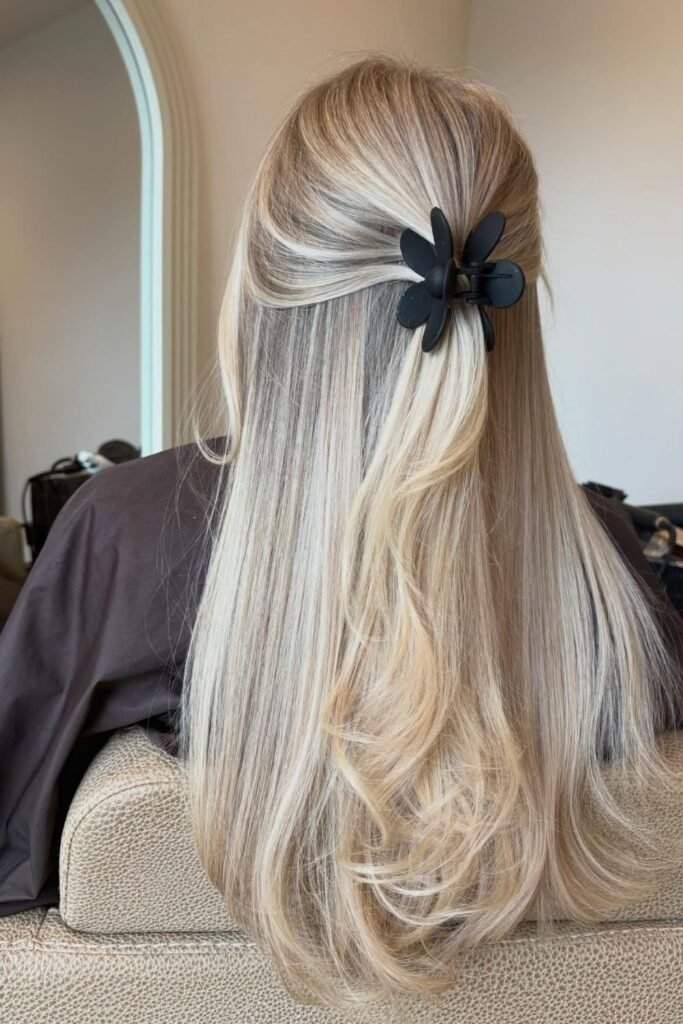
Safest rule: go two to three shades lighter than your natural base, no further. Caramel and honey suit warm skin, the kind that looks better in gold jewelry. Ash and mushroom suit cool skin, the kind that wins in silver. A bright money piece works on either, since the lightest part sits away from your face at the roots.
Mix the lightener and set up a stain-proof station
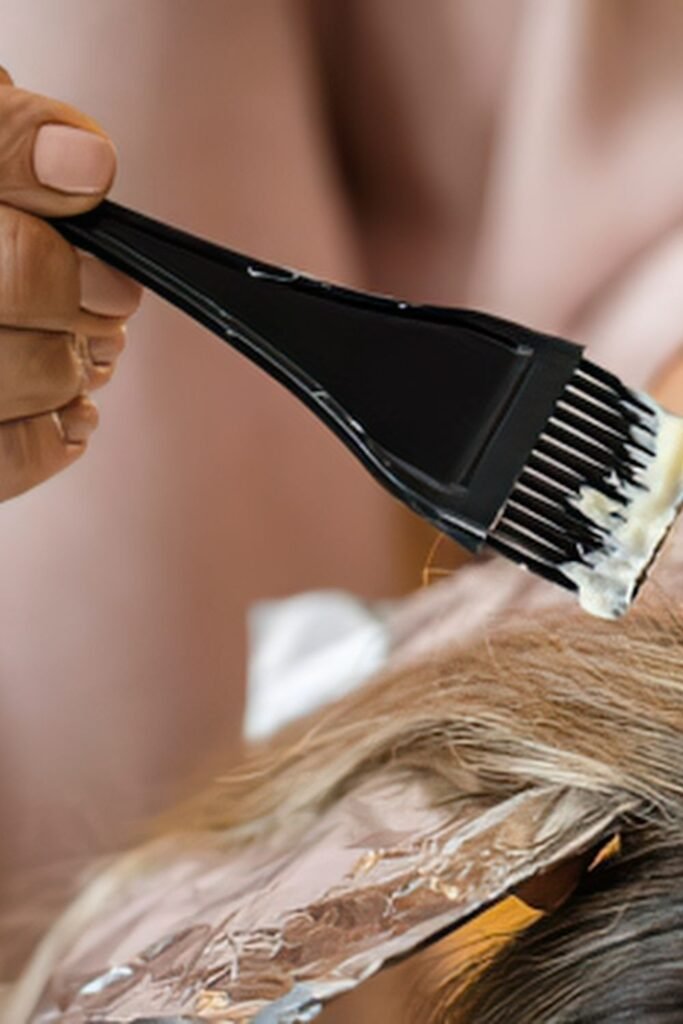
Lightener starts working the second powder touches developer, so your station comes together first. Lay a towel over the counter, put on the old t-shirt, and get these within arm’s reach:
- Tint brush and gloves
- Foil sheets, torn and stacked
- Tail comb and four clips
- Timer already set
- Damp cloth for drips
Now mix 1 part powder to 2 parts 20 volume developer and stir until it looks like thick pudding with no dry lumps. Lumps burn through in patches. Use it within 10 minutes while it is still creamy.
Section dry hair into four quadrants
Dry hair only. Water dilutes lightener and gives you weak, muddy pieces instead of clean ones. Part down the middle from forehead to nape, then ear to ear across the crown. Twist each quarter and clip it flat to your head. Four sections means you always know which part you have already worked on.
Paint your face-framing pieces first
These are the pieces everyone sees, so they get your freshest mix and your steadiest hand. Unclip the front quarter and pull out two strands about half an inch wide, one on each side of your part. Start the lightener 1 inch down from your roots, never at the scalp. Scalp heat speeds up processing and those roots will go lighter than everything else. Sweep the brush down toward the ends, adding more product as you go so the tips end up palest. Fold each strand in foil to keep it off your other hair.
Feather the lightener through your mid-lengths and ends
Ten to twelve strands across your whole head is plenty. More than that and you lose the contrast that makes dimension work in the first place. Take them randomly from the middle and back quarters, never in a neat row, and vary the width so nothing looks striped. Then feather the edges of each painted strand with the flat side of your brush, which blurs the line where light meets dark. A hard edge is what makes home color look like home color.
Check a test strand every 10 minutes
Set the timer for 10 minutes and stay in the room. When it goes off, open one foil, wipe a small patch of the strand clean with your damp cloth, and look at the actual color underneath. Brown hair climbs through red, then copper, then orange, then gold. Stop at the stage that sits two to three shades above your base. Most heads land there between 25 and 40 minutes, but yours is the only one that matters. Wipe, close the foil, reset the timer.
Rinse and shampoo everything out
Cool water, not hot. Heat swells the cuticle and pushes the color to keep shifting while you rinse. Unfold every foil, run water through until it goes clear, then shampoo once with your sulfate-free formula. Skip conditioner for now, because the gloss needs a clean surface to grab.
Gloss the hair to cancel brass and set your tone
This step is what turns orange strands into the brown you actually chose, so nobody skips it. Towel-dry until your hair is damp, not dripping, since standing water thins the gloss and weakens the result. Mix the demi-permanent according to its box, then work it through your whole head and not only the lightened pieces. Glossing everything is the trick that pulls the light and dark together into one shade family.
Here is the order that keeps it even:
- Front hairline first, where brass shows most
- Lightened strands next
- Everything else, roots to ends
- Comb through once to spread it
- Set the timer for 20 minutes
Rinse with cool water until it runs clear.
Rebuild strength with a bond-building mask
Lightener opens the cuticle and leaves the inside of each strand weaker than it was this morning. Squeeze your hair out until it stops dripping, then coat from the ears down and leave it on 10 minutes. Skip your roots. Fresh growth is already strong and mask sitting there only makes the crown go flat, which is the opposite of what you spent all afternoon building.
Blow-dry with a round brush to build movement
Flat hair hides dimension no matter how well the color came out, so drying is a real step and not an afterthought. Spray heat protectant through damp hair, rough dry to about 80 percent, then take 2 inch sections and wrap each one over your round brush. Point the nozzle down the hair shaft and pull the brush away from your face as you go.
Bend alternating sections with a curling iron and finish with texture spray
Bends beat curls here. A soft S-shape turns each strand toward the light at a different angle, which is exactly what makes the color read as dimension instead of stripes. Take 1 inch sections, clamp mid-shaft, and wrap one away from your face, the next one toward it. Alternating directions stops the whole thing from setting into one uniform sausage shape.
Leave the last 2 inches straight for a lived-in finish. Let each bend cool in your palm for a few seconds, then hit the roots and mid-lengths with dry texture spray while the section still holds warmth. Shake it out with your fingers. No brushing.
Questions Beginners Ask About Adding Dimension to Brown Hair
A few things come up again and again from people doing this for the first time. Here are the honest answers.
How long does this last before I need to redo it?
Expect 8 to 12 weeks before the grow-out starts showing. The gloss fades sooner, usually around six weeks, and you can reapply it on its own without touching the lightener again.
Can I do this on hair that has box dye on it?
Only with a patch test, and only on the parts that have never been dyed if you can manage it. Box dye leaves behind pigment that lifts unevenly and often pulls red. Your 48 hour strand test in Step 1 tells you exactly what to expect.
Do I really need the gloss, or can I stop after lightening?
You need it. Lightened brown hair lands somewhere in the orange family every single time, and the gloss is what turns that into caramel, mushroom, or ash. Skipping it is the number one reason home color looks obviously home-done.
What if my hair is very dark brown or almost black?
Go slower and plan on two sessions spaced two weeks apart. Very dark hair holds a lot of underlying red pigment, and pushing it in one round is where breakage happens. Two gentle rounds beat one aggressive one.
Can I add dimension without any bleach at all?
Yes, though the effect is softer. A demi-permanent gloss applied only to your mid-lengths and ends creates a subtle depth change, and proper bend styling does a surprising amount on its own. You will not get bright face-framing pieces this way, but you will lose the flat look.
- Lightener + 20 vol developer
- Demi gloss in your tone
- Plastic bowl, tint brush, gloves
- Foils, clips, tail comb, timer
- Bond mask, heat protectant
- Round brush, 1 inch iron, texture spray
- Strand test 48 hrs ahead
- Pick warm, cool, or money piece
- Mix 1:2, set up station
- Section into four quadrants
- Paint face-framing pieces first
- Feather 10 to 12 strands total
- Check every 10 min, stop by 50
- Rinse cool, shampoo, no conditioner
- Gloss all over, 20 min
- Bond mask 10 min, skip roots
- Round brush dry, away from face
- Alternate bends, texture spray
You Did It
Your hair moves differently now. The color shifts as you turn your head, and that is the whole point of learning how to add dimension to brown hair at home.
Give it a week, then reapply the gloss whenever the warmth creeps back in. That single step keeps the look fresh for months.
Pin this to your hair board so it is waiting the next time your color goes flat.
Send continue for Stage 6: image prompts for all twelve steps.
