Short nails can look gorgeous. But if you have ever painted them and felt like the color made your fingers look stubbier than before, the problem was not the length. It was the technique. The way you shape, prep, and apply polish changes how the eye reads the nail, and most people do all three in ways that accidentally make short nails look even shorter.
Wide brush strokes that cover every millimeter of the nail bed. Dark polish applied right up to the cuticle and into both side walls. A rounded shape that mirrors the curve of the fingertip. These are all common habits, and every single one of them shortens the visual line of the nail.
This guide shows you how to make short nails look longer using ten specific polish tricks. No acrylics, no extensions, no press-ons. Your natural nails, your regular polish, and about 25 to 35 minutes of your time. Each step targets one visual illusion, from the shape you file to the way you position color on the nail bed. Stack them together and the difference is noticeable enough that people will ask if you got your nails done.
Grab your file, your favorite polish, and a steady surface. Let’s make those nails look twice as long as they are.
Also read: How to Remove Press-On Nails Without Damage
File your nails into a shape that adds visual length
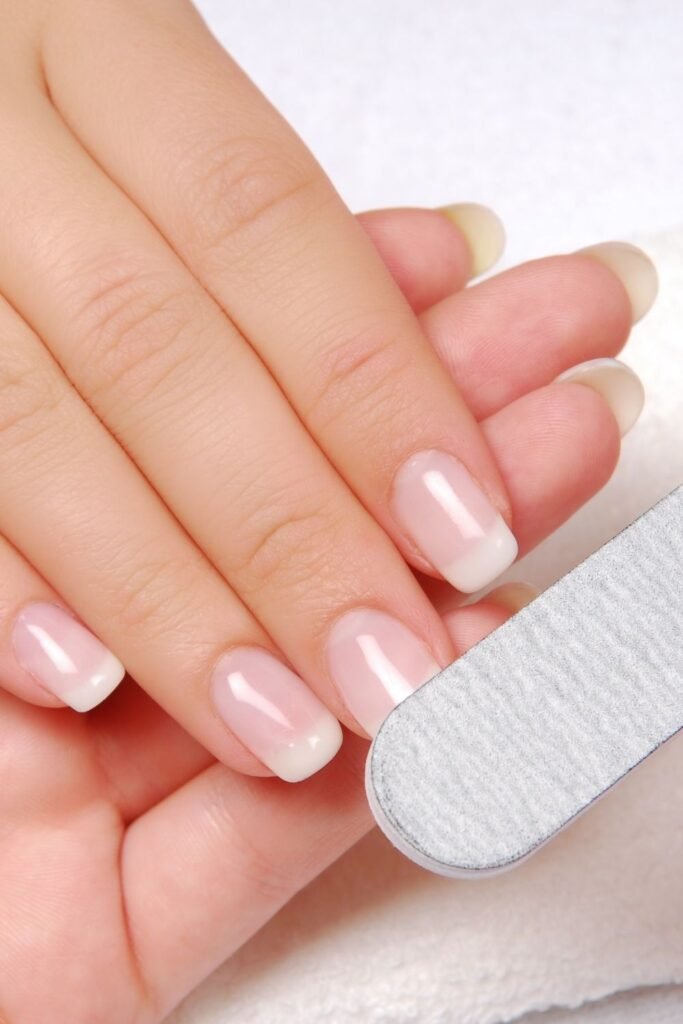
The shape of the free edge is the single biggest factor in how long or short your nails appear. A flat, squared-off tip cuts the visual line and makes the nail look wider. A round shape that follows the curve of your fingertip does the same thing because the eye reads the nail as a circle rather than a line.
What you want is an oval or an almond shape. Hold the file at a 45-degree angle against the side of your nail and stroke inward toward the center, one side at a time. File in one direction only, not back and forth. You are narrowing the tip slightly so it tapers, which creates the illusion that the nail extends further than it does. Even 1 to 2 mm of tapering makes a real difference on short nails.
Push back your cuticles to expose more nail bed
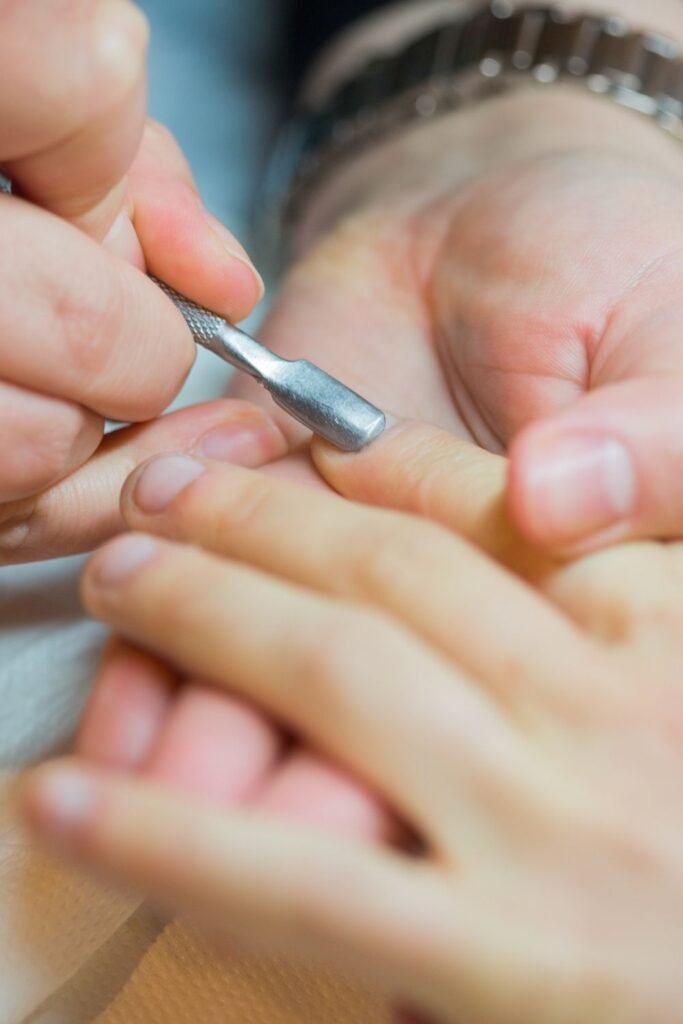
Every millimeter of nail bed that your cuticle covers is a millimeter of visible nail you are losing. Pushing them back is the fastest way to add length without growing anything.
Apply a drop of cuticle oil or plain olive oil to each nail and let it sit for 1 to 2 minutes. The oil softens the skin so it moves without tearing. Then take your orange stick or cuticle pusher and press gently against the cuticle in small circular motions, nudging it back toward the base of the nail.
Apply a base coat to the entire nail surface
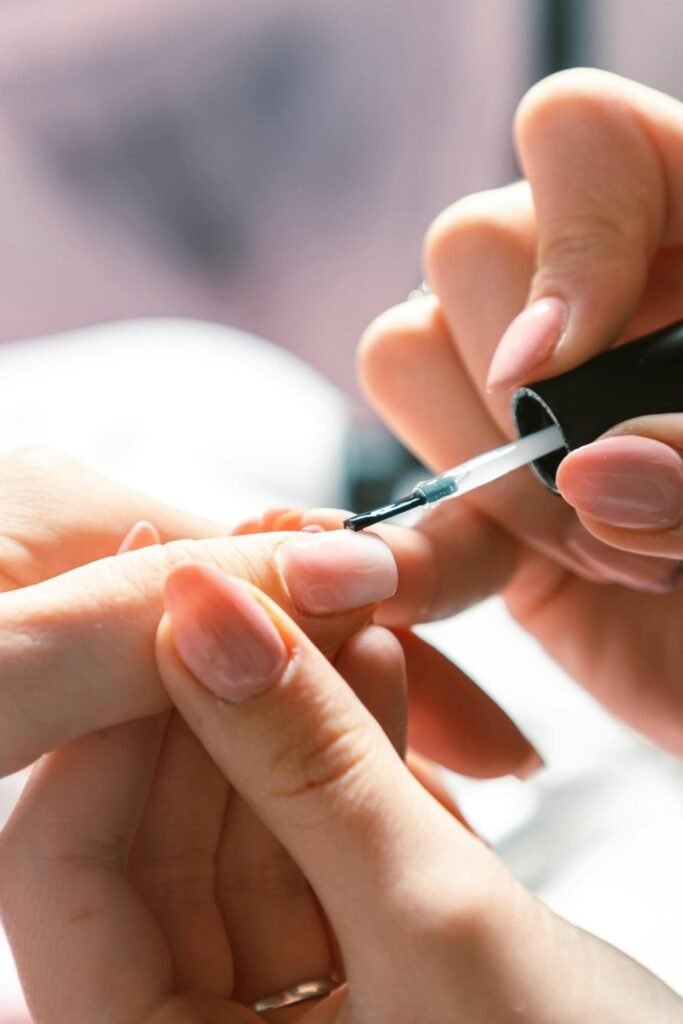
Unlike the color coats coming next, the base coat goes everywhere. Edge to edge, cuticle to tip. Its job is to protect the nail from staining and give the polish something to bond to.
Brush on one thin layer and let it dry for 2 minutes. If you skip this step, the color sits directly on the nail surface and peels off faster, which means redoing your work sooner. A base coat also fills in tiny ridges in the nail plate, creating a smoother canvas so the color coat looks more even when you apply it.
Leave a thin gap on both sides when you paint
This is the single most effective trick in this entire guide, and almost nobody does it on purpose. When you paint your nails, your instinct is to cover every visible bit of nail bed. But pushing the brush right into the side walls makes the nail look wider and shorter.
Instead, leave a bare strip about 1 mm wide along each side of the nail. That tiny sliver of unpainted nail tricks the eye into reading the colored area as a narrower, longer rectangle. The gap is so small that no one notices it unless they are staring at your fingers from two inches away. But the slimming effect is visible from across a table.
To do this, place the brush in the center of the nail and push it gently toward the cuticle. Then pull down toward the tip. Do the same on the left and right, but stop the brush 1 mm before it reaches the skin on either side.
Place the color slightly below the cuticle line, not on it
Most people start the brush stroke right where the cuticle meets the nail. That fills the entire visible length with color, which sounds like a good thing but actually works against you. A 1 to 2 mm gap of bare nail between the cuticle and where the color begins creates the illusion that the nail starts further back than it does. The eye reads the full visible nail, bare gap included, as one continuous surface, but the color portion looks like it extends longer because it has open space behind it.
Place the brush tip about 2 mm below the cuticle line. Press down gently to fan the bristles, then pull toward the tip in one smooth stroke. The bare crescent at the base should be even across all ten nails. If one gap is bigger than the others, it will look like a mistake rather than a technique.
Choose a shade that elongates instead of shortens
Color choice matters more on short nails than on long ones. The wrong shade can undo every other trick in this guide.
Shades that make short nails look longer:
- Nudes and soft pinks close to your skin tone. These blur the line between skin and nail, so the finger reads as one long, unbroken line.
- Sheer, milky tones with a slight pink or peach tint.
- Soft mauves and dusty roses.
Shades that work against you on short nails:
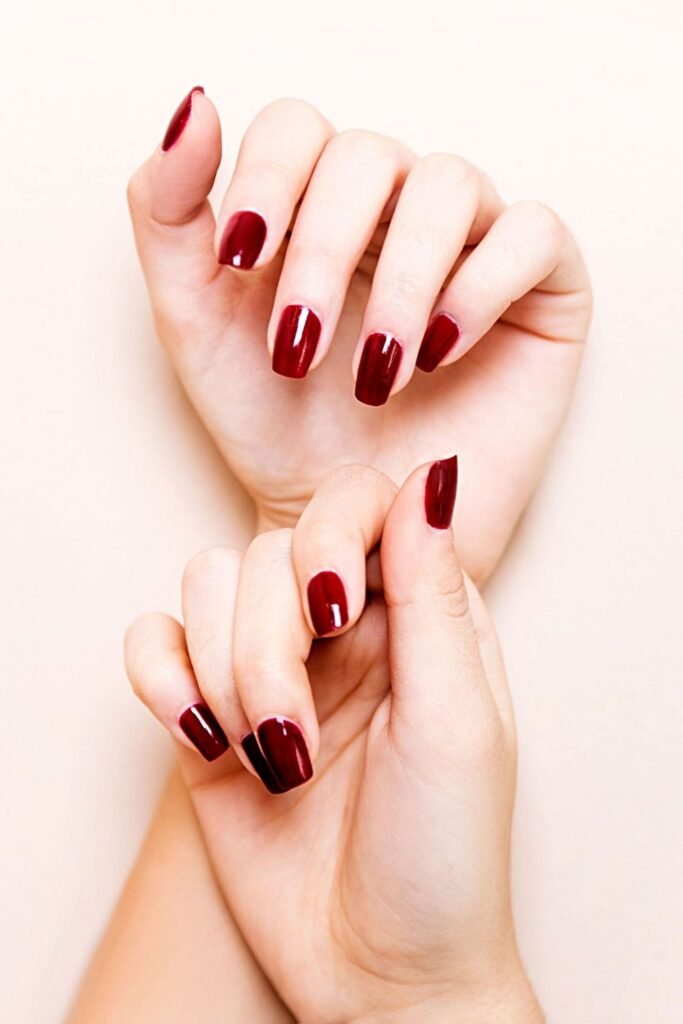
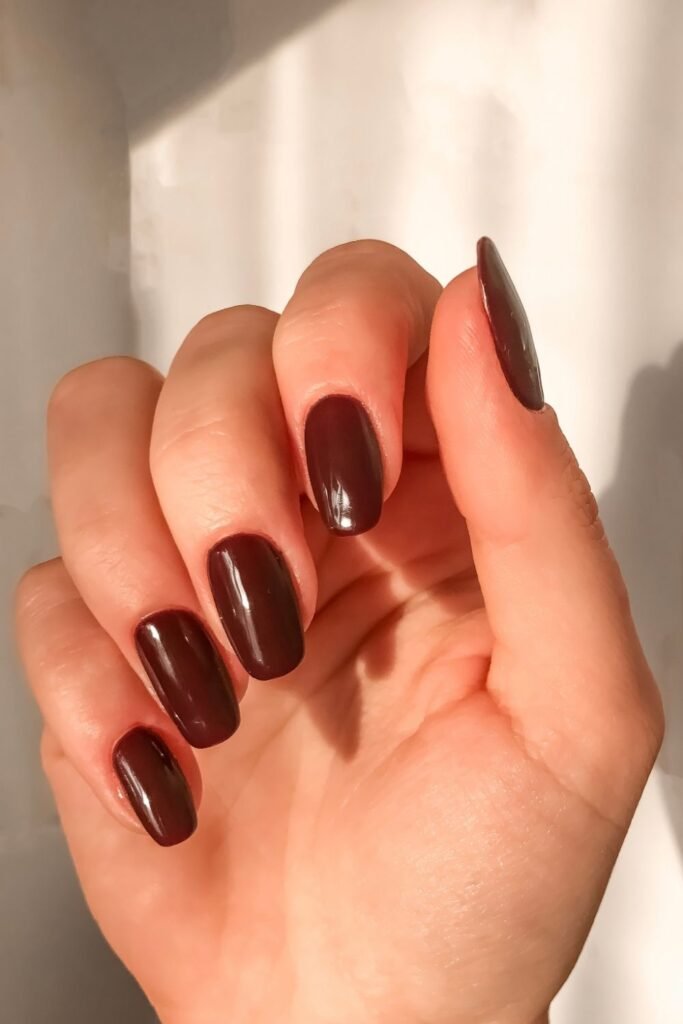
- Very dark colors like black, navy, or deep burgundy. They create a strong contrast against the skin that highlights exactly where the nail starts and stops.
- Bright, opaque neons. Same issue as darks, the eye locks onto the color block and reads its true short length.
- Glitter or chunky shimmer. The texture adds visual weight and makes the nail look thicker, not longer.
Apply two thin coats instead of one thick one
A thick coat of polish pools at the sides and the cuticle line, which fills in those careful gaps you created in the last few steps. It also takes longer to dry and tends to bubble, leaving a lumpy surface that catches light unevenly. Uneven light on a short nail makes it look even shorter because the eye picks up the texture instead of the length.
Load the brush, then wipe one side against the neck of the bottle so only a thin film of polish remains on the bristles. Apply the first coat using three strokes: center, left, right. Wait 2 to 3 minutes. Then apply the second coat the same way. Two thin layers build richer color than one thick one, and they dry faster, which means less chance of smudging your work while you wait.
Add a vertical accent line or strip down the center
This step is optional, but it is the most dramatic lengthening trick you can do with polish. A thin vertical line running from the base of the nail to the tip draws the eye up and down rather than side to side. The same principle works in clothing, where vertical stripes make a person look taller.
Dip a thin striping brush or the pointed end of a toothpick into your accent color. Start about 2 mm below the cuticle line, the same gap you used for the base color. Draw one steady line straight down the center of the nail to the free edge. Go slow. If the line wobbles, wipe it off with a remover-dipped cotton swab and try again while the base is still intact underneath.
You have a few options for this line:
- A contrasting shade like a deep berry on a nude base.
- The same color as the base but in a glitter or shimmer finish, so the line catches light differently.
- A thin gold or silver metallic stripe for a minimal, modern look.
One line per nail is enough. Two parallel lines split the surface into sections and cancel out the lengthening effect.
Keep your tip color clean and precise
The free edge of the nail, that thin white or natural strip at the very tip, is the finish line of the whole illusion. If your color coat is uneven here, or if it has bled over the edge and onto the underside of the nail, the tip looks blunt and messy. A clean, crisp edge at the tip makes the nail look like it ends on purpose rather than running out of space.
After your second color coat has dried for 3 minutes, check each nail tip straight on. If polish has wrapped over the edge, run a flat cotton swab dipped in remover horizontally across the very tip. You want the color to stop right at the edge, not curl underneath.
For an extra lengthening boost, leave the very tip of the nail unpainted so a sliver of natural nail peeks through. This works the same way as the cuticle gap but at the opposite end, adding another few visual millimeters by extending the perceived nail line beyond where the color stops.
Seal with a high-shine topcoat to finish the illusion
A glossy surface reflects light in a straight line down the length of the nail. A matte or dull surface scatters light in every direction, which flattens the nail visually and removes the depth that makes it look longer. This is why the topcoat is not optional, even if you think your color looks fine without it.
Wait until the last coat of color (or your accent line) is fully dry, at least 5 minutes. Then load the topcoat brush with a moderate amount and float it over the nail in three strokes, same pattern as before: center, left, right. Do not press hard or go back over areas you have already coated. The topcoat is self-leveling, which means it will settle into a smooth, even layer on its own if you leave it alone.
After all ten nails are coated, keep your hands flat and still for 10 to 15 minutes. Full hardening takes about 1 hour, so avoid hot water, washing dishes, or gripping anything tightly until then. The high-shine finish is doing real work here. It is the final layer of the illusion, bouncing light lengthwise across every nail and making each one look a few millimeters longer than it actually is.
Frequently Asked Questions
Does this work on all nail shapes, or only oval?
The elongating polish techniques work on any shape, but oval and almond shapes give you the strongest effect because the tapered tip adds visual length on its own. If you prefer square nails, the side gaps and cuticle gap tricks from Steps 4 and 5 still help. You will not get quite as dramatic a result, but the difference is still noticeable.
Can I use dark polish at all on short nails?
Yes. Dark polish on short nails is not a rule-breaker, it is a trade-off. If you love deep reds or navy, use the vertical accent line method from Step 8 with a dark shade on a nude base. Or apply the dark color to all nails but be extra precise with the side gaps and cuticle gap. Those bare slivers of skin break up the color block enough to keep the elongating illusion working.
What if my nails are different lengths on each hand?
That is normal. Focus on making the gaps and shape consistent across each individual hand rather than matching left to right. Nobody looks at both hands side by side. The visual tricks work per finger, so even your shortest nail will benefit from the same steps.
How often do I need to redo this?
With a good base coat and topcoat, the polish lasts 5 to 7 days before visible chipping. The shape and cuticle work last until your next filing session, usually 1 to 2 weeks. You do not need to repeat the full ten steps every time. Once the shape and cuticles are maintained, repainting with the gap technique takes about 15 minutes.
Will pushing back my cuticles damage them?
Not if you do it gently with oil and a blunt pusher. The cuticle is soft skin, not part of the nail itself. Problems only happen when people cut them with nippers or force them back without softening first. If you follow Step 2 as written, with oil and slow circular pressure, the cuticles move back without any harm and grow back naturally over 7 to 10 days.
Conclusion:
You now have ten specific techniques to make short nails look longer, and not one of them required extensions, acrylics, or a salon visit. The shape, the gaps, the color choice, and the topcoat finish all work together to stretch the visual line of every nail on your hand.
The best part is that once you have the shape and cuticle prep handled, repainting with these tricks takes about fifteen minutes. Try a nude base with a single metallic accent line on your ring finger next time. That combination stacks three of the strongest illusions from this guide onto one nail.
If this helped, pin it to your nail care board so you can pull up the Quick Reference Card the next time you sit down to paint.