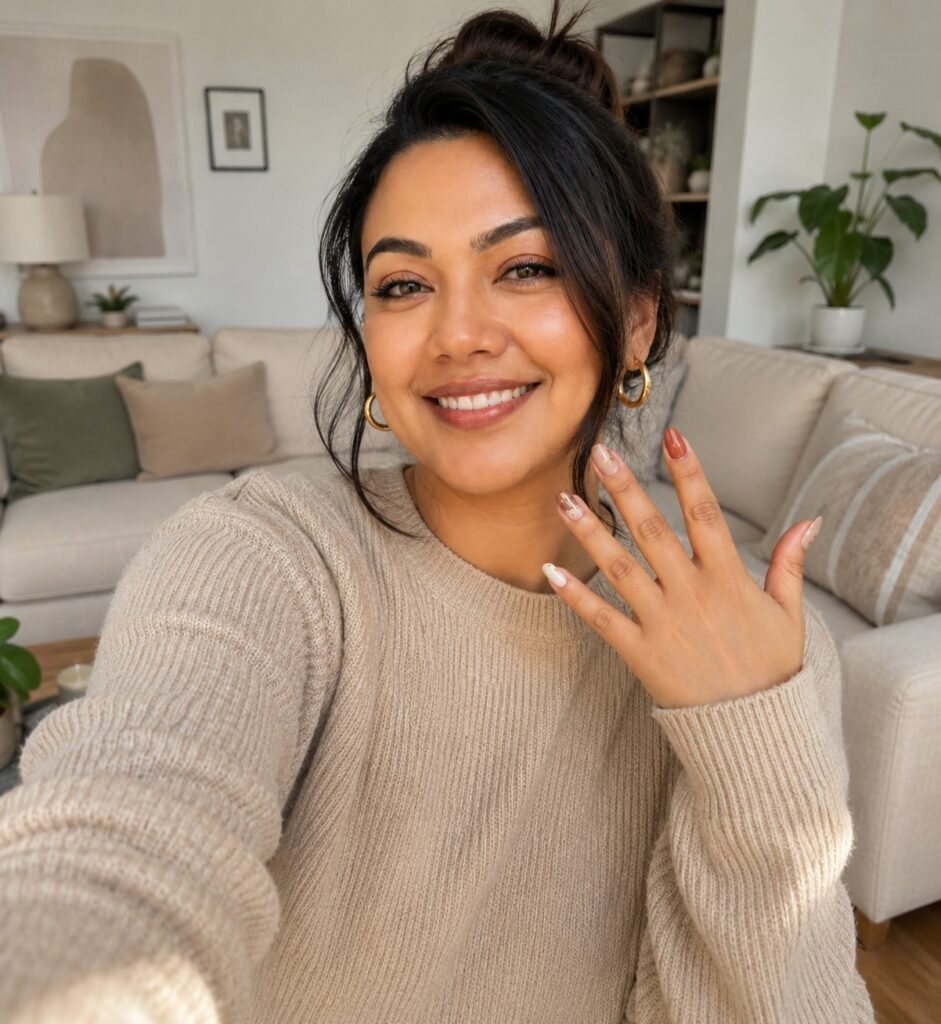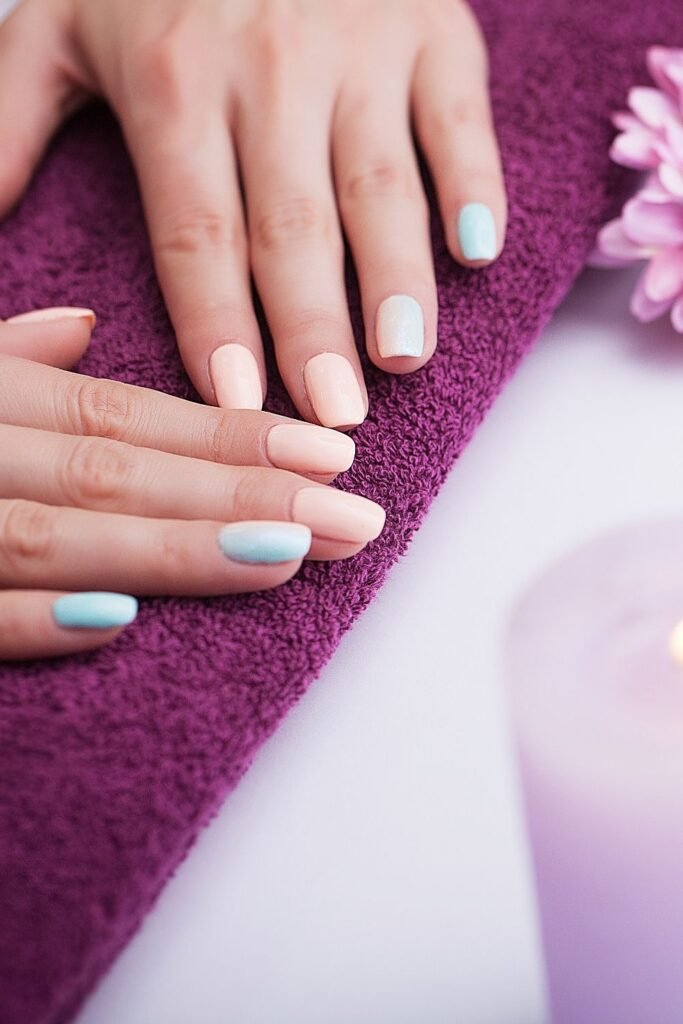
A gel manicure at home can look smooth, glossy, and salon-quality for up to 2 to 3 weeks, but only if each step is done in the right order. Most chips happen because of rushed prep, thick coats of polish, or curing mistakes. The good news is that none of those problems are hard to avoid once you know what to watch for.
This guide walks you through the full process from clean, bare nails to a durable finish that stands up to everyday life. You will learn which supplies you need, how to prepare your nails correctly, how to apply thin coats that cure evenly, and how to seal everything so the polish stays put instead of lifting around the edges.
Plan to spend about 60 to 75 minutes the first time. Most of that time is careful preparation and curing, not painting. Once you get comfortable with the routine, the process becomes much faster. Gather your supplies, find a well-lit table, and set up your lamp before you begin so everything stays within easy reach.
Gather Every Tool Before You Begin
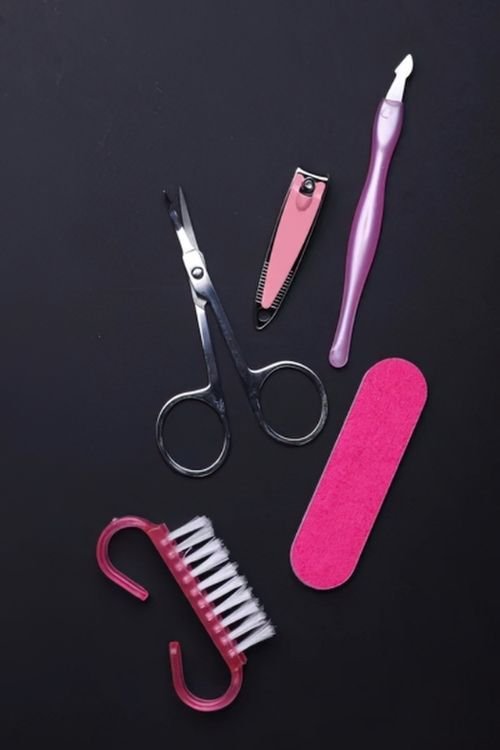
Once the polish goes on, you will be moving between bottles and the lamp without stopping. Set everything within arm’s reach before opening any gel products. Place your lamp directly in front of you and arrange your base coat, color, top coat, lint-free wipes, alcohol, nail file, and buffer in the order you will use them. A tidy workspace helps you avoid touching wet polish while searching for supplies.
Also read: How to Choose the Right Nail Color for Your Skin Tone
Wash and Dry Your Hands Thoroughly
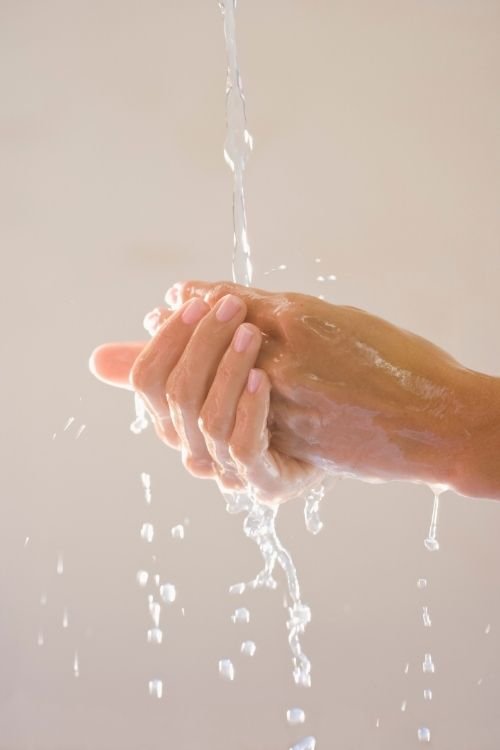
Wash your hands with soap and warm water for 20 to 30 seconds, then dry them completely with a clean towel. Moisture trapped around the nails can interfere with adhesion. Pay extra attention to the sides of each nail and underneath the free edge. If your hands feel damp afterward, wait 2 to 3 minutes before moving to the next step.
Shape Your Nails to the Length You Want
Choose the final nail shape before applying any gel. File in one direction instead of using a back-and-forth sawing motion, which can weaken the nail edge. Short oval and soft square shapes usually hold up best for beginners because they are less likely to catch on clothing or hair during daily activities.
Push Back Your Cuticles Carefully
The thin layer of skin that grows onto the nail plate can prevent the gel from gripping properly. Hold a cuticle pusher at a low angle and gently ease the cuticle back using small, controlled movements. If loose skin lifts away, trim only the dead pieces with cuticle nippers. Healthy living skin should stay intact because cutting it can lead to soreness or bleeding.
Buff the Nail Surface Lightly
Your goal is to remove the natural shine, not thin the nail. Use a fine-grit buffer and make 3 to 5 light passes across each nail until the surface looks evenly matte. Keep the pressure gentle. Over-buffing weakens natural nails and can leave them feeling thin after the gel is removed.
If you notice shiny spots after buffing, go over those areas with one or two more light strokes rather than repeating the entire nail.
Clean Away Dust and Oils
Small particles left behind can create tiny bumps under the polish, while natural oils reduce adhesion. Brush away the filing dust first, then wipe each nail thoroughly with a lint-free wipe dampened with 70% or higher isopropyl alcohol. Cover the entire nail, including the sidewalls and free edge.
Wait 30 to 60 seconds for the alcohol to evaporate completely before opening the base coat bottle. The nail should look clean, dry, and slightly chalky with no fingerprints or residue.
Apply a Thin Layer of Gel Base Coat
The base coat creates the bond between your natural nail and the gel polish. Wipe most of the product off one side of the brush before you start. Apply a very thin, even coat from the cuticle toward the tip, leaving a tiny gap between the polish and your skin. Finish by lightly brushing across the free edge to help protect against early lifting.
A thick base coat traps uncured gel underneath and makes peeling much more likely. If you notice extra product pooling near the cuticle, smooth it out before curing.
Cure the Base Coat Under the Lamp
Place your hand flat inside the lamp so every nail receives even light. Cure according to the instructions for your lamp and polish brand, which is commonly 30 to 60 seconds for an LED lamp or about 2 minutes for a UV lamp. Keep your fingers still during the entire curing cycle.
Some base coats remain slightly tacky after curing. That sticky layer is normal and helps the color coat adhere, so leave it in place unless your product instructions say otherwise.
Brush on the First Thin Color Coat
Load only a small amount of gel onto the brush. Place the brush near the cuticle, gently push it toward the edge without touching the skin, then pull the color down the center of the nail. Finish with a stroke along each side to create an even layer.
The first coat will often look a little streaky, especially with light or sheer shades. Resist the urge to make it thicker. Thin coats cure more evenly, and the second coat will build the color and smooth out the finish.
Cure the First Color Coat Completely
Even if the polish looks dry after a few seconds, the curing cycle needs to finish without interruption. Place your hand flat under the lamp and cure for 30 to 60 seconds with an LED lamp or according to your polish manufacturer’s directions. Keep your thumb slightly away from your fingers so light reaches every side evenly.
Check the surface when the timer ends. It should still feel slightly tacky if your gel uses an inhibition layer, but it should not look wrinkled or have wet-looking patches.
Apply a Second Thin Color Coat
Most gel polishes reach full coverage with two thin coats rather than one heavy application. Repeat the same brush technique you used for the first coat, working from the cuticle toward the tip while keeping the layer smooth and even. Cap the free edge again with a light brush stroke to improve wear around the nail tips.
If you’re using a very sheer shade, a third thin coat may be recommended by the manufacturer. Follow the product instructions instead of trying to build coverage with one thick layer.
Cure the Second Color Coat
Now the color is in place, so give it a full curing cycle before sealing it with top coat. Position your fingers exactly as you did before and cure for 30 to 60 seconds or for the time recommended by your gel system. Avoid removing your hand early, even if the polish already looks glossy.
Once cured, inspect each nail under bright light. The color should appear smooth from cuticle to tip with no bubbles, missed edges, or uneven patches. If you find a small flaw, correct it now before moving on to the top coat.
Seal the Manicure With a Gel Top Coat
This final layer protects the color from scratches and gives the manicure its glossy finish. Apply a thin, even coat over the entire nail, covering the color completely. Finish by lightly capping the free edge to help reduce tip wear during daily activities.
Take a moment to check each nail from the side. If you notice a thick area or a bubble, smooth it out before placing your hand under the lamp.
Cure the Top Coat Fully
The top coat locks everything underneath into a durable finish, so give it a complete curing cycle. Cure for 30 to 60 seconds in an LED lamp or according to the manufacturer’s instructions. Keep your fingers flat and avoid shifting your hand until the timer finishes.
Some top coats become completely dry after curing, while others leave a sticky inhibition layer. Check the label before moving to the next step.
Remove the Sticky Layer If Needed
If your top coat leaves an inhibition layer, dampen a lint-free wipe with 70% or higher isopropyl alcohol and wipe each nail from the cuticle toward the tip using one smooth pass. Turn the wipe to a clean section before cleaning the next nail to avoid spreading residue back onto the surface.
When you’re finished, the nails should feel smooth, dry, and noticeably glossier.
Apply Cuticle Oil After the Nails Cool
Wait about 1 to 2 minutes after curing so the nails return to room temperature. Place a small drop of cuticle oil around each nail and massage it gently into the surrounding skin. This restores moisture that may have been removed during the prep and cleansing steps, leaving your manicure looking healthier and more polished.
A fresh gel manicure at home is now complete. Avoid using your nails as tools to open cans, peel labels, or scrape hard surfaces if you want the finish to last as long as possible.
Troubleshooting Your Gel Manicure
Conclusion
You now know how to complete a gel manicure at home from start to finish without skipping the small details that make the biggest difference. Clean preparation, thin coats, and full curing time are the habits that help your manicure stay glossy and chip-free for 2 to 3 weeks.
Don’t worry if your first attempt isn’t flawless. Each manicure helps you improve your brush control, application speed, and finishing technique.
Save this guide to your Pinterest board so it’s ready the next time you do your nails. Having the steps close by makes it much easier to follow the process from start to finish without missing anything.