

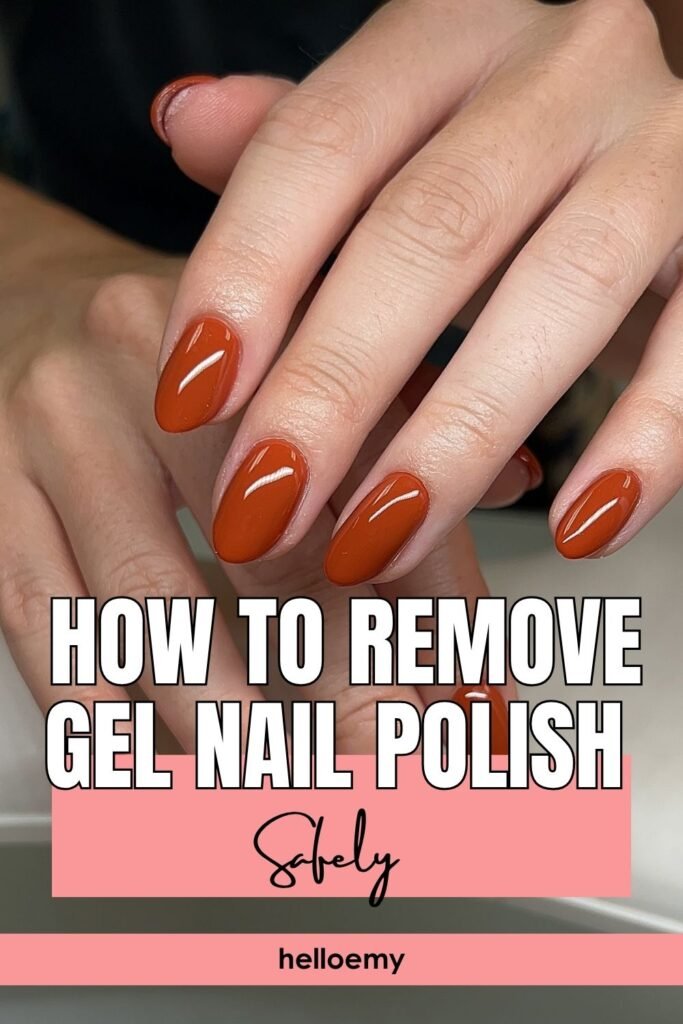
That one corner has lifted and your thumbnail keeps finding it. You know you should not peel. You peel anyway, and a thin sheet of your actual nail comes off attached to the gel. Now there is a white, chalky patch that stays for weeks and catches on everything.
Peeling is not impatience. It is the fastest way to lose real layers of nail plate, and those layers take three to four months to grow back. Knowing how to remove gel polish properly is the difference between nails that feel normal by tomorrow and nails you hide until spring.
This guide covers all three methods that actually work, because gel is not one product. Regular gel polish soaks off in acetone. Builder gel needs longer. Hard gel and extensions do not soak at all and have to be filed down, which is why a scratch test comes early. Send someone down the wrong path and they sit with acetone on their hands for 40 minutes waiting for something that was never going to happen.
Plan on 45 minutes for standard gel polish and closer to 75 minutes for builder gel or extensions. You need a ventilated room, an old towel, and something to watch. Read all twelve steps first.
- 100% pure acetone
- Cotton pads, cut into quarters
- Aluminium foil, cut into 10 squares
- Coarse nail file, 100 or 150 grit
- Wooden cuticle stick
- Petroleum jelly or thick balm
- Nail clippers
- Small glass bowl (bowl method only)
- Fine buffing block, 240 grit
- Cuticle oil
- Thick hand cream
- Old towel you do not mind ruining
- Timer or phone
- Warm towel (optional, speeds soaking)
- Set up your station
- Trim nails to a workable length
- Scratch test to identify your gel type
- Choose your method
- Break the shiny top coat seal
- Coat the surrounding skin with balm
- Wrap each nail in cotton and foil
- Wait 15 minutes before opening
- Push softened gel off with a wooden stick
- File down hard gel and extensions
- Buff smooth and check for damage
- Rehydrate nails and cuticles
Set up your station before you open the acetone
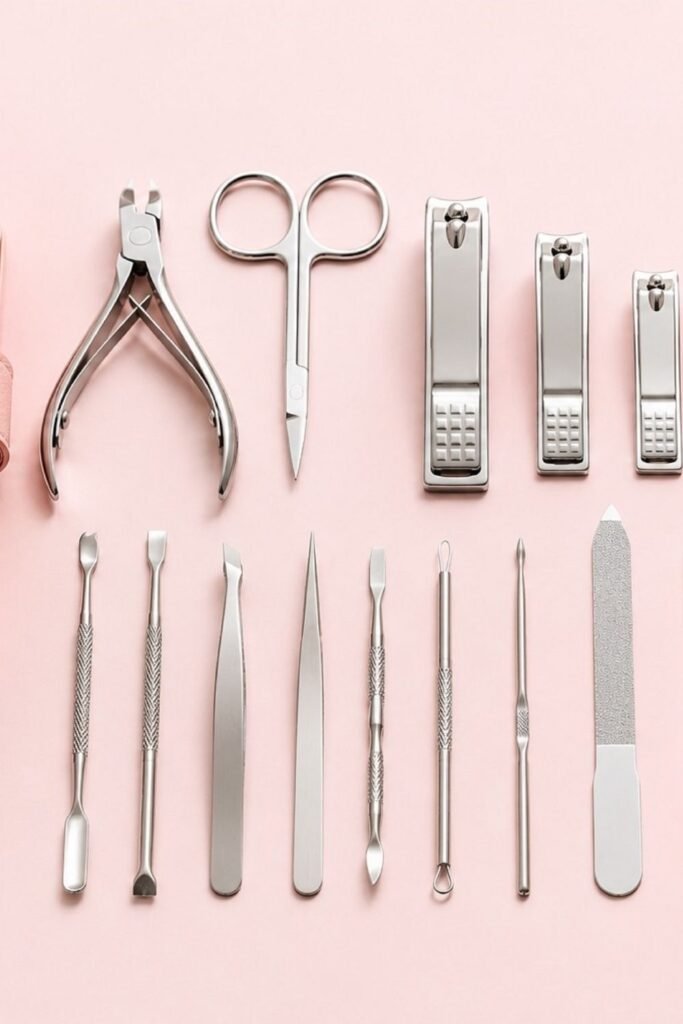
Once your fingers are wrapped you cannot fetch anything, so everything lands within reach first. Spread the old towel across a table near an open window. Cut your cotton pads into quarters, since a full pad holds more acetone than a nail needs and just soaks your skin. Tear ten foil squares roughly 4 inches across and stack them. Then line up your file, wooden stick, balm, and clippers in a row.
Trim your nails down to a workable length
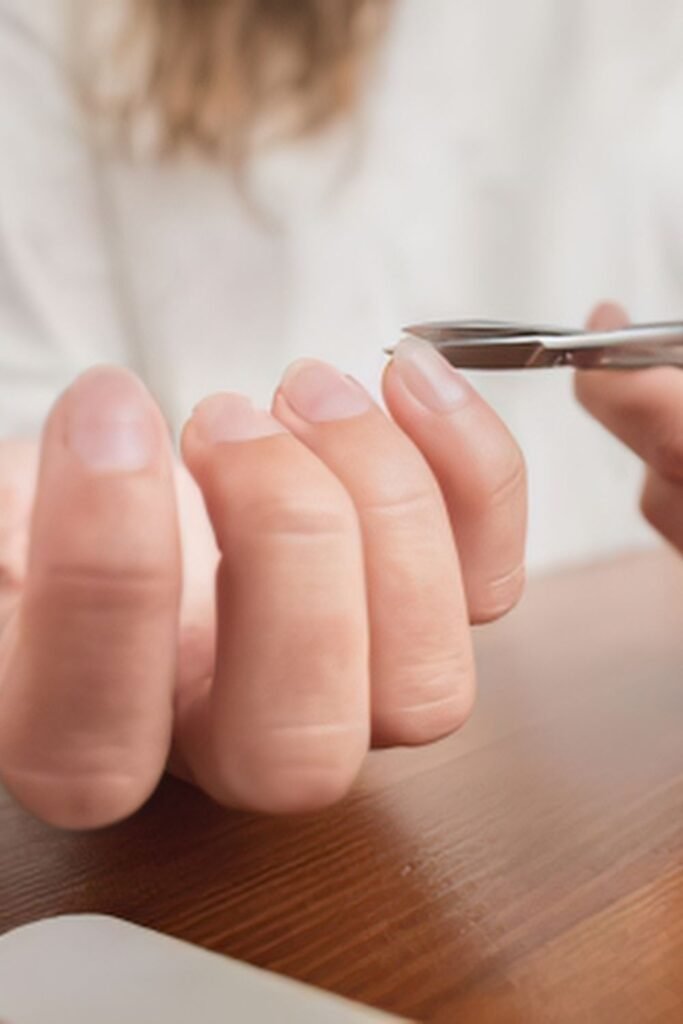
Shorter nails mean less surface area, and less surface area means shorter soaking. Clip the free edge back to roughly 2 millimetres past your fingertip. Do not attempt to cut through hard gel or extensions with regular clippers, because the material is rigid and will crack in a way that splits the nail underneath. Those get filed instead in Step 10.
Scratch test one nail to identify your gel type
This is the step that decides everything after it. Take your coarse file and scratch firmly across the surface of one nail for about 10 seconds, then look closely at what came off.
Here is what each result means:
- Fine white dust that comes off readily is soft gel polish, so soak it
- Dust that comes slowly with real effort is builder gel, so soak it longer
- Almost no dust and a glassy feel is hard gel, so file it
- A thick nail extending past your natural tip is an extension, so file it
- Dust plus a visible sculpted apex is acrylic, so soak or file
Soft gel polish is what most salons apply for a standard manicure. If you are unsure, treat it as soft gel first and switch to filing if nothing has lifted after the first wrap.
Choose your method from the three that work
Your scratch test result points to one of three paths, and all of them come down to the same thing: acetone dissolves soft gel, and filing removes what acetone cannot touch.
The foil wrap is the default. It holds acetone against the nail while keeping your fingertips out of the liquid, which is why it stays the gentlest option for skin. The bowl method soaks all ten fingers at once in a small glass dish of acetone, and it moves faster but leaves your fingers sitting in solvent the whole time. Filing is for hard gel and extensions, where soaking does nothing at all.
Break the shiny top coat seal with a file
Gel top coat is a sealed, non-porous layer, and acetone cannot pass through it. That single fact is why most people think their gel is stuck when it is only sealed. Run your 100 or 150 grit file flat across each nail until the whole surface looks dull and cloudy with no glossy patches left, especially near the cuticle where the file naturally skips. Stop the moment the shine is gone. You are removing top coat, not colour.
Coat the skin around each nail with a barrier balm
Acetone strips oil from skin faster than it dissolves gel, and the cuticle area takes the worst of it. Dab a generous layer of petroleum jelly or thick balm around each nail: the cuticle line, both side walls, and the fingertip pad underneath. Keep it off the nail plate itself, since balm sitting on the surface blocks the acetone from working. Coconut oil or a heavy hand cream stands in perfectly well if you have no petroleum jelly.
Wrap each nail in acetone-soaked cotton and foil
Saturate one cotton quarter with acetone until it is wet but not dripping, press it flat onto the nail, then wrap a foil square tightly around the fingertip and fold the top over to seal it. Tight matters. Air gaps let the acetone evaporate and the wrap stops working. Do one hand completely, then the other, so your dominant hand stays free for longer.
Doing the bowl method instead? Pour acetone into a small glass dish to a depth of about 1 centimetre, rest that dish inside a larger bowl of warm water, and submerge only your fingertips. Never microwave or heat acetone directly.
Wait 15 minutes before you open the first wrap
Set the timer and put your hands in your lap. Soft gel polish needs 15 minutes, builder gel needs 20 to 25 minutes, and checking early ruins the wrap you just sealed because the acetone escapes the second the foil opens.
Push the softened gel off with a wooden stick
Open one wrap only. Properly softened gel looks wrinkled and lifted at the edges, almost like wet tissue paper. Hold the wooden stick at a low angle, nearly flat to the nail, and push from cuticle toward the free edge in one slow motion. The gel should slide off in soft sheets. Keep the other nine wraps sealed while you work, because the moment a wrap opens the acetone starts evaporating and that nail begins hardening again.
File down hard gel and extensions that refuse to soak
Hard gel and extensions do not dissolve, so acetone was never going to help here. Clip the free edge back as close to your fingertip as the material allows, then file across the surface with your 100 or 150 grit file using long, flat strokes. Work in short bursts of about 20 seconds, pausing to feel the nail between rounds. Heat is your warning sign. If the nail feels warm, stop and let it cool, because friction heat travels straight into the nail bed and it hurts for days afterward.
Filing to the very last layer is not the goal. Once the product turns thin and slightly flexible, switch to a 240 grit buffer and take the rest off gently. The colour change tells you when you are close: sculpted product looks chalky and opaque, while your natural nail underneath looks pinker and slightly translucent.
Buff the surface smooth and check for damage
Fresh out of removal, nails feel ridged and rough. That is normal, and heavy buffing to fix it is where people undo all their careful work. Pass the 240 grit buffer over each nail two or three times only, using light pressure. Then hold your hand up to a window and look.
Rehydrate your nails and cuticles the same night
Acetone pulled every bit of moisture out, and waiting until tomorrow lets the dryness set in as peeling. Wash your hands with soap first to clear the leftover residue and balm. Then drop cuticle oil onto each nail bed and massage it in properly, one finger at a time, until the oil disappears rather than sitting on top. Follow with thick hand cream and give it a full 2 minutes of rubbing.
Keep the oil by your bed and use it nightly for a week. This is the single habit that decides whether your nails bounce back in days or peel for a month.
Questions Beginners Ask About Removing Gel Polish
These come up constantly from people doing their own removal for the first time. Straight answers below.
Can I use regular nail polish remover instead of pure acetone?
No, and this is the most common reason removal fails. Standard remover is mostly water and conditioning agents with a small amount of acetone, which is not strong enough to break gel down. You will soak for 40 minutes and see nothing move.
How long should I wait before getting gel again?
Give your nails one to two weeks bare if removal went cleanly. If you ended up with white patches, thinning, or soreness, stretch that to four weeks minimum. Back-to-back gel with no recovery gap is what turns one bad removal into months of peeling.
Is it safe to remove gel polish at home at all?
Yes, when you soak instead of scrape. Nearly all the damage people blame on gel comes from removal, not from the product itself. The risky part is force, so if something will not budge, more time fixes it.
What if I only have one or two nails lifting and the rest are fine?
Remove all of them anyway. A lifted edge lets water sit between the gel and your nail, which is exactly the environment where infection starts. Wrapping two nails takes the same 15 minutes as wrapping ten.
Does soaking in acetone damage my nails long term?
Acetone dries nails and cuticles heavily, but it does not thin the nail plate the way scraping and over-filing do. The drying reverses within a week of nightly cuticle oil. Physical damage takes months.
- 100% pure acetone
- Cotton pads, cut in quarters
- 10 foil squares
- 100/150 grit file, 240 grit buffer
- Wooden stick, clippers
- Petroleum jelly, cuticle oil, hand cream
- Set up near an open window
- Trim to 2 mm past the fingertip
- Scratch test one nail
- Pick foil, bowl, or file
- File the shine off completely
- Balm the skin, not the nail
- Wrap tight in cotton and foil
- Wait 15 min, 25 for builder gel
- Push off with a wooden stick
- File hard gel and extensions down
- Buff lightly, check for thinning
- Oil and cream the same night
Your Nails Made It Through
Bare nails, still their full thickness, no chalky patches. That is what knowing how to remove gel polish properly buys you.
Keep the cuticle oil on your nightstand and use it every night this week. Ridges smooth out on their own faster than you would think.
Give it a week or two before the next set, and your nails will take gel just as well as they did the first time.
