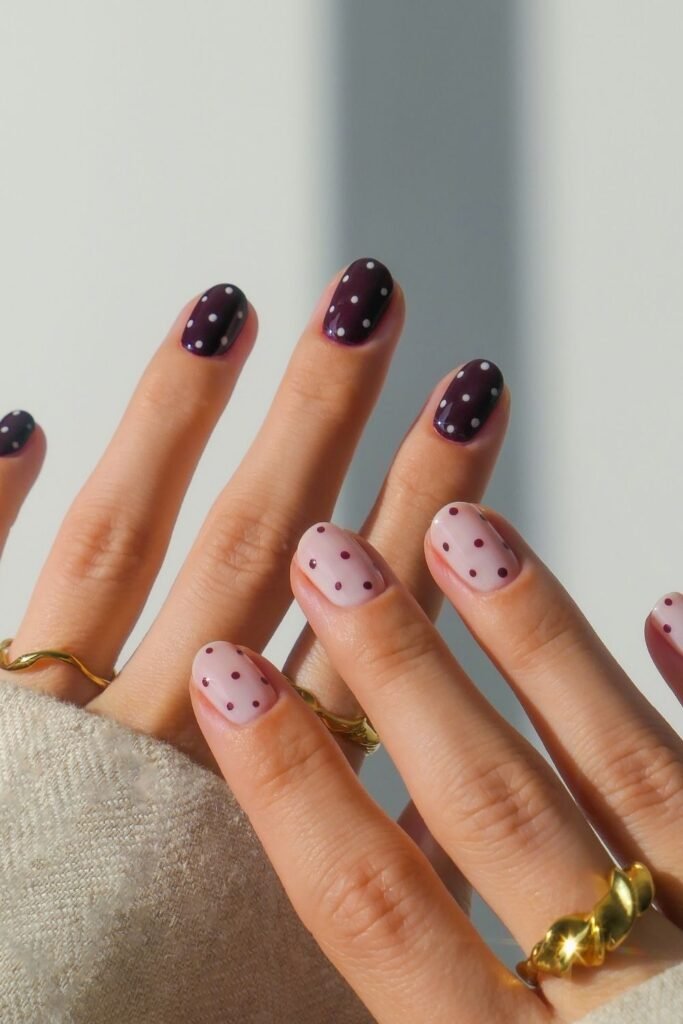
You have seen those perfect little dots, tiny flowers, and clean geometric lines all over Pinterest. And you have probably assumed you need a full set of dotting tools, thin brushes, and a steady hand trained by years of practice. You don’t. A regular wooden toothpick from your kitchen drawer can do all of it.
Nail art with a toothpick is one of the most forgiving ways to start because the tip is small enough for detail but thick enough to control. You are not trying to paint a portrait. You are placing dots and dragging them into shapes. That is genuinely all the technique behind flowers, hearts, abstract lines, and marble effects.
This guide walks you through ten steps, from prepping your nails to sealing the finished design. By the end, you will have five design options you can mix and match across all ten fingers. The whole process takes about 45 minutes to an hour, and most of that is drying time. The actual art part? Around 10 to 15 minutes once your base color is set.
Grab a handful of toothpicks, pick two or three polish colors you like together, and let’s get your nails looking like you paid someone to do them.
Also read: How to Apply Press-On Nails So They Last 2 Weeks
Gather your supplies before you open a single bottle
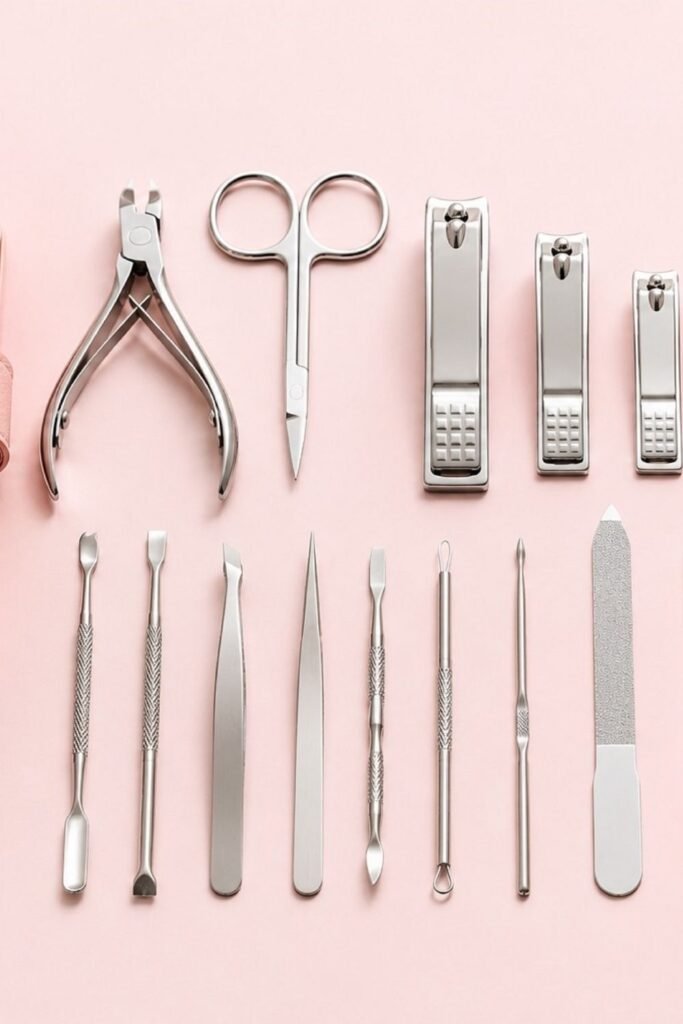
Chasing down a cotton swab while your polish dries on the toothpick will cost you your cleanest dots. Get every item from the “What You Need” list above and set it all on a flat, well-lit surface. A kitchen table or desk works great.
Tear off a 6-inch square of aluminum foil and set it nearby. This is your palette. You will drop small pools of your accent colors onto it so you can dip the toothpick without going back into the bottle each time. If you don’t have foil, a plastic takeout lid or the back of an old sticky note works the same way.
Prep your nails so the polish sticks and stays
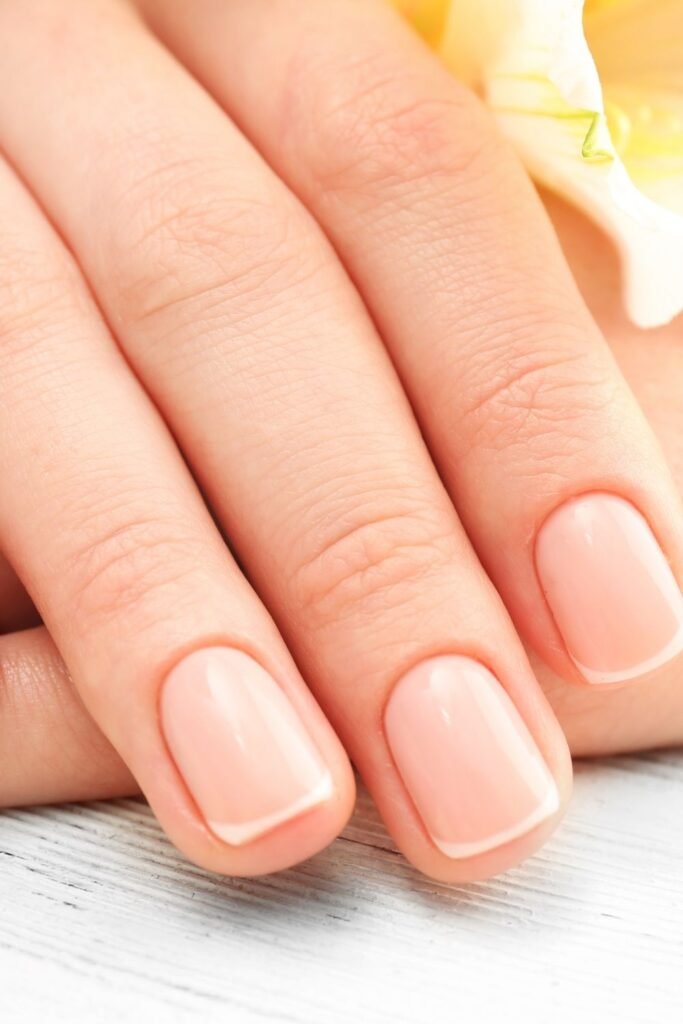
Any oil or old polish left on the nail means your base coat cannot bond properly, and the whole design peels off in a day or two. Wipe each nail with a cotton pad soaked in nail polish remover, even if your nails look clean. This strips the invisible residue.
After that, file any rough edges in one direction only, tip to side. Sawing back and forth weakens the nail and causes tiny splits you will not notice until a chip appears right through your design.
Apply your base color in two thin coats
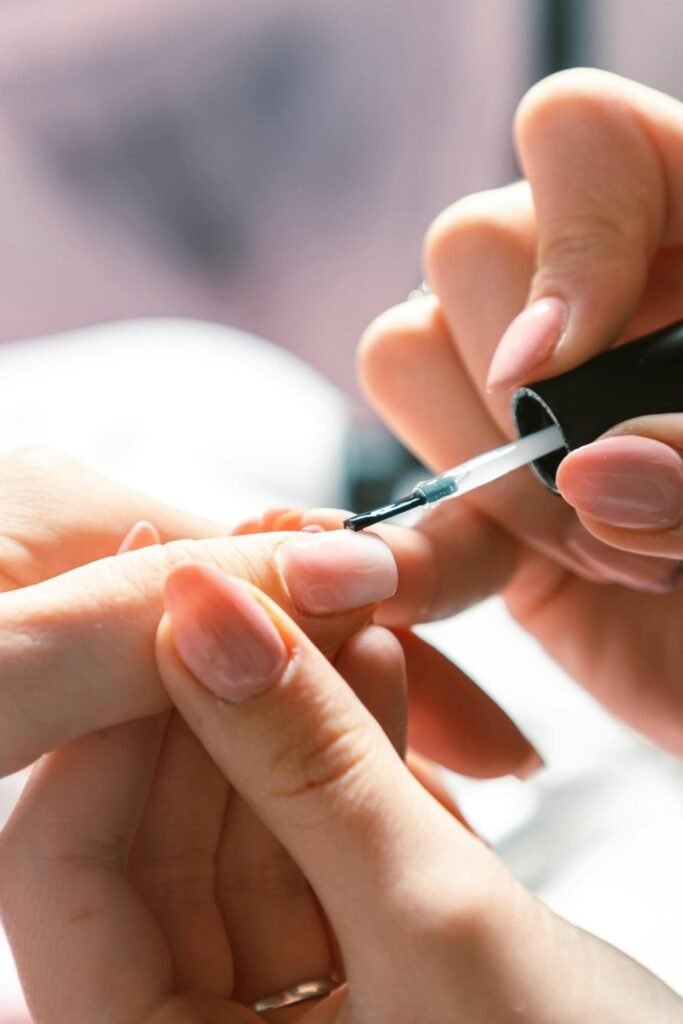
Start with one thin layer of base coat. Let it dry for 2 minutes. Then apply your chosen base color.
The biggest beginner mistake here is loading too much polish on the brush. You want the brush fanned out against the nail with light pressure, not a thick blob sitting on top. Three strokes cover most nails: one down the center, one on the left side, one on the right.
Wait 3 minutes, then apply the second coat the same way. Two thin coats give you a richer, more even color than one thick coat ever will, and they dry faster, too.
Let the base dry completely before you touch the toothpick
This is where most beginners destroy their own work. The base looks dry after five minutes, but the surface is still soft underneath. Press a toothpick into a half-dry base and you will drag the color, leaving a visible groove that no amount of topcoat can hide.
Wait a full 10 to 15 minutes after your second coat. To test, lightly tap the surface of your pinky nail with the pad of your fingertip. If it feels even slightly tacky or sticky, give it another 5 minutes.
Dip the toothpick and place your first dots
Drop a pea-sized pool of your first accent color onto the foil palette. Hold the toothpick like a pencil, close to the tip for control. Dip the very end into the polish pool, pick it up, and press straight down onto the nail. Lift straight up. That is one dot.
A few things that make or break this step:
- Dip before every single dot. The toothpick does not hold much polish.
- Press gently. Pushing hard flattens the dot into a smear.
- Keep dots 2 to 3 mm apart so they do not bleed into each other.
- Start on your pinky or ring finger. Save the thumbnail for last, once your hand is steady.
Drag the dots into petals, hearts, or lines
Here is where five designs open up from the same basic dot technique. Place a dot, then instead of lifting straight up, drag the toothpick outward in one smooth motion. The direction and length of the drag changes the shape entirely.
Flowers: Place five dots in a circle. Drag each one toward the center. Drop a contrasting dot in the middle.
Hearts: Place two dots side by side, nearly touching. Drag each one downward at an angle so the tails meet at a point below.
Stripes: Skip the dots. Dip the toothpick and draw a straight line from the cuticle toward the tip in one continuous pull. Wipe the toothpick on the paper towel between lines.
Marble swirl: Place three to four random dots of different colors close together. Drag the toothpick through them in a slow S-curve. Do not go back over the same path.
Polka dots: No dragging at all. Dots only, spaced evenly across the nail in a grid or scattered pattern.
Build a second layer of detail with a fresh toothpick
Not every nail needs a second layer, but this is what separates a basic attempt from something that actually looks intentional. Once your first layer of dots or shapes has dried for 3 to 4 minutes, you can add smaller accent details on top.
A white dot in the center of each flower. A tiny highlight dot on the top-left curve of each heart. A thin line connecting a row of polka dots. These small additions take 2 minutes across all ten nails but make the design look layered and planned rather than random.
Use a clean toothpick and dip it lightly. You want less polish on the tip for these detail touches than you used for the first layer. If the accent dot spreads too wide, you picked up too much.
Clean up any mistakes around the edges
Your cuticles and the skin around your nails probably have stray polish on them right now. That is completely normal, especially on your dominant hand. Leaving it there makes even a great design look messy.
Dip a cotton swab in nail polish remover and run it along the edges of each nail. Go slow. The goal is to remove the overflow without touching the design on the nail itself. For tight spots where a cotton swab is too bulky, wrap a tiny piece of cotton pad around the pointed end of a clean toothpick, dip it in remover, and use that instead. It gives you much more precision right up against the cuticle line.
Seal everything with a topcoat
Without this step, your toothpick art chips off within a day. The topcoat locks the design underneath a hard, smooth layer and blends the raised edges of each dot into the surface so the nail feels even when you run your finger over it.
Wait until the art layer is fully dry — at least 5 minutes after your last detail touch. Then load your topcoat brush with a moderate amount and float it over the nail in one slow stroke down the center, one on each side. Three strokes total, same as your base color.
One thing to watch for: do not press the brush down hard or go back and forth. The topcoat is wet and the art underneath is dry but fragile. Heavy pressure or repeated brushing can smear the design. One pass per section, then move on to the next nail.
Let the topcoat cure without smudging your work
You have spent the last 40 minutes building something you are genuinely proud of, and the urge to pick up your phone, grab a snack, or fix your hair is strong. Resist it for 15 more minutes. The topcoat needs this time to harden past the point where a light bump leaves a dent.
Sit with your hands flat on the table, fingers spread. Do not ball them into fists, rest your chin on them, or tuck them under your legs. If you need to pass the time, watch something on a screen propped up in front of you. After 15 minutes, the surface should feel hard and glassy to a light touch. Full curing takes 1 to 2 hours, so avoid hot water, dishes, and anything that involves gripping tightly until then.
Frequently Asked Questions
Can I use a mechanical pencil or bobby pin instead of a toothpick?
Yes. A bobby pin with the rubber tip removed creates slightly larger dots, which can work well for polka dot designs. A mechanical pencil with no lead extended has a tiny opening at the tip that makes very fine dots. Both are worth trying once you are comfortable with the toothpick technique, but the toothpick gives you the widest range of dot sizes from a single tool.
Do I need special nail polish for toothpick art?
No. Regular nail polish works perfectly. The only thing to avoid is polish that is very old and thick. If a bottle has been sitting in a drawer for years and the polish comes out gloopy, it will not spread cleanly from a toothpick tip. Test it on the foil palette first. If it looks stringy or lumpy, use a different bottle.
What if I mess up one nail after finishing the others?
You do not have to redo all ten. Wipe the messed-up nail clean with a polish-soaked cotton pad, let it dry for 1 minute, and redo that nail from the base color step. The other nine stay untouched. This is one of the biggest advantages of nail art with a toothpick over stamping or sticker methods — single nail fixes are quick.
My dots are not round. They look like tiny smears. What am I doing wrong?
Two likely causes. Either the base coat underneath is still tacky, so the toothpick is dragging through it, or you are pressing and pulling slightly sideways when you lift. Press straight down, pause for half a second, then lift straight up. Practice a few dots on the foil first to get the motion right before going back to your nail.
How long does toothpick nail art last?
With a proper base coat and topcoat, most designs last 5 to 7 days before noticeable chipping. Skipping the base coat or topcoat cuts that down to 1 to 2 days. If you want extra durability, apply a second thin layer of topcoat after the first one has fully cured.
Conclusion:
You now have five nail art designs you can pull off any time with a toothpick and a few bottles of polish. No kits, no specialty tools, no salon appointment. Everything you need is already in your kitchen and your bathroom drawer.
Once you feel confident with dots and drags, try combining two designs on one hand. Flowers on the ring finger, polka dots on the rest. That mix-and-match look is all over Pinterest right now and it starts with exactly what you practiced today.
If this turned out the way you hoped, save this guide to your nail art board so you can come back to the Quick Reference Card next time.