You pull at the corner of a press-on, it doesn’t budge, and your first instinct is to just yank it off. That’s exactly how people end up with thin, peeling nails underneath, and it’s completely avoidable.
Learning how to remove press on nails the right way takes patience, not strength. The whole trick is softening the glue bond before you ever touch the nail, so it lifts away on its own instead of tearing layers off your natural nail with it. Skip the soak, and you’re pulling raw nail plate away along with the adhesive.
Plan on 20 to 25 minutes for a full set, most of it spent soaking rather than actively doing anything. There’s no special tool required here, just warm water, a bit of patience, and a willingness to stop the second something feels stuck. Do it this way, and your natural nails will look healthy and ready for the next set instead of damaged and thin.
What You Need
- A bowl large enough for your fingertips
- Warm water
- Mild dish soap or hand soap
- Nail clippers
- Orange stick or cuticle pusher
- Fine-grit nail buffer
- Cuticle oil
- Soft towel
Gather Your Removal Supplies First
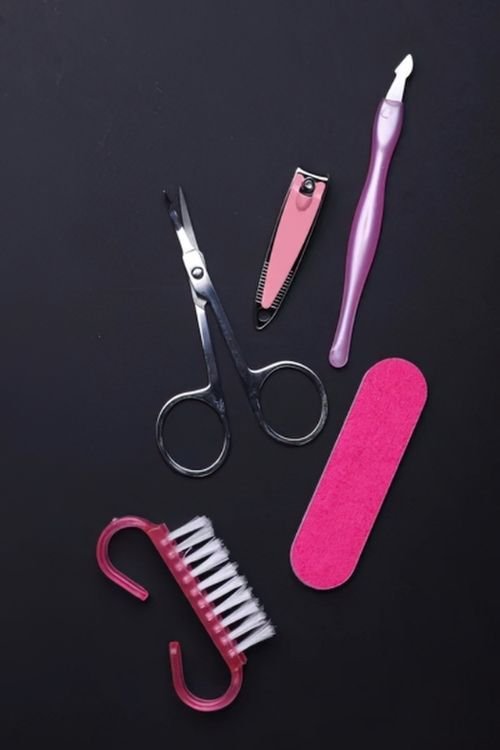
Nothing here needs to be fancy, but having everything within reach matters once your fingers are wet and busy. Set out a bowl, soap, a towel, an orange stick, and cuticle oil on the counter before you start soaking. You don’t want to be dripping water across the bathroom hunting for a towel halfway through. A few seconds of setup now keeps the whole process calmer.
Trim Any Length You Can Safely Cut Off
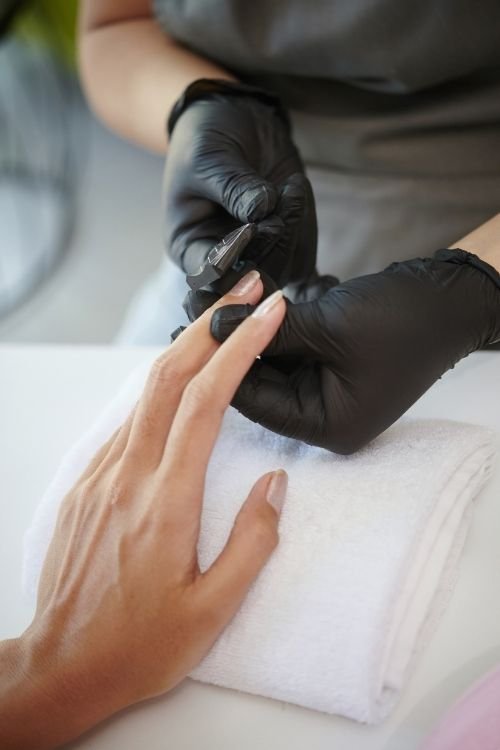
Shorter nails soak faster and give you less leverage to accidentally snag or bend during removal. Use nail clippers to trim off any extra length beyond your natural nail tip, cutting straight across in one motion per nail. Stop well before you reach the natural nail line. This step is optional if your press-ons are already short, but it saves time on longer sets.
Fill a Bowl With Warm Water and Soap
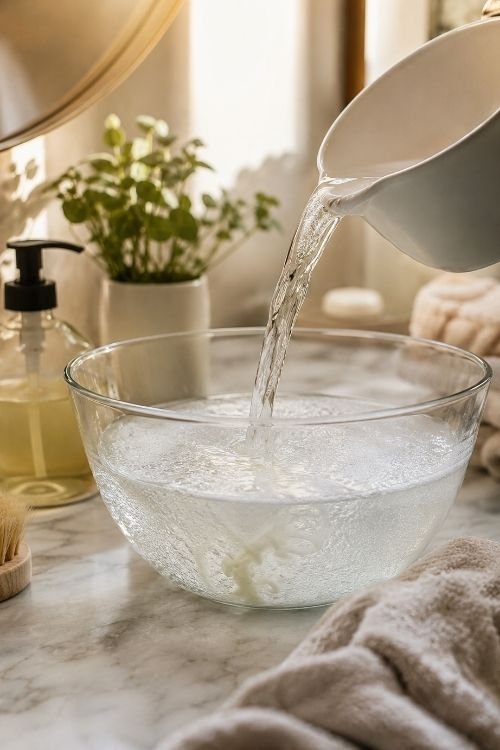
Warm water softens the glue bond, and the soap helps break down oils that keep it sealed. Fill a bowl with water warm enough to be comfortable but not hot, then add a small squeeze of dish soap or hand soap and swirl it until it’s slightly sudsy. Warm, not hot matters here, since water that’s too hot can dry out your skin without speeding up the soak at all.
Soak Your Fingertips for 10 to 15 Minutes
This is the step that actually does the work, even though it feels like you’re just sitting there. Submerge your fingertips fully and let the water sit undisturbed. Check at the 10-minute mark by gently pressing one nail’s edge. If it doesn’t give slightly, keep soaking.
- Rest your hands on the rim of the bowl to stay comfortable
- Avoid moving your fingers around too much while soaking
- Add a splash of warm water halfway through if it starts cooling
Wiggle One Nail Gently From the Base
After soaking, the bond should feel noticeably looser than it did going in. Start with your thumb, since it usually has the largest surface area and shows you right away whether the nail is ready. Gently rock it side to side at the base, not the tip, and stop the instant you feel any resistance pulling at your natural nail. If it doesn’t move easily, it needs more time in the water, not more force from you.
Slide an Orange Stick Under the Loosened Edge
Once a nail loosens at the base, an orange stick gives you more control than fingers alone. Slide the flat end gently underneath the edge, working slowly toward the center rather than prying upward in one motion. The nail should lift away with very little effort at this point. Anything that feels like it’s tearing rather than lifting means it needs to go back in the water for a few more minutes.
Re-Soak Any Nail That Resists
Not every nail loosens at the same rate, even within the same set, since glue thickness varies slightly from nail to nail. Any finger that’s still holding tight after the first round goes back into the warm water for another 5 minutes. Trying to power through a stubborn nail with more force is exactly how thin spots and peeling happen.
Buff Away Leftover Glue Residue
Even a clean removal usually leaves a thin film of dried glue on the nail surface. Gently run a fine-grit buffer across each nail using light strokes, checking often so you don’t buff into the natural nail underneath. You’re only removing the residue layer, not shaping or thinning the nail itself. Stop as soon as the surface feels smooth again.
Check Your Natural Nails for Thin Spots
Run a finger lightly across each nail and look closely under good light for any areas that feel rough, ridged, or unusually flexible. These spots mean the nail plate lost a layer during this set or a previous one, and they need gentle treatment rather than another set right away. A little thinness isn’t an emergency, but it is a sign to ease up on back-to-back applications. Give any affected nails a break before your next set if you notice this.
Apply Cuticle Oil and Let It Absorb
Freshly removed nails have been sitting in water and buffed, both of which pull moisture out. Massage a small drop of cuticle oil into each nail bed and the surrounding skin, working it in with light circular motions. Let it sit for a few minutes rather than wiping it off right away. Your nails are bare right now, and this is the easiest window to actually treat them instead of covering them back up immediately.
Frequently Asked Questions
Yes. Warm water and soap alone are enough to loosen most nail glue over 10 to 15 minutes, without exposing your skin to acetone.
Soak that finger for another **5 minutes** rather than pulling harder. Some nails simply had more glue applied and need extra time.
This usually means a nail was removed too early or with too much force. Give the affected nail a break and treat it with oil before applying another set.
If your nails feel healthy and smooth, you can reapply right away. If you noticed any thin or rough spots, wait a few days and use cuticle oil daily in the meantime.
Yes, though tabs usually loosen faster than glue. Start checking at the **8-minute** mark instead of waiting the full soak time.
Conclusion
That’s a full set removed safely, without a single peeled layer or torn nail. You let the soak do the work instead of your fingers, and that patience is exactly what kept your natural nails intact underneath.
Give your nails a day or two with cuticle oil before your next set if you noticed any thin spots along the way. Now that you know how to remove press on nails the gentle way, save this guide to your Pinterest board so it’s ready whenever your next set needs to come off.