You bought a $12 box of press-ons because salon acrylics were eating your whole Saturday, and now they’re sitting in a drawer because the last set you tried popped off by Wednesday. That’s not a press-on problem. That’s a prep problem, and it’s fixable.
This guide covers how to apply press on nails the way techs actually do it behind the scenes, with the boring steps most boxes skip on their instruction card. The glue matters less than what happens to your natural nail before the glue ever touches it. Skip the buffing and alcohol wipe, and even premium press-ons will lift at the corners within a few days. Do those two things right, and a $15 drugstore set can realistically hold for two full weeks.
Plan on 35 to 45 minutes for your first full set, most of it spent on prep rather than the actual pressing. Sizing correctly takes patience the first time and gets faster every time after. Have your kit, a buffer, and rubbing alcohol on the table before you start, because once glue is out, you won’t want to go searching for supplies.
Wash and Dry Your Hands Completely
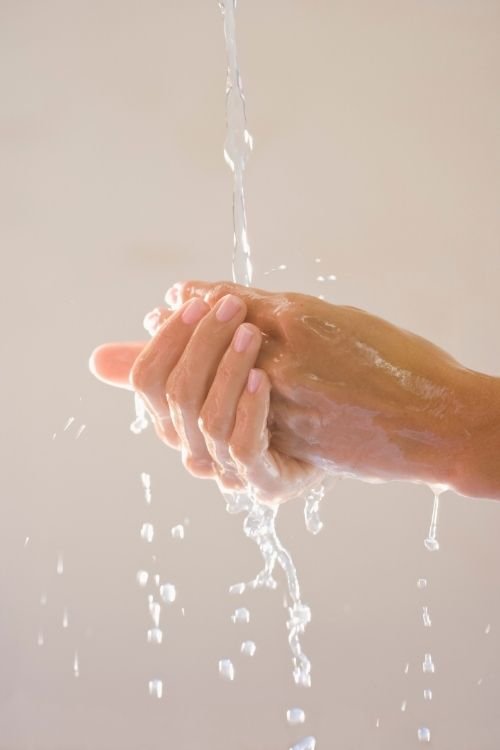
Warm water and a mild soap strip away the oils that build up on skin throughout the day. Dry each finger completely, including the skin right around the nail bed. Any leftover moisture here becomes a weak spot later, since glue does not bond well to damp surfaces. Skip the lotion for now, too. You’ll add moisture back in after the set is finished, not before it starts.
Also read: How to Choose the Right Nail Color for Your Skin Tone
Push Back Your Cuticles
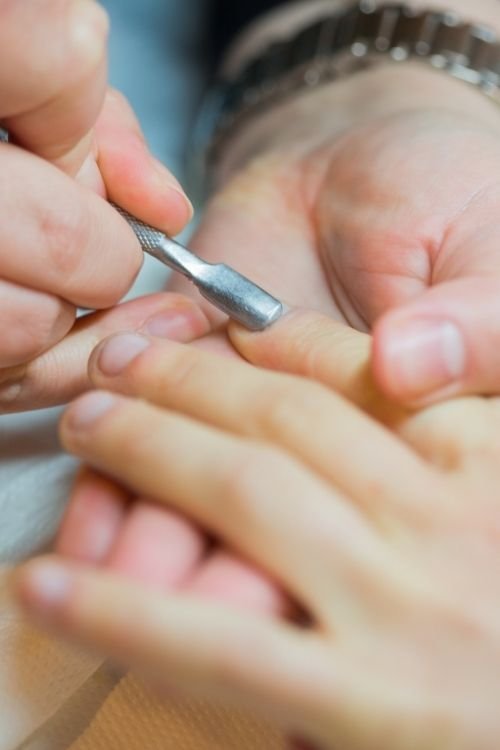
Cuticles that creep onto the nail plate leave less surface area for the press-on to grip. Dip a cuticle pusher or orange stick in warm water first, then gently push the skin back in one direction, away from the nail. Do not cut unless you’re confident doing so, since nicking the skin here can lead to infection. This one step alone makes a real difference in how long your set holds.
Buff the Shine Off Each Natural Nail
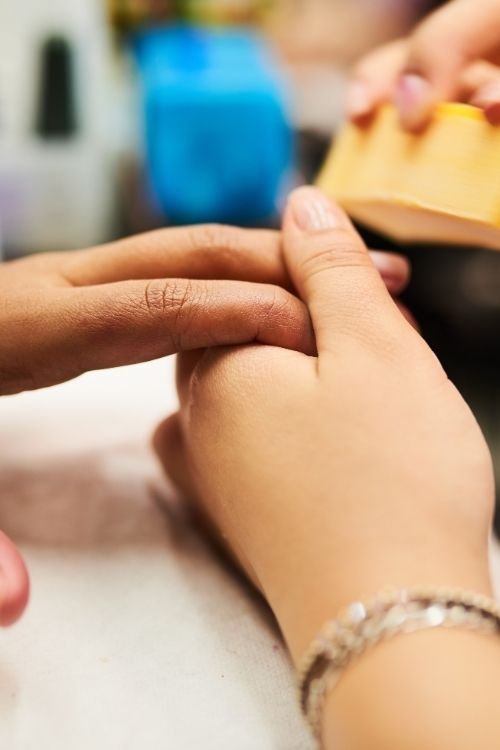
A glossy nail surface repels glue no matter how good the brand is. Run a fine-grit buffer across the top of each nail using light, even strokes until the shine turns matte. You’re not trying to thin the nail down, only rough up that top layer enough for the adhesive to have something to hold onto. Rushing this step is one of the most common reasons sets lift within days.
Wipe Every Nail With Rubbing Alcohol
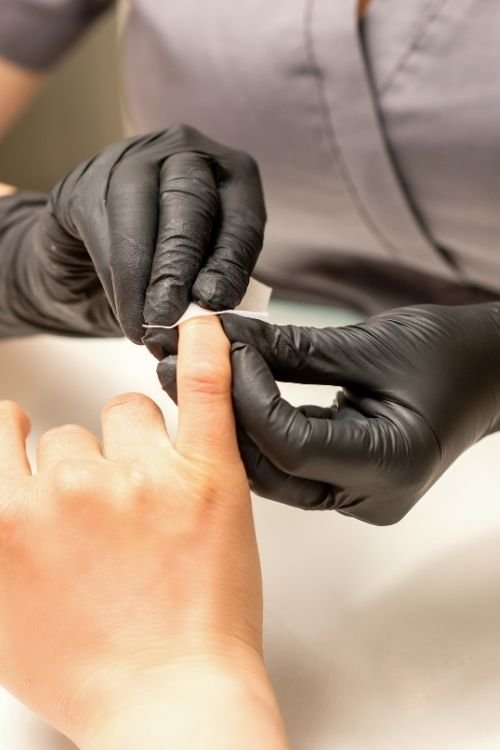
Oils return to skin within minutes of drying your hands, even if you just washed them. A quick wipe with 91% rubbing alcohol on a cotton pad removes that fresh residue along with any dust left over from buffing. Work one nail at a time, front and back of the nail bed. Let each nail air dry for about 30 seconds before moving to the next step. Do not touch the nail plate again once it’s wiped.
Match Each Press-On to the Correct Finger
Press-on kits number each nail by size, but sizing runs differently across brands, so don’t assume your left thumb takes the same number as your right. Hold each nail against your actual nail bed before committing. A good fit covers the whole nail bed edge to edge without pressing into the skin on either side.
- Check both hands separately, since most people have slightly different sizes left to right
- Look for a snug fit at the base, not just the tip
- Set aside your closest matches in a row before gluing anything
File Down Any Nail That Overhangs Your Skin
Nails hanging past your natural fingertip edge are the biggest cause of snagging and early lifting in the first three days. Even a fit that looked right in step five can still overhang slightly on the sides. Use a nail file at a 45-degree angle and file in one direction only, checking against your finger every few strokes. Stop as soon as the edge meets your skin.
Apply a Thin Layer of Nail Glue or Adhesive Tab
Too much glue is worse than too little. A thin, even layer across the entire natural nail, stopping just short of the cuticle line, gives you full coverage without excess oozing out the sides when you press down. If you’re using adhesive tabs instead, peel the backing off both sides and press the tab onto the press-on first, then apply it to your natural nail. Either method works, but don’t mix them within the same set.
Press and Hold Each Nail for 20 Seconds
20 seconds feels longer than it sounds, so count it out loud if you need to. Press firmly at the center of the nail first, then roll your thumb gently toward each side edge to push out any trapped air. Air bubbles under the nail are invisible right now but turn into lift points within a day or two. Hold steady pressure the whole time rather than pressing in short bursts.
Check for Lifted Edges and Reapply Pressure
Once you’ve finished all ten nails, go back and look at each one under good light. Gently press along the side edges and the base of every nail, since these are the two spots most likely to have missed full contact the first time. If any edge feels loose or springs up slightly, add a small dot of glue underneath and press again for another 20 seconds. A few minutes spent here now saves you from a nail popping off two days from now.
File and Shape the Tips to Your Length
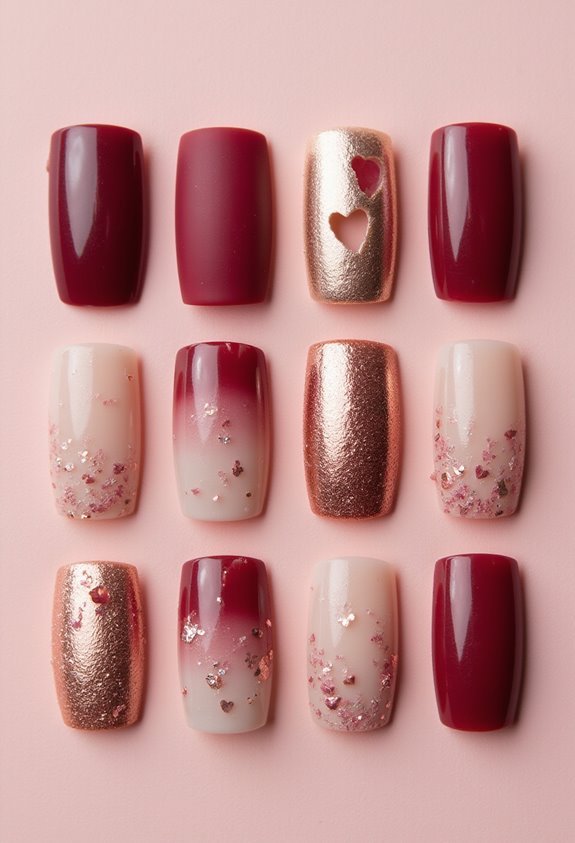
Most kits come slightly longer than your ideal length, giving you room to customize the shape. Decide between square, round, almond, or coffin before you start filing, since switching your mind halfway through can shorten the nail more than you intended. File in one direction using a medium-grit file, checking length every few strokes against your other hand. Short, even strokes give you far more control than long dragging ones.
Seal the Edges With a Top Coat
A layer of clear top coat isn’t just for shine. It fills in the tiny seam where the press-on meets your natural nail, which slows down water and soap from creeping underneath and loosening the bond early. Brush a thin coat across the entire nail, paying extra attention to that edge line. Let it dry fully, about 10 minutes, before you touch anything.
Avoid Water and Rough Tasks for the First Hour
Nail glue keeps curing and strengthening for a while after it feels dry to the touch. Hold off on washing dishes, showering, or anything that soaks your hands for at least one hour, and ideally longer if you can manage it. This is also not the time to test how sturdy your nails feel by scratching or picking at things. The set you just built its strongest bond over these next two weeks starts right here.
Conclusion
That’s a full set of press-on nails, done the way that actually holds. You prepped the nail bed properly, sized each one with care, and sealed the edges so water and daily wear can’t creep in early. That extra prep time up front is exactly why this set will still look good in two weeks instead of two days.
Next time, try experimenting with a shape you haven’t worn before now that you’ve got the application down. Save this guide to your Pinterest board so you have it ready for your next set.