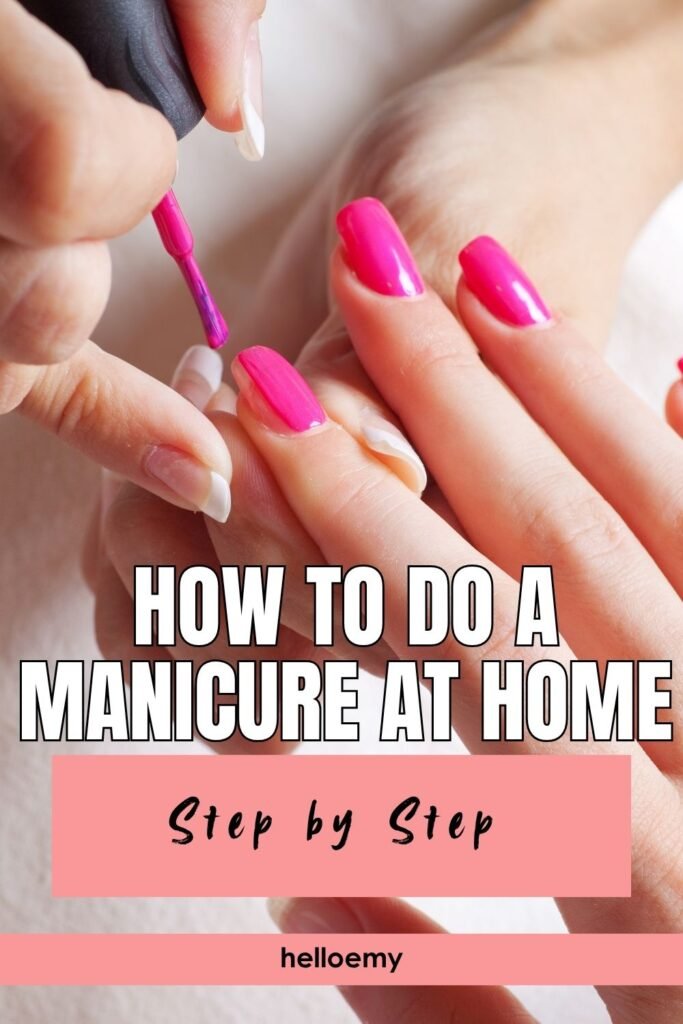
If your polish often ends up on your skin, your nail edges look uneven, or your color chips after a day or two, the problem usually starts before the polish bottle even opens. Learning how to do a manicure at home is mostly about getting the prep right and giving each layer enough time to settle.
This method takes you through the same basic order every time: remove old polish, shape the nails, care for the cuticles, clean the nail surface, then build your polish in thin layers. Thin coats dry more evenly and are less likely to wrinkle or smudge.
You do not need a large manicure kit. A nail file, clippers, polish remover, a few cotton pads, and your polish products will cover most of the job. A wooden orange stick can replace a metal cuticle pusher if that is what you already have.
Plan for about 30 to 35 minutes of hands-on work, plus drying time. Work at a table with good light, keep everything close by, and avoid doing the manicure right before you need to cook, shower, or reach into a handbag.
Trying Press-On Nails Next?
Once you’ve found your perfect shade, press-ons are the easiest way to wear it without the salon trip. Here’s how to put them on so they last and take them off without damaging your natural nails.
What You Need
At a Glance
- Remove old nail polish completely
- Trim your nails to an even length
- File each nail into your preferred shape
- Soften your cuticles with warm water
- Push your cuticles back gently
- Clean the nail surface before polishing
- Apply a thin base coat
- Brush on the first thin coat of nail polish
- Apply a second coat for even color
- Seal the manicure with a top coat
- Clean polish from around the nail edges
- Let your manicure dry fully before using your hands
Remove Old Nail Polish Completely
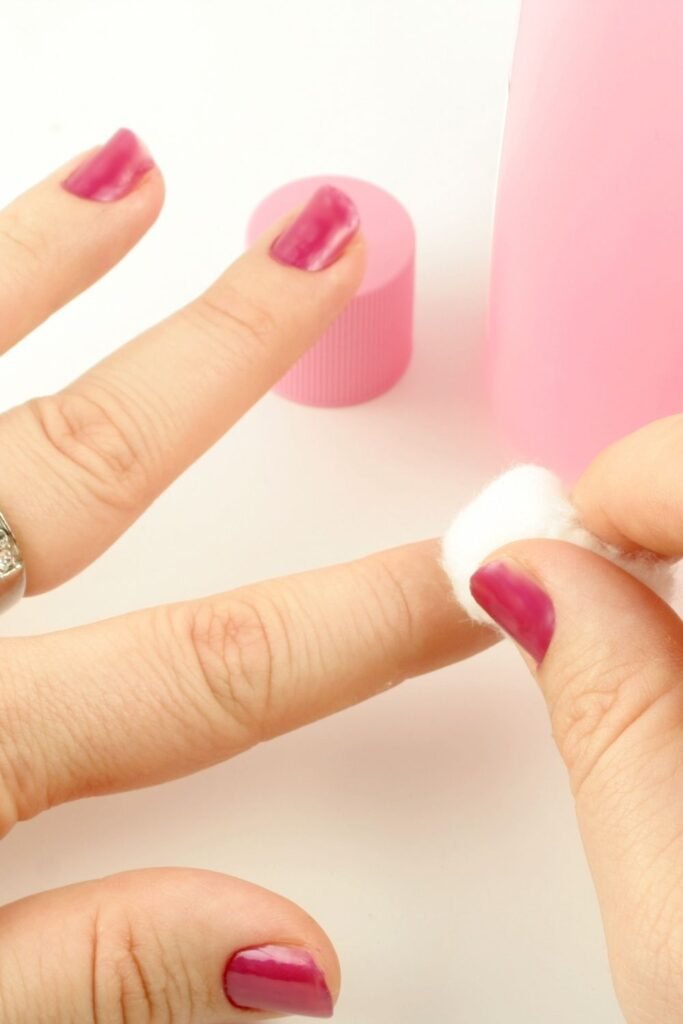
Saturate a cotton pad with nail polish remover and hold it against the nail for about 5 to 10 seconds before wiping toward the tip. That short pause gives the remover time to loosen the polish, so you do not have to scrub the nail over and over.
Use a fresh section of the pad as it picks up color. Check the sidewalls and the area close to the cuticle before moving on. Dark polish often leaves small streaks behind.
Trim Your Nails to an Even Length
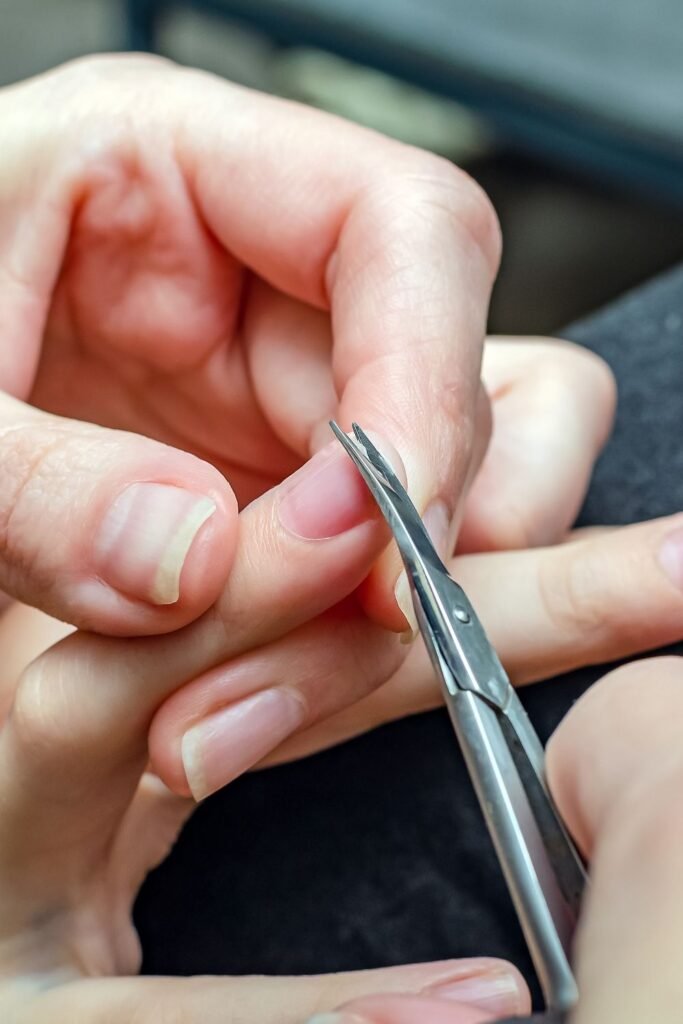
Clip only the nails that need shortening. Leave about 1 to 2 millimeters of free edge if you want a short, natural-looking manicure.
Make several small cuts instead of trying to clip the whole nail in one hard squeeze. Large cuts can place more pressure on the nail and may leave a jagged edge. Compare both hands as you work so one side does not end up noticeably shorter than the other.
Skip clipping on nails that are already close to your preferred length. Filing alone will be enough for those.
File Each Nail Into Your Preferred Shape
Hold the file lightly against the free edge and move it from the outer corner toward the center. Repeat from the other side. This gives you more control than aggressively sawing back and forth.
For a beginner-friendly shape, follow the natural curve of your fingertip and soften the corners slightly. Keep checking the nail from straight on, not only from above. That makes uneven sides easier to spot.
Use a fine or medium-grit nail file, around 180 to 240 grit, for natural nails. Stop once the edge feels smooth and the shape matches the other nails.
Soften Your Cuticles With Warm Water
Fill a small bowl with comfortably warm water and soak your fingertips for 3 to 5 minutes. The skin around the nail should feel softer, but it should not become wrinkled from a long soak.
Pat your hands dry with a clean towel. Leave the cuticle area slightly soft for the next step. Avoid very hot water, which can leave the skin dry and irritated.
Push Your Cuticles Back Gently
Use an orange stick or rounded cuticle pusher at a low angle against the nail. With light pressure, guide the softened skin back toward the base of each nail. Work slowly around the curved edge instead of scraping across the nail plate.
Only move skin that lifts easily. If an area feels tight, sore, or resistant, leave it alone.
Clean the Nail Surface Before Polishing
Polish grips better when the nail plate is free from water, cream, and natural oils. Let your nails air-dry for about 2 to 3 minutes, then wipe each one with a cotton pad lightly dampened with nail polish remover.
Pay attention to the base and side edges where moisture can remain after soaking. Keep hand cream and cuticle oil off the nails for now. You can apply them once the manicure is finished and dry.
Apply a Thin Base Coat
Wipe most of the extra base coat from one side of the brush before touching the nail. Apply one thin layer from near the cuticle toward the tip, using 2 to 3 strokes per nail.
Keep a narrow gap between the product and your skin. A thick base coat can stay soft underneath the color and make the finished manicure easier to dent.
Let the base coat dry for about 2 minutes, or follow the drying time printed on your product.
Brush On the First Thin Coat of Nail Polish
Load the brush with enough polish to cover one nail without leaving a heavy bead at the tip. Place the brush slightly above the cuticle, press lightly, then pull the color toward the free edge.
Use one stroke through the center and one down each side. Do not worry if the first coat looks slightly streaky. The second coat will provide most of the even coverage.
Wait about 2 to 3 minutes before adding another layer. The surface does not need to be fully hardened, but it should no longer look wet.
Apply a Second Coat for Even Color
Use slightly less polish than you used for the first layer. Follow the same center-and-sides pattern, covering any streaks while keeping the coat thin.
Two thin coats usually give a smoother finish than one heavy coat. If your polish is very sheer, you may need a third coat, but let the second layer sit for 3 to 5 minutes before deciding.
Check the tips and side edges under good light. Add polish only where coverage is missing rather than brushing repeatedly over the whole nail.
Seal the Manicure With a Top Coat
Wait about 3 to 5 minutes after your final color coat, then apply one thin layer of top coat over each nail. Use light pressure so the brush glides over the polish instead of dragging through it.
Run the brush across the free edge of the nail once to help seal the tip. This small pass can slow down early chipping, especially on nails that get frequent use.
Avoid going back over the same area several times. Fresh color can still move underneath the top coat.
Clean Polish From Around the Nail Edges
Dip a small angled brush or pointed cotton swab into nail polish remover, then remove the excess against the rim of the bottle or a cotton pad. The tool should be damp, not dripping.
Trace around the sidewalls and cuticle line anywhere polish reached the skin. Keep the remover off the painted nail itself. A small cleanup brush gives you more control, but a cotton swab works well if that is what you have.
Work one nail at a time so you can see the outline clearly.
Let Your Manicure Dry Fully Before Using Your Hands
Keep your hands on a flat surface for at least 15 to 20 minutes after the top coat. Avoid pressing the nails, checking them with a fingertip, or reaching into pockets during this time.
The surface may feel dry before the layers underneath have hardened. Give the manicure about 30 to 60 minutes before doing anything that puts pressure on the nails.
Once the polish feels firm, apply a small amount of cuticle oil or hand cream around the nails. Keep rubbing gentle so you do not mark the fresh finish.
Common Mistakes
FAQ
How long does a home manicure take to dry?
The surface may feel dry after about 15 to 20 minutes, but the polish underneath can still be soft. Give your manicure about 30 to 60 minutes before doing tasks that could dent or smudge the finish. Very thick coats may need longer.
Should I cut my cuticles during a home manicure?
It is usually better to soften and gently push them back. Avoid cutting living skin around the nail. If you have a loose hangnail, you can carefully trim only the lifted piece with clean nail nippers.
How many coats of nail polish should I apply?
Most colors look even with two thin coats. Sheer shades may need a third. Let each coat sit for around 2 to 5 minutes before applying the next one so the layers do not become too thick.
How can I fix a smudged nail without starting over?
For a small mark, let the polish settle for a moment, then lightly smooth the area with a tiny amount of the same color. Once it looks even, let it dry before adding top coat. A deep dent may need that nail removed and repainted.
Why does my nail polish chip so quickly?
Oil on the nail plate, thick polish, skipping base coat, or failing to seal the free edge can all shorten wear time. Clean the nails before painting, keep each coat thin, and run the top coat lightly across the nail tip.
How can I make my manicure last longer?
Keep your nails dry for the first few hours and wear gloves for washing dishes or cleaning. Apply cuticle oil around the nails once the polish is fully dry. You can also add another thin layer of top coat after 2 to 3 days if the finish starts looking dull.
Quick Reference: At-Home Manicure
- Remove all old nail polish.
- Trim nails to an even length.
- File each nail into shape.
- Soften cuticles in warm water.
- Push cuticles back gently.
- Clean and dry the nail surface.
- Apply one thin base coat.
- Apply the first thin color coat.
- Add a second coat for even coverage.
- Seal the polish with top coat.
- Clean polish from the skin and edges.
- Let the manicure dry fully.
Finish Your At-Home Manicure
Once the polish has hardened, your manicure is finished. You now have clean edges, shaped nails, cared-for cuticles, and thin polish layers that should wear better than rushed, heavy coats.
The more often you follow the same order, the faster the process will feel. Keep your tools together in a small pouch or box so your next manicure is ready to start without searching for supplies.
Now that you know how to do a manicure at home, save this guide to Pinterest so you can pull it up the next time your nails need a fresh coat.