

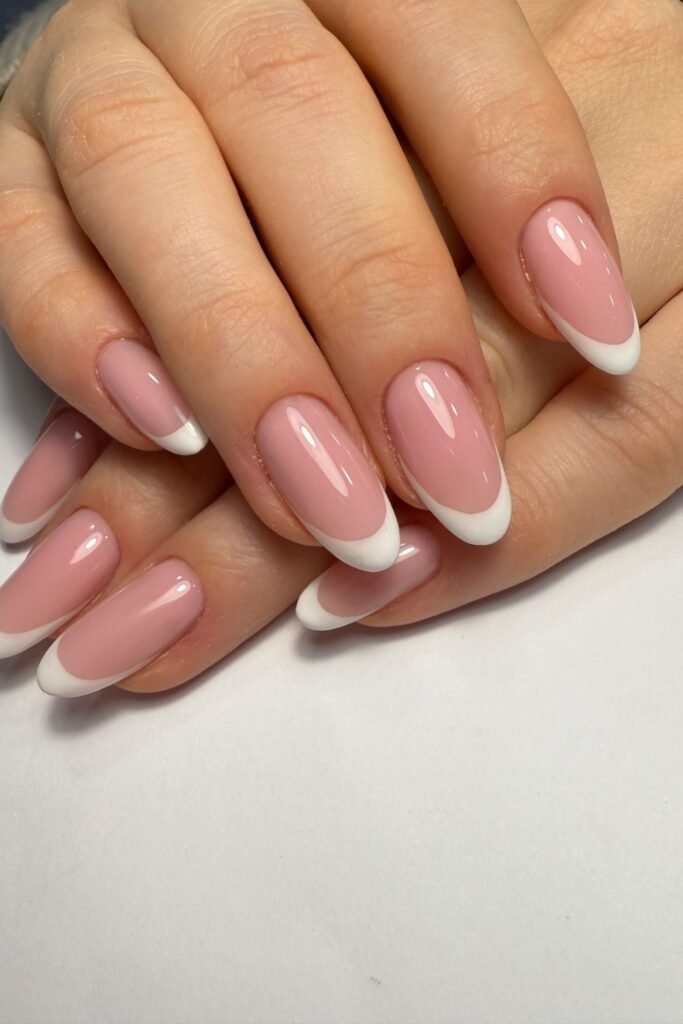
Getting both hands to match is often the hardest part of a French manicure. One tip looks neat, the next sits too high, and another starts to curve before you notice it. If you have tried painting the white edge freehand, you already know how quickly a tiny wobble can change the whole look.
For beginners, the most reliable way to create straight French tip lines is to prepare the nails well, let each polish layer dry fully, and use guides to control where the white polish ends. The guides do most of the alignment work, while thin coats help stop polish from pooling or bleeding underneath.
You do not need professional nail tools. French-tip guides or thin striping tape work well, and a small makeup or art brush can replace a nail-cleanup brush if needed.
Plan for about 60 to 90 minutes from start to finish, including drying time. The painting itself takes much less time. Most problems happen because a layer is rushed before it has set. Give each stage the time it needs, and you will have a much better chance of getting crisp, balanced tips on the first attempt.
What You Need
At a Glance
- Shape your nails to an even length.
- Clean each nail before applying polish.
- Apply a thin base coat.
- Paint your chosen base color.
- Let the base color dry completely.
- Position nail guides at the same height.
- Create straight French tip lines with white polish.
- Remove the guides before the polish hardens.
- Clean uneven edges with a detail brush.
- Seal the French tips with top coat.
Also read: How to Do a Gel Manicure at Home Without Chipping
Shape your nails to an even length
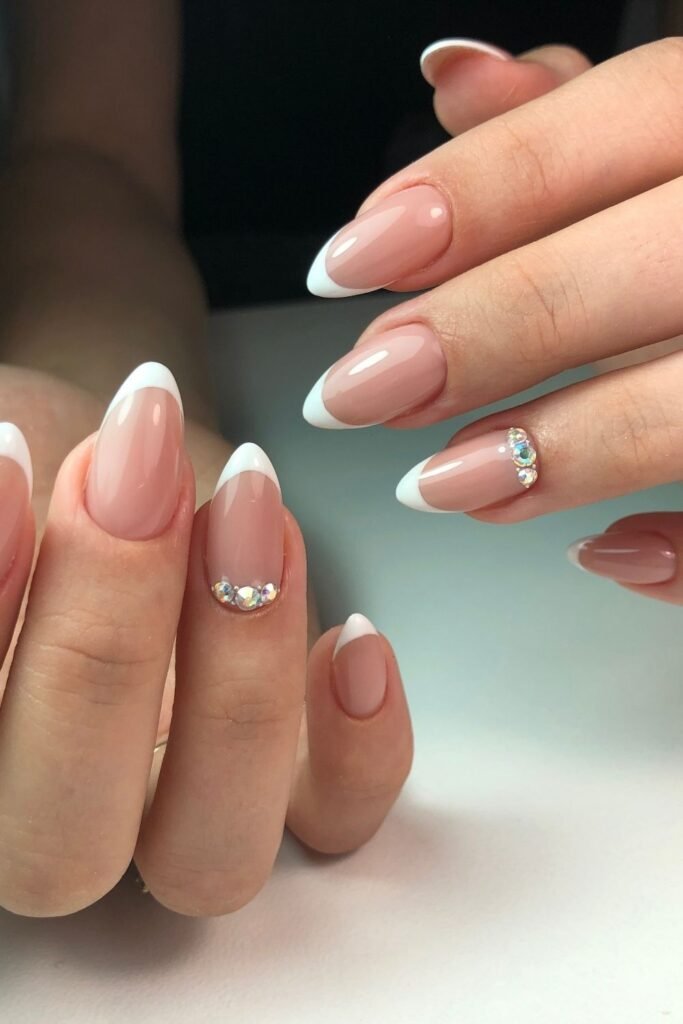
Match the length before any polish goes on. File each nail from the outer edge toward the center, using light strokes rather than sawing back and forth. Keep checking your hand from arm’s length because small differences are easier to spot from that view.
For a straight French tip, square or soft-square nails make alignment easier to judge. If one nail is noticeably shorter, match the others closely enough that the white tips can sit at a similar height.
Clean each nail before applying polish
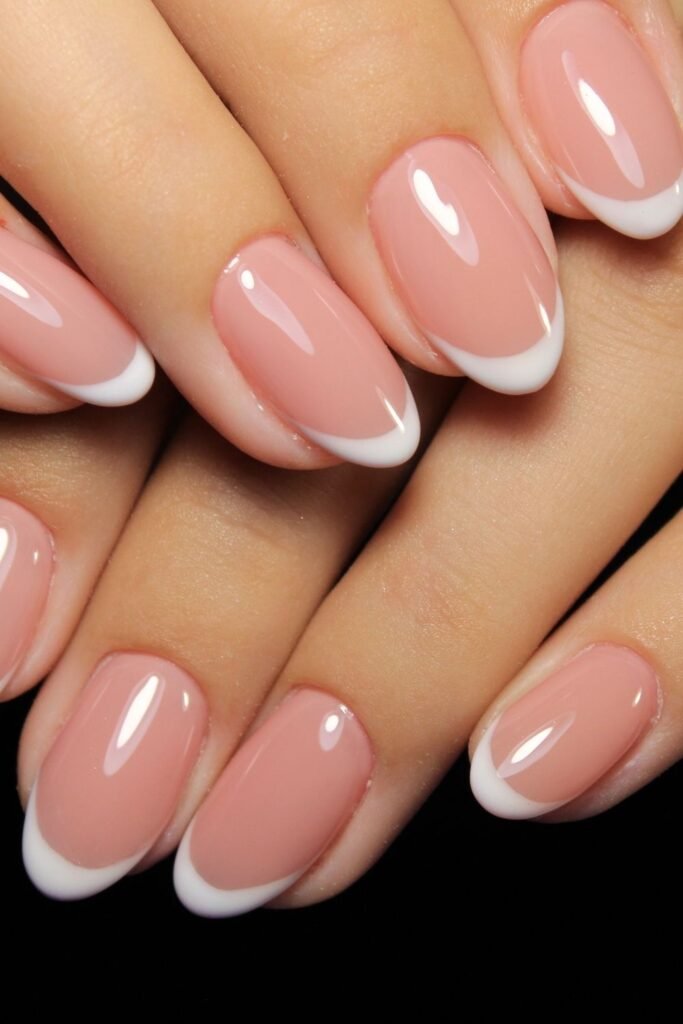
Oil, lotion, dust, and filing residue can stop polish from gripping the nail evenly. Wet a lint-free pad with nail polish remover or acetone and wipe every nail from cuticle to tip.
Spend about 5 seconds per nail, including the side edges. Avoid touching the nail surface with your fingertips afterward because skin oils can go straight back onto it. If you do touch one, wipe that nail again before moving on.
Apply a thin base coat
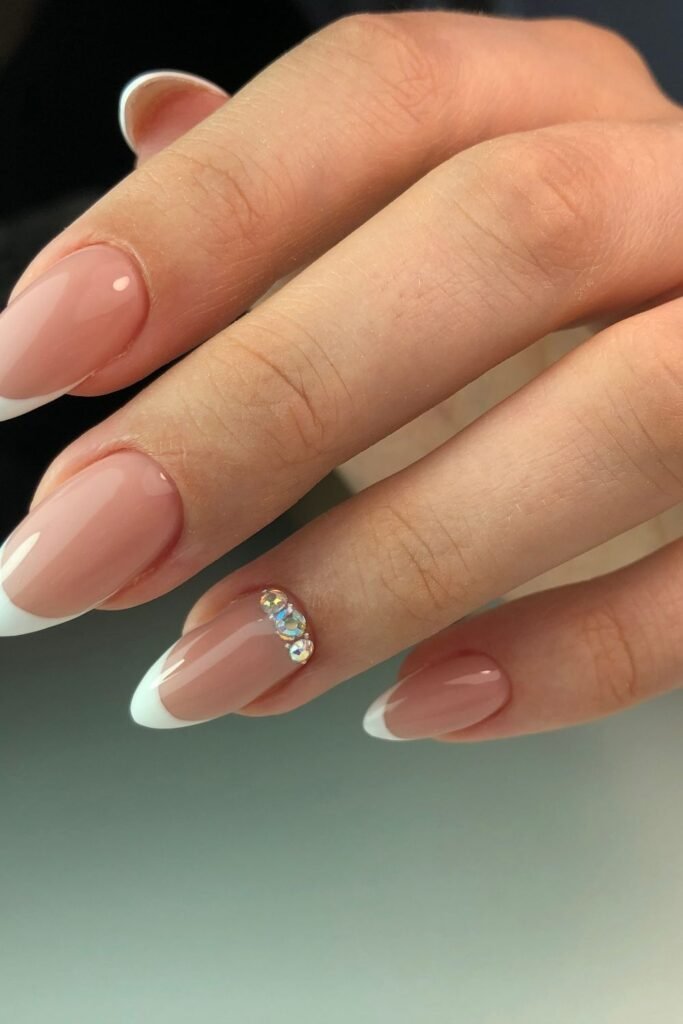
Use one thin layer rather than trying to cover the nail with a heavy coat. Start about 1 millimeter away from the cuticle, pull the brush toward the tip, and cover the sides with as few strokes as possible.
A thick base coat stays soft underneath for longer and can lift later when you remove the French-tip guides. Let this layer dry for about 5 to 10 minutes, or until it no longer feels tacky when you lightly touch the skin beside the nail.
Paint your chosen base color
Choose a sheer pink, soft nude, or milky neutral that still lets the white tip stand out. Wipe one side of the brush against the bottle neck so you do not overload the nail.
Spread one thin coat from near the cuticle toward the free edge. If the color looks streaky, resist adding more polish while it is wet. Let the first coat settle, then use a second thin coat only if you need more coverage.
Let the base color dry completely
Give the color at least 20 to 30 minutes before putting anything sticky over it. The surface can feel dry while the layers underneath are still soft, which is why guide tape sometimes pulls off patches of color.
Check one nail near the side rather than pressing the center. If it feels tacky or leaves a mark, give it another 10 minutes.
Position nail guides at the same height
Use the natural smile line of your shortest nail as the reference point. Place each guide so the exposed tip is roughly 2 to 4 millimeters deep, depending on your nail length.
Before pressing the guides firmly, hold your hand out in front of you and compare all five at once. Adjust any strip that sits higher or tilts to one side. Press along both ends of each guide so white polish cannot creep underneath.
Create straight French tip lines with white polish
Use a white polish that is opaque enough to cover in one thin coat. Wipe excess polish from one side of the brush, then paint from the guide toward the free edge instead of brushing back toward the tape.
Cover the center first, then fill the two sides. Keep the coat thin. A heavy layer is more likely to pool against the guide and leave a raised ridge once the strip comes off.
Remove the guides before the polish hardens
Lift each guide while the white polish is still wet, usually within 30 to 60 seconds of painting that nail. Use tweezers if your fingers feel awkward around the wet polish.
Pull the strip slowly sideways rather than straight upward. This helps reveal a cleaner edge without dragging fresh polish across the nail. Work one nail at a time if you paint slowly, so the first tip does not begin drying before you remove its guide.
Clean uneven edges with a detail brush
Dip a small flat or angled brush into a little acetone, then blot it once on a lint-free pad so it is damp rather than dripping. Trace along any crooked part of the white edge with short, controlled strokes.
Work on one small section at a time. Too much acetone can remove the nude base underneath along with the white polish. For a tiny bump, one careful pass is often enough. Let the corrected tips sit for 5 to 10 minutes before sealing them.
Seal the French tips with top coat
Wait until the white tips feel dry to the touch, usually about 10 minutes, before sealing them. Load the brush with enough top coat to glide over the nail without dragging the white polish underneath.
Start near the cuticle and float the brush toward the tip using light pressure. Cover the whole nail in 2 to 3 strokes, then run a small amount across the free edge. This helps protect your straight French tip lines from early chipping.
Let the top coat dry for at least 20 to 30 minutes before using your hands for anything that could dent the polish. Avoid hot water for about 1 hour, since heat can soften fresh layers.
Frequently Asked Questions
How do I make French tip lines straight without nail guides?
Use a thin striping brush and rest your painting hand on a flat surface for stability. Mark the left and right edges of the tip first, then connect them with a slow horizontal stroke. For beginners, guides or striping tape are usually easier to control.
How long should base polish dry before using French-tip guides?
Give the base color at least 20 to 30 minutes to dry. If you applied two thicker coats, it may need closer to 40 minutes. The polish should feel firm rather than tacky before any adhesive touches it.
Why does white polish bleed under my French-tip tape?
Bleeding usually happens when the guide is not pressed firmly against the nail or when too much white polish is used. Press down both edges of the guide and apply one thin coat, brushing away from the tape toward the nail tip.
How thick should French tips be?
For short to medium nails, aim for about 2 to 4 millimeters of white at the tip. Longer nails can handle a slightly deeper tip. Keeping the width consistent across all nails matters more than following one exact measurement.
Can I fix one crooked French tip without repainting the whole nail?
Yes. Dip a small angled brush into acetone, blot off the excess, and carefully clean the uneven edge. Work in short strokes so you remove only the white polish and leave the base color underneath intact.
How long should French tips dry before top coat?
Wait around 10 minutes, or until the white polish feels dry to the touch. Applying top coat too early can drag the white polish and blur the clean line you worked to create.
Finish Your French Manicure
You now have a repeatable method for creating clean straight French tip lines without relying on a perfectly steady freehand stroke.
The biggest difference comes from giving the base layers enough drying time and checking every guide before the white polish goes on.
Once you feel comfortable with the basic version, try changing the tip color or making the line slightly thinner for a different look.
Save this guide to Pinterest so you can pull it up the next time you do your French manicure.