Square nails get a bad reputation for looking boxy or outdated. But that flat edge at a medium length is one of the most flattering shapes you can wear on acrylic. It makes your nail bed look wider, holds color evenly, and gives your hands a clean, finished look without the maintenance of longer shapes.
The problem is knowing what to actually do with them. You sit down at the salon, the tech asks what you want, and you end up scrolling through the same handful of inspo photos you saved three months ago. Most of them are on almond or coffin shapes anyway.
This list is all square nails acrylic medium length ideas that work in real life. No extreme nail art that chips by day three. No styles that only look good in a ring-light photo. Just solid, wearable sets that hold up at work, on the weekend, and everywhere in between.
Every idea here is something you can show your nail tech on your phone and walk out happy.
1. The Classic French Tip Gets a Clean Edge on a Square Shape
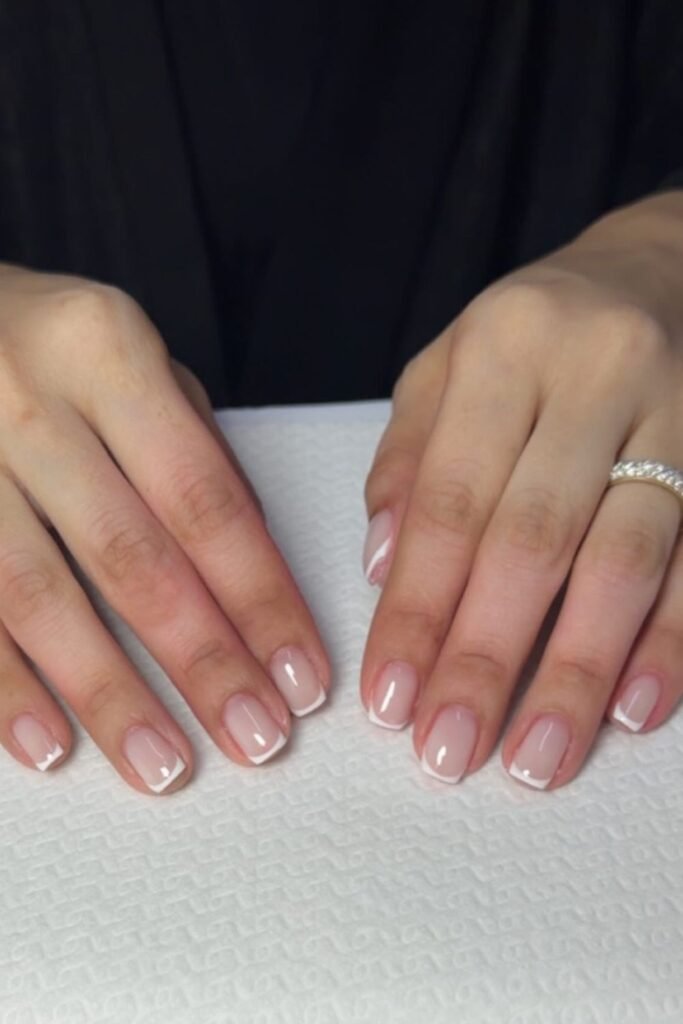
There is a reason French tips keep coming back. The white line against a pink or nude base is one of the few nail looks that reads polished in literally every setting, from a job interview to a beach trip.
On a medium square acrylic, the French tip hits different than it does on a rounded or almond nail. The straight edge of the square lines up with the smile line, so the white strip looks intentional and sharp instead of curved and soft.
A few things to keep in mind when you ask for this set:
- Keep the white line thin, not thick and blocky
- Ask for a sheer pink base, not an opaque one, so the nail still has some warmth
- Let the square corners stay crisp but not razor sharp
The thinner the tip line, the more modern the whole set looks.
Also read: 9 Ombre Chrome Nails Ideas That Look Expensive on Any Length
2. Go With a Milky Nude for a Set That Works Everywhere
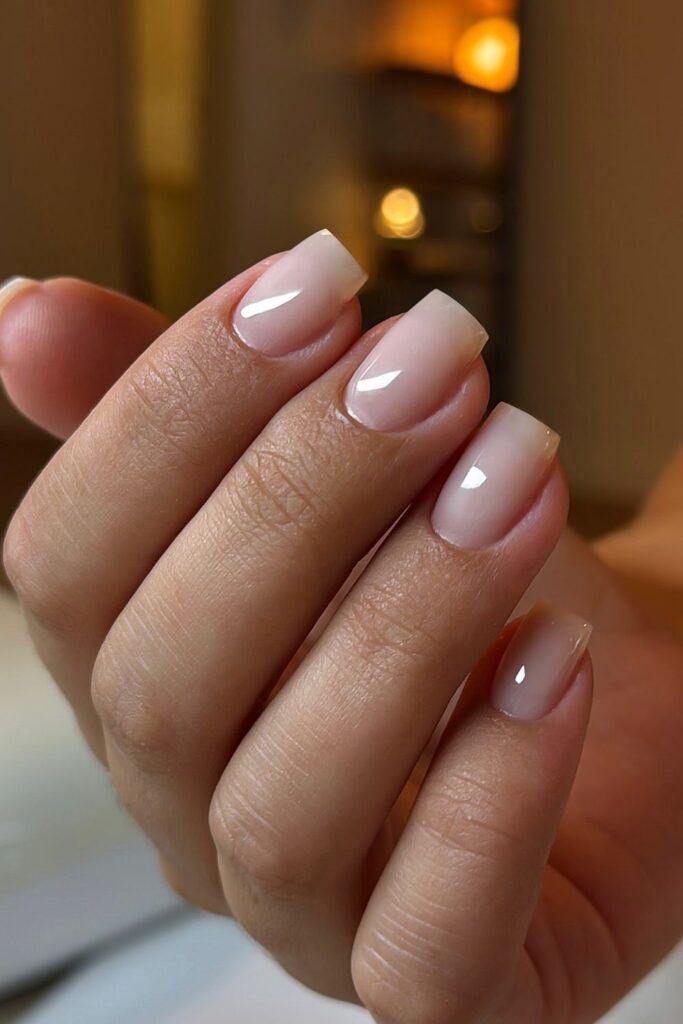
Some colors only look right in certain lighting. A milky nude is not one of them. It looks just as good under office fluorescents as it does in a photo with natural window light.
The trick with a milky nude on medium square acrylics is choosing a shade that is close to your skin tone but slightly lighter. Too dark and it blends into your hand. Too pink and it starts to look like bare nails with a shine.
Ask your tech to build it up in thin layers so the color stays translucent, not flat. That slight see-through quality is what gives milky nails their soft, expensive look. One coat looks bare, two coats is the sweet spot, and three starts to lose the milky effect.
💡 Quick Tip
Hold the color swatch against the inside of your wrist, not the back of your hand. The wrist skin is closer to your actual nail bed tone and gives you a truer match.
3. Try a Dark French With Espresso or Chocolate Tips
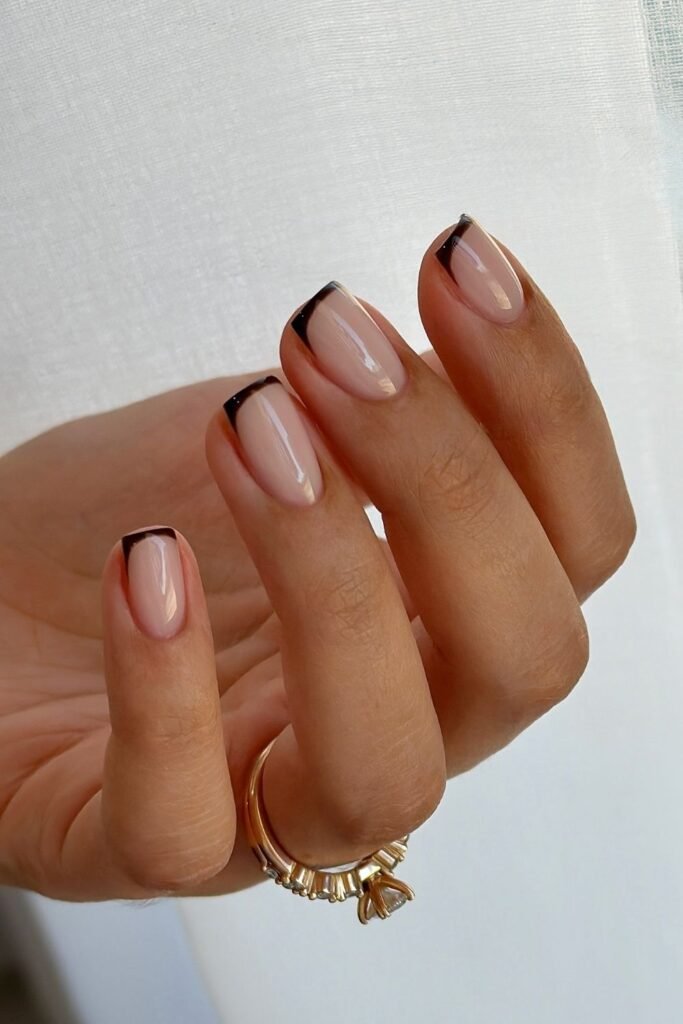
White French tips are the classic. But swapping that white line for a deep brown or espresso shade creates a completely different mood, one that feels more grown-up and a little unexpected.
On a medium square nail, the dark tip sits like a clean border. The flat edge holds the color in a straight line that a rounded nail cannot achieve the same way. That contrast between a sheer nude base and a dark, narrow tip is what makes this set stand out without being loud.
Here are some small choices that affect the final look:
Keep the tip line narrow. A thick dark tip on a medium nail can start to look heavy. When it is thin, it reads as a detail, not a statement.
4. Add One Accent Nail Instead of Going Full Art on All Ten
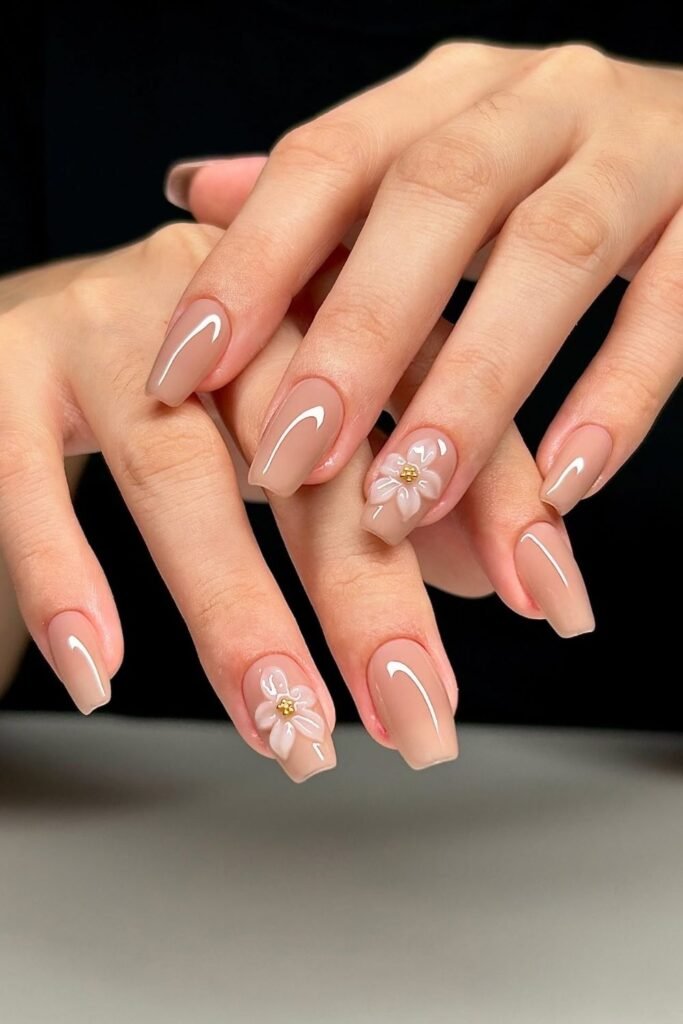
Ten identical decorated nails can feel like a lot. One accent nail, with the other nine in a solid or sheer shade, gives you somewhere for the eye to land without the set looking busy.
On medium square acrylics, the accent nail works best on the ring finger. The flat surface gives your tech more space to work with than a narrow almond shape would. A 3D flower, a textured design, or even a single cluster of tiny stones sits cleanly on that square platform.
Here is how to plan the accent so it looks balanced:
Pick your base color for the other nine nails first. The accent should complement it, not compete.
Keep the accent in the same color family. A nude base pairs well with a blush or cream-toned design.
Ask for a flat or low-profile design so it does not snag on fabric or catch on your hair.
One accent nail also lasts longer between fills because the detail is only on a single finger, not spread across the whole set.
5. Keep the Length at Just Past the Fingertip for the Most Wearable Square
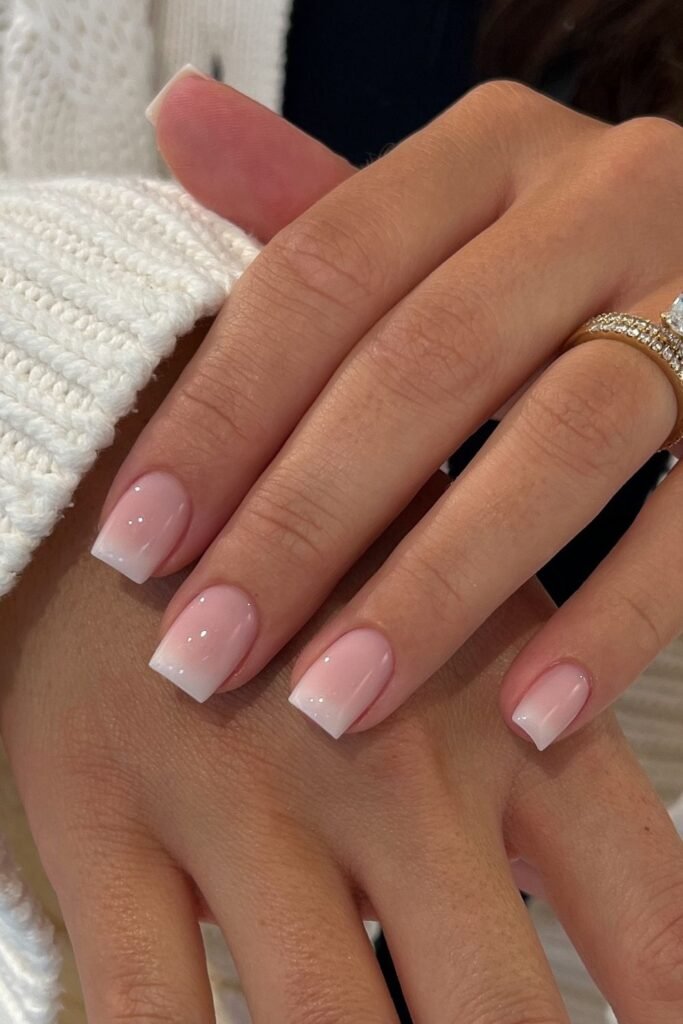
Medium length sounds simple until you sit down and realize that your idea of medium and your nail tech’s idea of medium are not the same thing.
For a square shape, the most functional and flattering medium length is about 2 to 4 millimeters past the fingertip. Any shorter and the square corners can look stubby. Any longer and you start running into the same snag and break problems that come with long acrylics.
Square corners look wide and stubby. The nail bed shape dominates and the square edge feels blunt.
2 to 4 mm past the fingertip. The nail looks intentional, the square shape is visible, and you can still type and button a shirt.
Show your tech a photo of the exact length you want. Verbal descriptions like “medium” are too vague. A reference image saves both of you time and avoids the surprise of getting home with nails longer or shorter than expected.
6. Switch to a Matte Top Coat to Make a Simple Color Look More Intentional
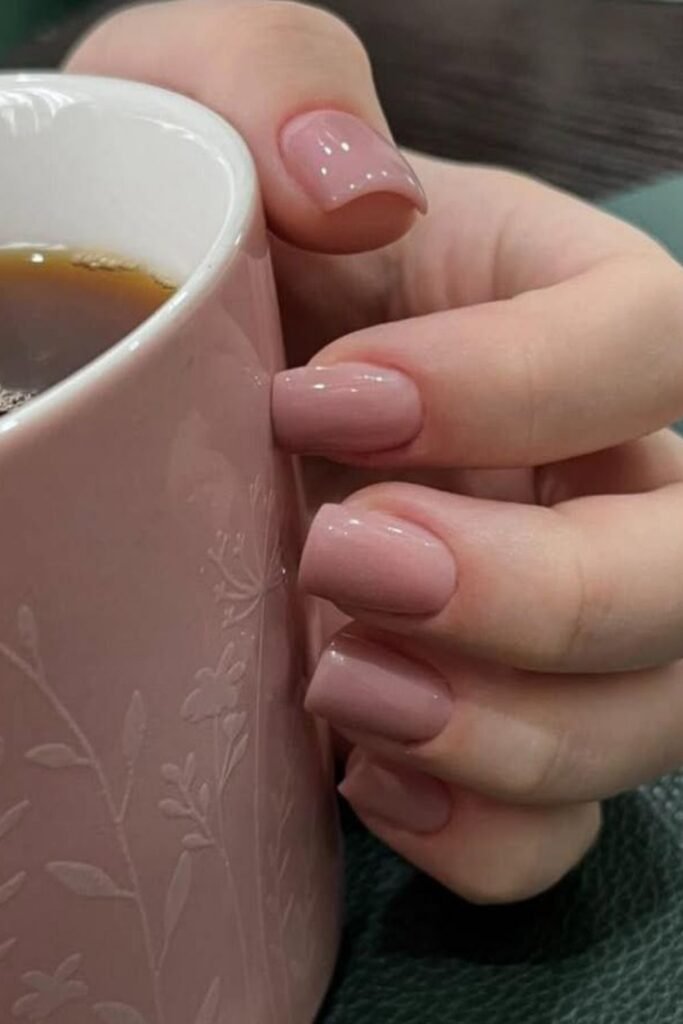
A glossy finish is the default. Most people never think to ask for anything else. But matte changes the way a color sits on your nail, and on a medium square acrylic it can make even a plain nude or blush look like you put real thought into the set.
Matte flattens the light instead of bouncing it. The color reads richer and the square shape of the nail becomes more defined because there is no shine softening the edges.
Not every shade works equally well in matte, though.
| Looks Better Matte | Looks Better Glossy |
|---|---|
| Nudes, taupes, and warm neutrals | Sheer pinks and milky whites |
| Deep reds, burgundy, espresso | Chrome, shimmer, or metallic finishes |
| Black, charcoal, forest green | French tips (the white line needs shine to pop) |
If you want to test the look before committing, ask your tech to do matte on one hand and glossy on the other. You will know within five seconds which one you prefer.
7. Pair a Sheer Pink Base With Thin Chrome Lines for Quiet Detail
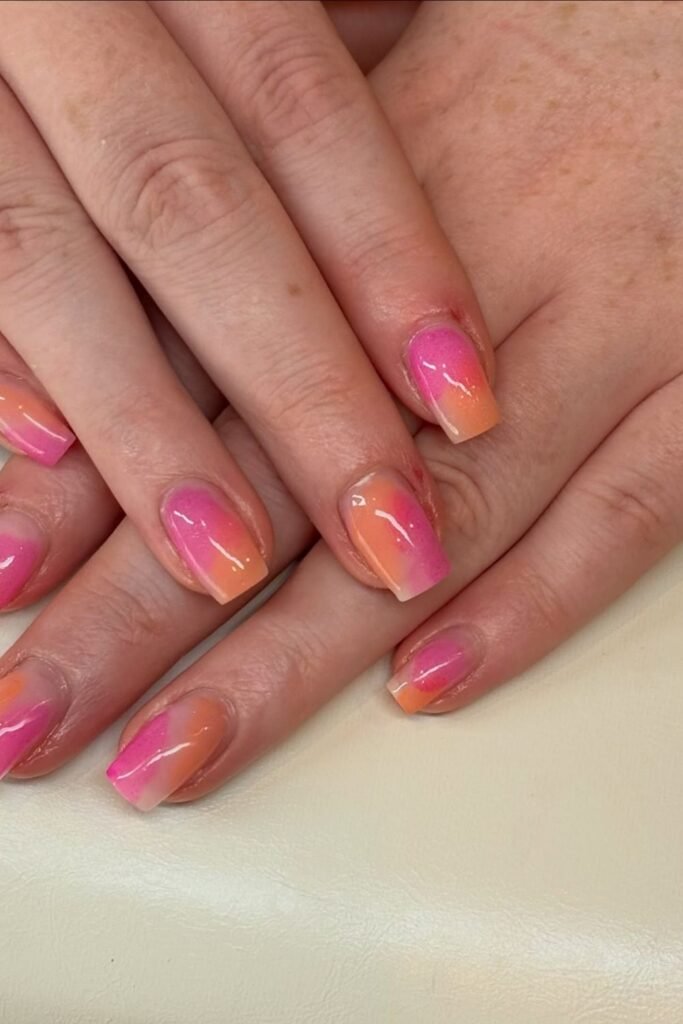
You are scrolling through nail inspo at 11 pm and everything is either too plain or way too much. Chrome lines on a sheer base land right in the middle.
The sheer pink does the heavy lifting by keeping the set soft and wearable. The chrome lines, usually placed along the cuticle edge or as a single vertical stripe down the center, add just enough shine to make the nails look detailed up close without reading as “nail art” from a distance.
On a medium square shape, a single chrome line running from cuticle to tip follows the straight edges of the nail cleanly. It works with the geometry instead of fighting it.
Use silver or gold chrome, not holographic, for a clean look.
Keep lines thin. One per nail is enough.
Thick chrome stripes that overpower the sheer base.
Multiple lines crossing each other. It starts to look busy fast.
This is one of those sets that gets more compliments than bold nail art because people notice it slowly and then want to look closer.
8. Ask Your Tech to File Straight Across With Slightly Softened Corners
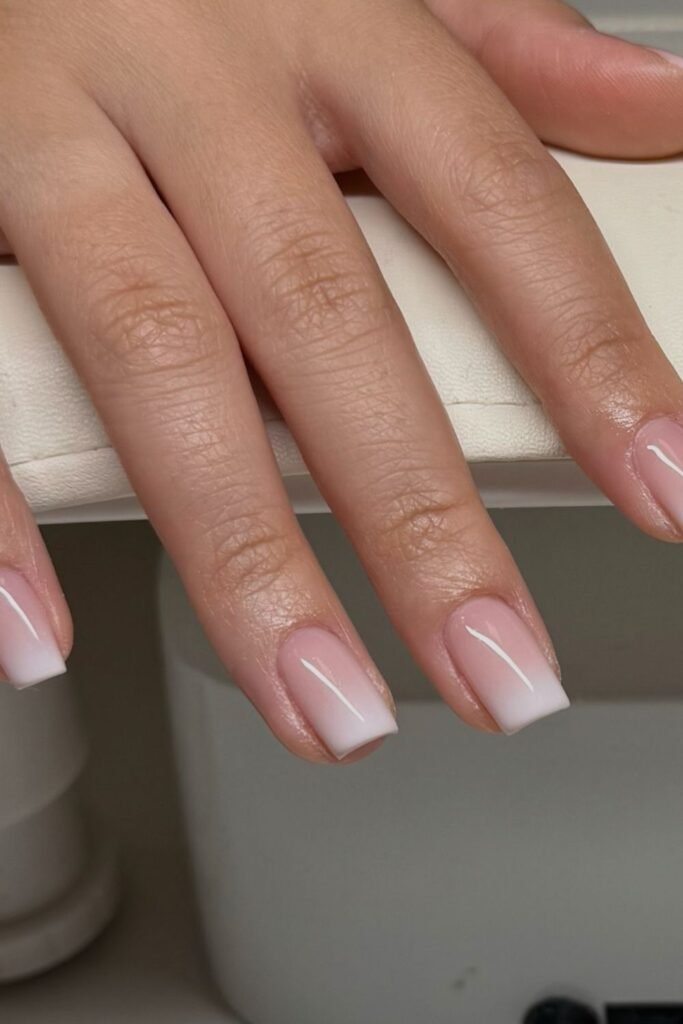
Most breakage on square acrylics happens at the corners. And most of the time, it is because the corners were filed too sharp.
A true 90-degree corner catches on everything: pockets, hair ties, knit sweaters. After a week, one corner lifts or snaps and the whole nail needs a repair. The fix is simple. Ask your tech to file straight across the free edge, then do one or two light strokes on each corner to barely round them.
You still get the square silhouette. The nail still looks flat-edged and structured. But those slightly eased corners reduce snagging by a noticeable amount.
Here is what to mention at your appointment:
Filing request checklist
This one small filing detail is the difference between a set that lasts three weeks and one that starts chipping at week two.
9. Pick a Warm Terracotta or Burnt Clay for a Color That Flatters Most Skin Tones
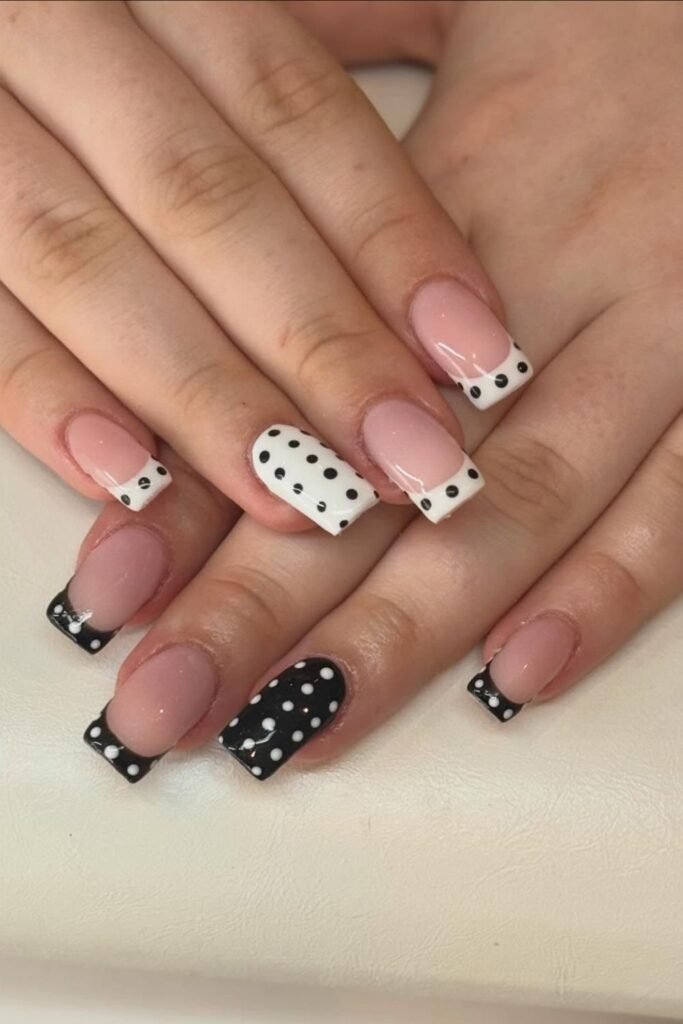
Cool tones like lavender and icy blue can look washed out on certain skin tones. Warm earthy shades almost never have that problem.
Terracotta, burnt clay, dusty rust, and warm cinnamon sit in a range that has enough brown to ground the color and enough warmth to make your hands look healthy. On a medium square acrylic, these shades also photograph really well because they contrast with the clean straight edges without being too dark or too bold.
The best part about this color family is how long it stays looking good between fills. Unlike pale pinks that show every tiny chip, a warm earth tone hides minor wear for days.
Warm earth tones work on almost every skin tone because they pull from the same pigment range already in your skin. When in doubt at the salon, reach for the brownish pinks, not the cool grays.
10. Layer a Thin Clear Acrylic Overlay for Strength Without Extra Bulk
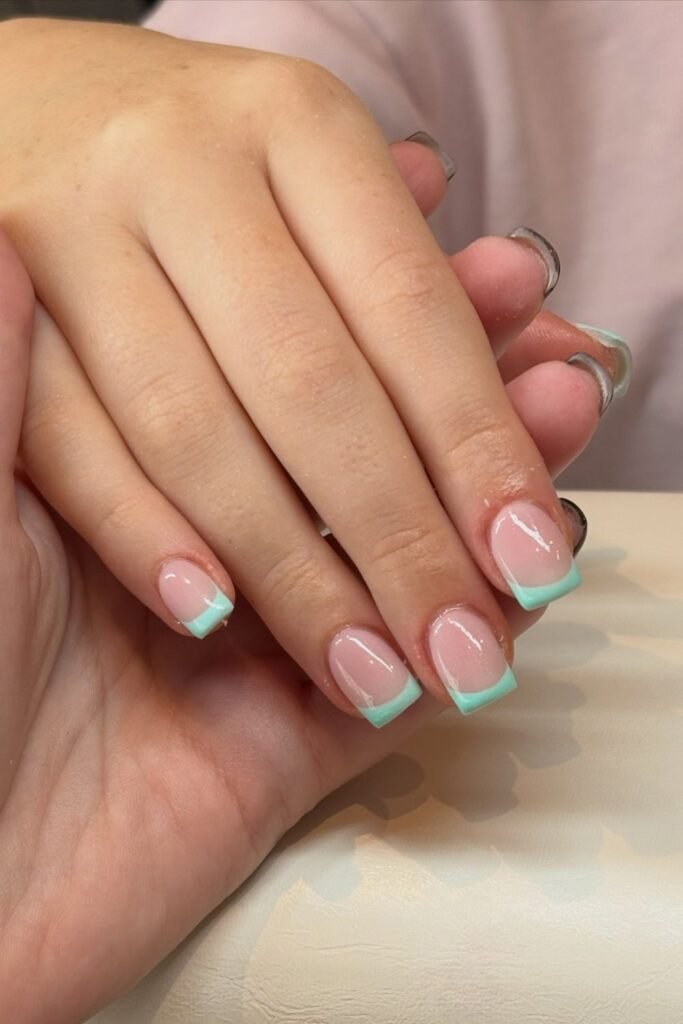
Not every set needs color. If you like the look of clean, bare nails but your natural nails are too thin or too bendy to hold a square shape on their own, a clear acrylic overlay solves the problem without changing how your nails look.
The overlay is a thin layer of acrylic applied directly over your natural nail. It adds structure so the square corners do not fold or peel, but it keeps the natural pink of your nail bed visible. With a glossy top coat, the final result looks like you just have naturally strong, perfectly shaped nails.
Two things to tell your tech so the overlay stays thin:
- One layer of acrylic, not built up thick at the apex
- File the surface smooth before top coat so there are no bumps or ridges
📌 Good To Know
A clear overlay still needs fills every two to three weeks, just like a colored set. The acrylic grows out with your natural nail, so you will see a gap at the cuticle area as it grows.
This is a solid option if you want the durability of acrylic and the square shape without anyone being able to tell you are wearing anything at all.
Conclusion
Medium square acrylics are one of those shapes that work quietly. They do not scream for attention, but they always look put together. The flat edge holds color cleanly, the medium length stays practical, and the shape suits just about any style from bare overlays to dark French tips.
The best sets start with knowing exactly what to ask for. Bring a reference photo, be specific about length and corner filing, and pick a finish that matches the color instead of defaulting to glossy every time. Small details like tip thickness, layer count, and accent placement are what separate a set that looks fine from one that looks intentional.
Save this list for your next appointment so you are not stuck scrolling through your camera roll at the salon table.