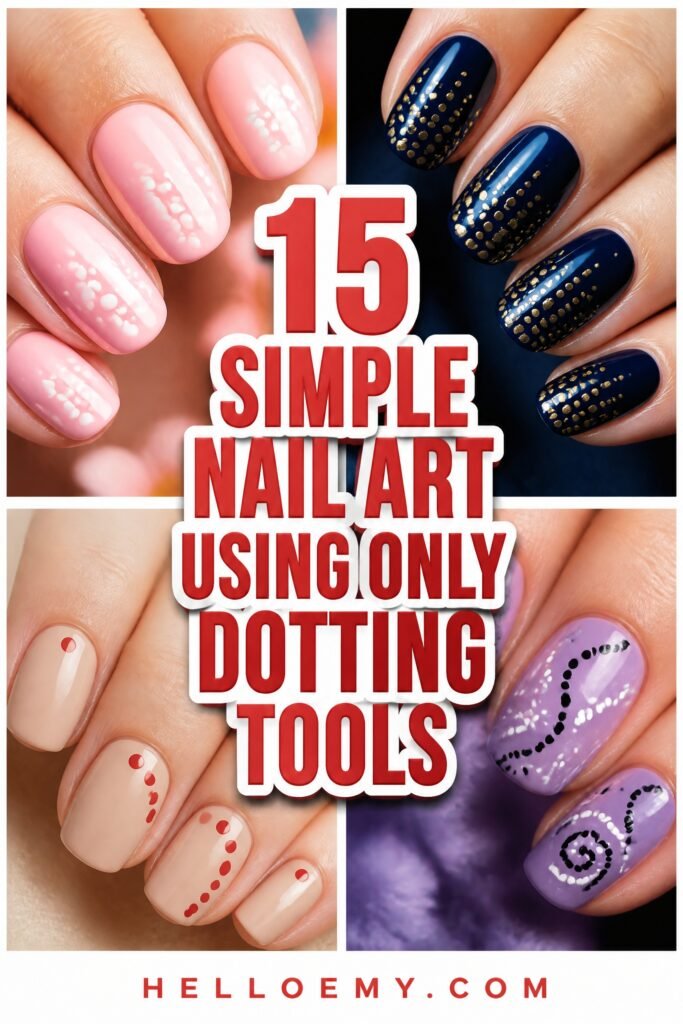
Nail art doesn’t have to mean a full collection of brushes, stencils, and complicated tools. A simple dotting tool can take you surprisingly far, whether you’re a beginner or a seasoned enthusiast.
From clean single-dot accents to intricate mandala-inspired patterns, the design options are wider than most people expect. The trick is learning how pressure, size, and spacing work together to create something that looks intentional.
Fifteen techniques are covered here, each relying on nothing more than a dotting tool or two. Some are minimal and modern, while others layer dots into bold, eye-catching arrangements.
Precision consistently beats complexity when it comes to nail art that holds up over time. These designs prove that working with simple tools often leads to the most satisfying results.
15 Nail Art Ideas Using a Dotting Tool
Everything on this list comes down to one motion: press, lift, repeat. What changes is the size of the tool, the spacing between dots, and how much you let symmetry take over.
The first few are genuinely beginner territory. By the time you reach mandalas and lace edges, you are working with the same tool and just a lot more patience.
Give the easiest one a go tonight and see how far the technique takes you.
Minimalist Single-Dot Accent Nails
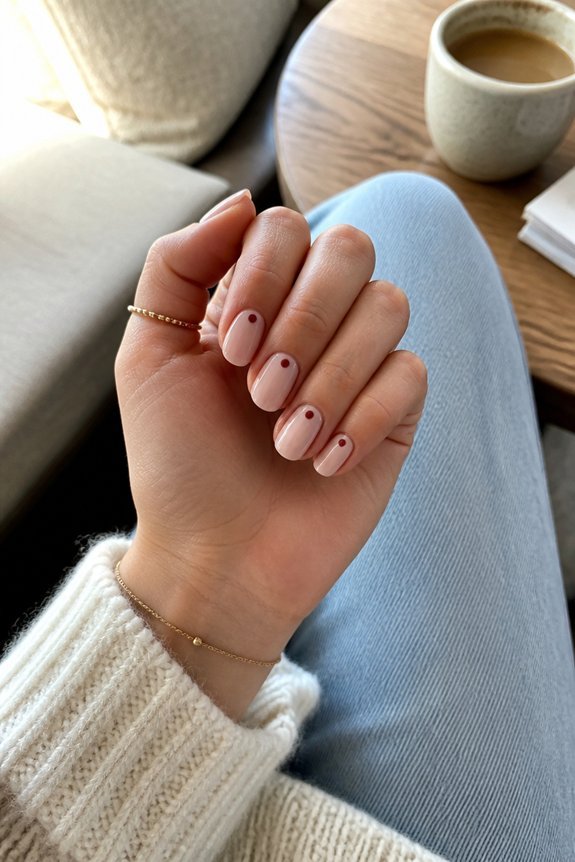
Simplicity, done well, often reads as the most sophisticated choice on the nail menu. Choose one ring finger, apply a neutral base, then place a single dot in a contrasting shade using a small dotting tool. Try OPI’s gel polish for precision. Subtle, clean, we can’t get enough.
Also read: 12 Elegant Short Nail Ideas for the Office
Classic Polka Dot French Tips
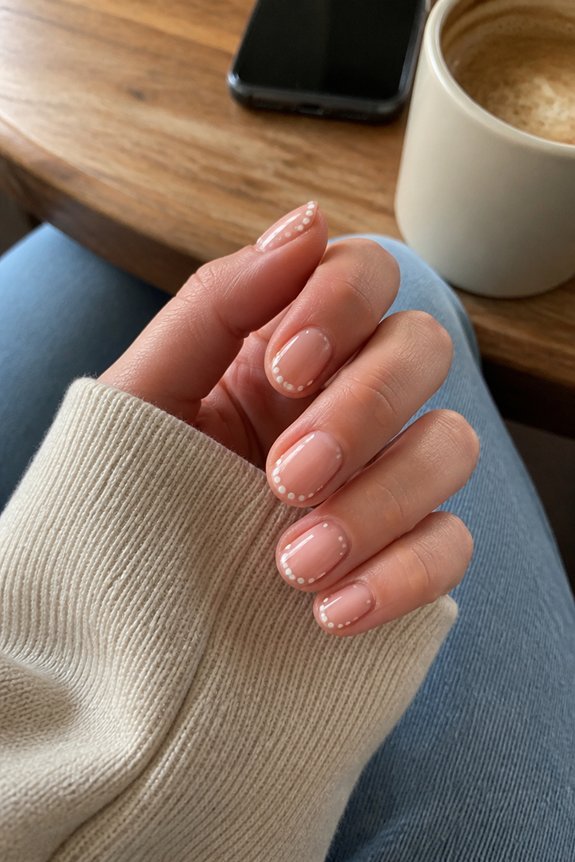
A modern twist elevates the classic French manicure into something playful yet polished. Instead of a solid white tip, dot small circles along the smile line using a size-2 tool and white polish. Space dots evenly for symmetry.
Try OPI Alpine Snow for crisp contrast, we can’t get enough of this update.
Rainbow Dots for a Playful Look
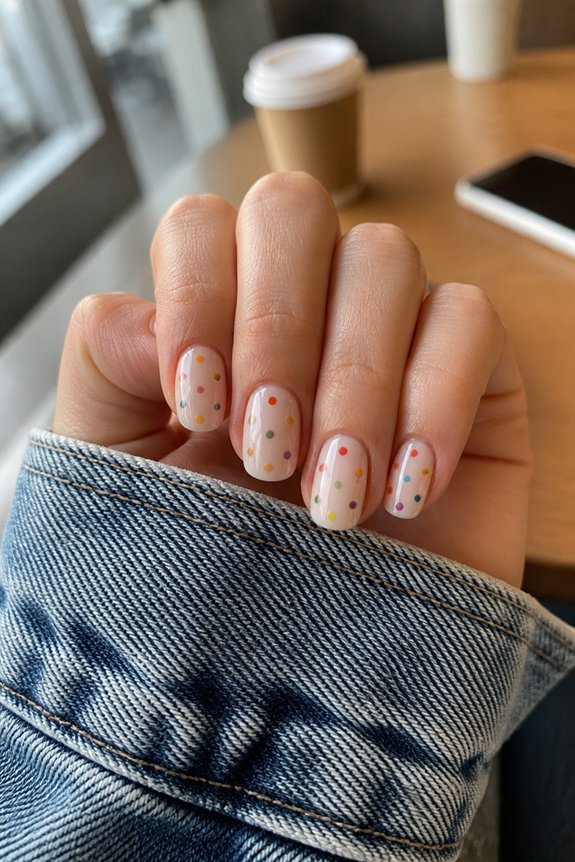
Few things brighten a manicure faster than a scattering of rainbow dots across a neutral base. Using a small dotting tool, apply cheerful hues like OPI’s “A Great Opera-tunity” in staggered rows. Vary dot sizes for dimension. Uneven placement reads more playful than perfection. Finish with matte topcoat for a modern twist, we can’t get enough.
Cluster Dots for a Bubble Effect
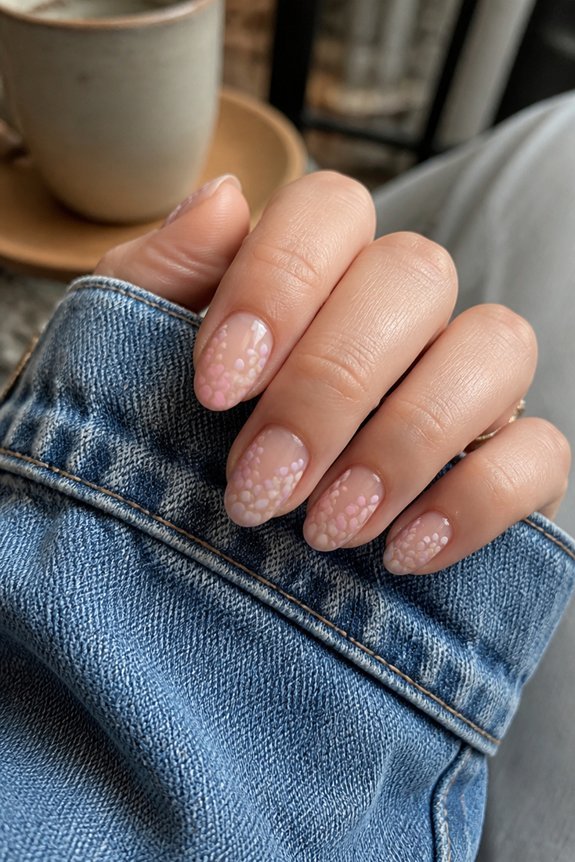
When several dots overlap in a tight cluster, the effect mimics rising bubbles caught mid-float. Vary dot sizes using a graduated dotting set for realistic depth. Layer transparent polishes like Essie’s “Ballet Slippers” beneath opaque whites for dimension.
Keep clusters asymmetrical, not gridlike. It’s a subtle effect, but honestly, we can’t get enough.
Ombre Dot Fade Nails
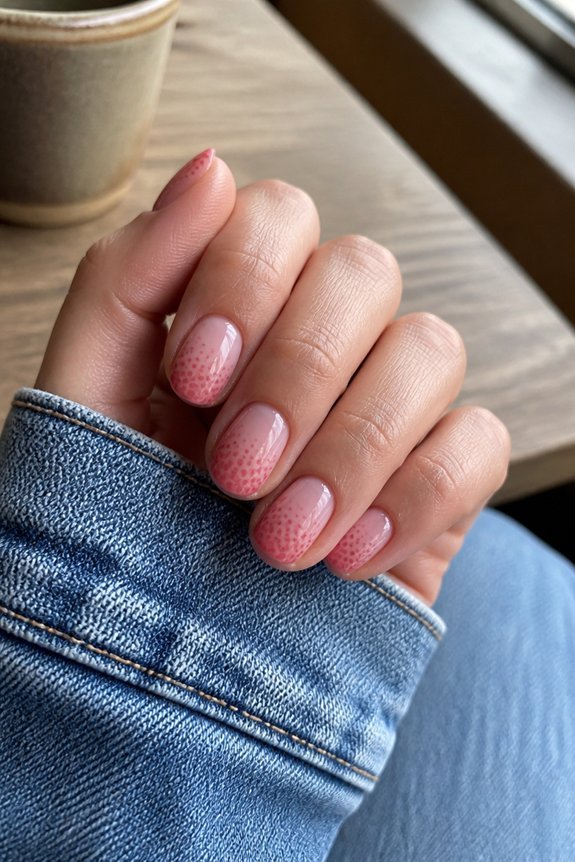
Several dots arranged in a gradient line create the illusion of color melting from one shade into the next. Start with a light shade near the cuticle, then layer progressively darker dots toward the tip. A large dotting tool blends edges while still wet.
Essie and OPI polygel duos work well here. Subtle, dimensional, and we can’t get enough.
Simple Dotted Flower Petals
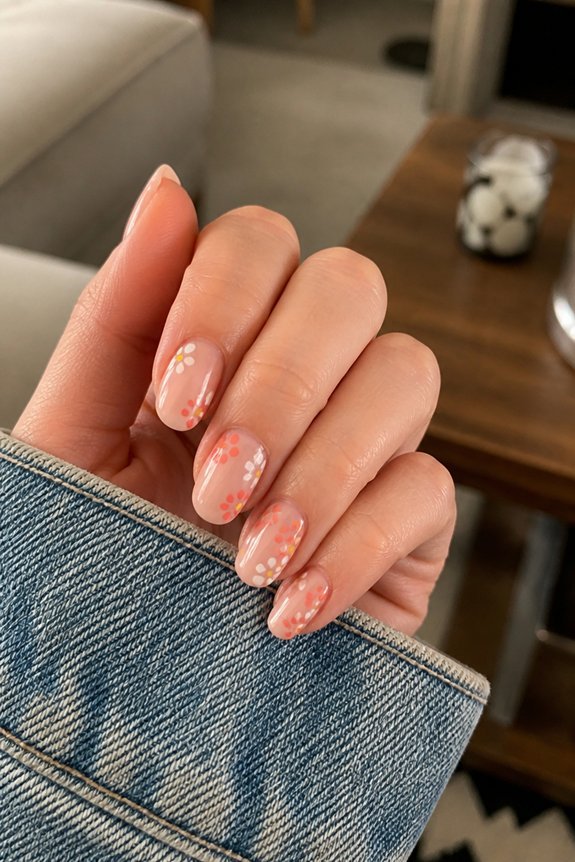
Five small dots arranged in a circle instantly become a flower, no brush skills required. Using a medium dotting tool, place five even dots around a central point, then add a smaller contrasting dot in the middle. Try Mia Secret acrylics for crisp petals. We can’t get enough of this timeless motif.
Dotted Heart Nails for Date Night
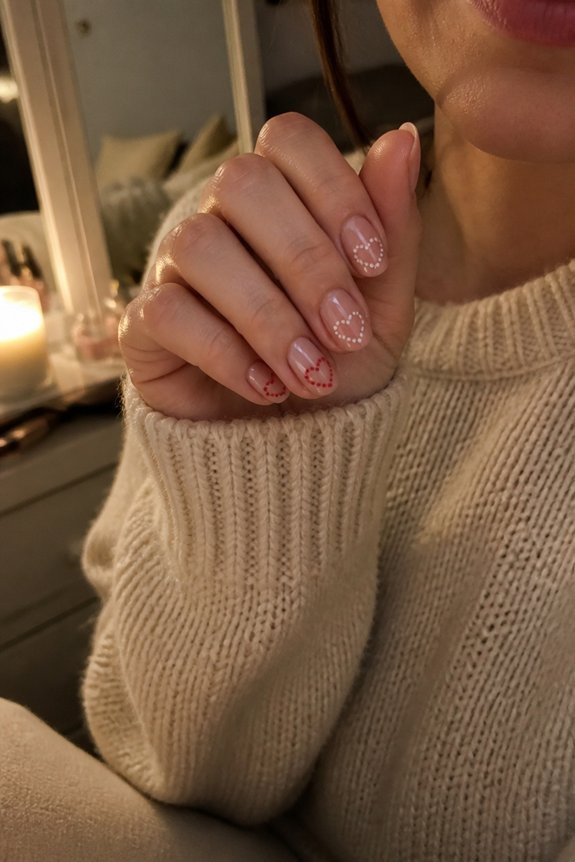
Once the flower motif feels comfortable, hearts offer a natural next step in dotted romance. Two dots angled together form a simple heart shape. Try Essie’s Gel Couture in a classic red base first. Symmetry matters more than perfection. Add a smaller white heart on top for dimension, we can’t get enough of this layered look for date night.
Grid Dot Patterns for Clean Lines
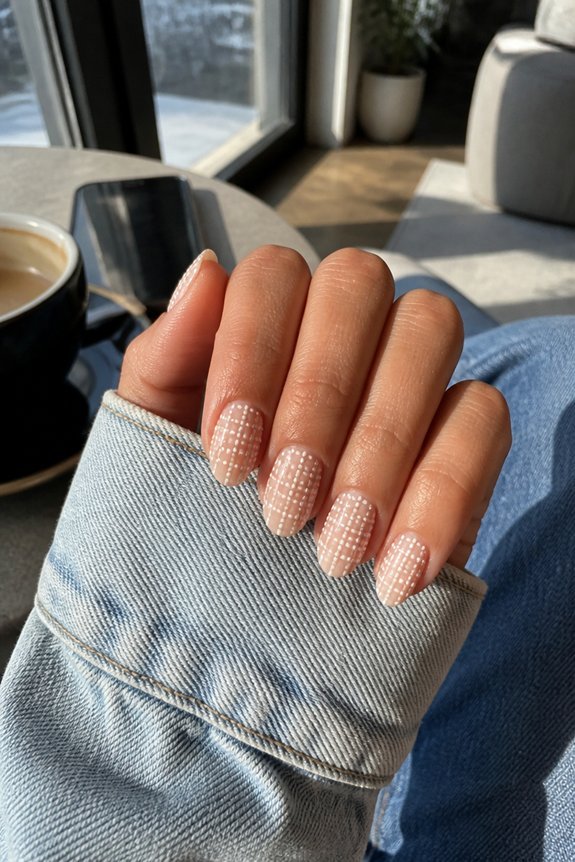
Precision defines the appeal of grid dot patterns, transforming scattered accents into an organized display of tiny circles aligned in rows and columns. Using a small dotting tool, mark evenly spaced rows across the nail bed. A striping brush can guide alignment beforehand.
Symmetry reads as sophistication. Try contrasting shades like navy on white, we can’t get enough of that crisp, modern effect.
Zigzag Dot Nails for Bold Edges
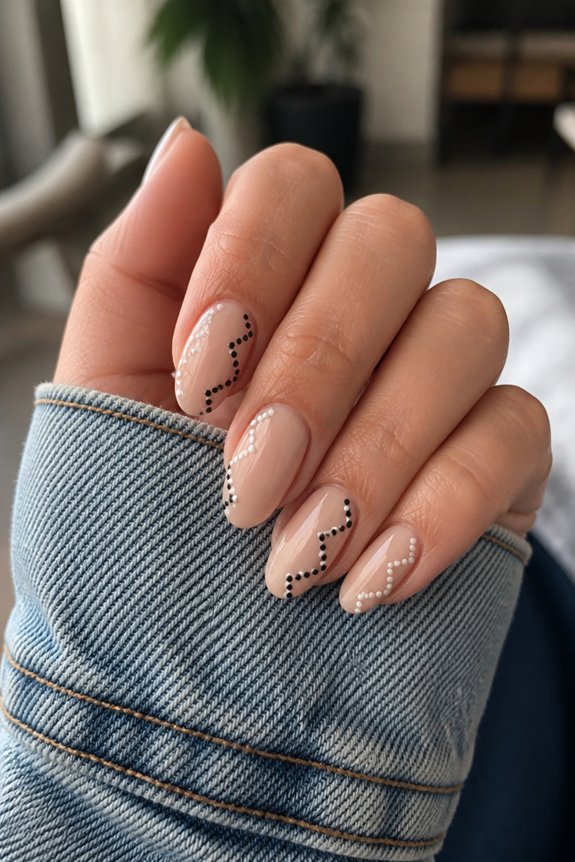
Where grid patterns whisper order, zigzag dots shout confidence. Placing dots in a diagonal “V” motion creates sharp, angular edges along the nail’s border. A medium dotting tool works best for consistent sizing. Try the Bundle Monster set for precision.
Zigzag lines add movement without overwhelming the design. Alternate metallics and mattes for dimension we can’t get enough of.
Dotted Leopard and Animal Print
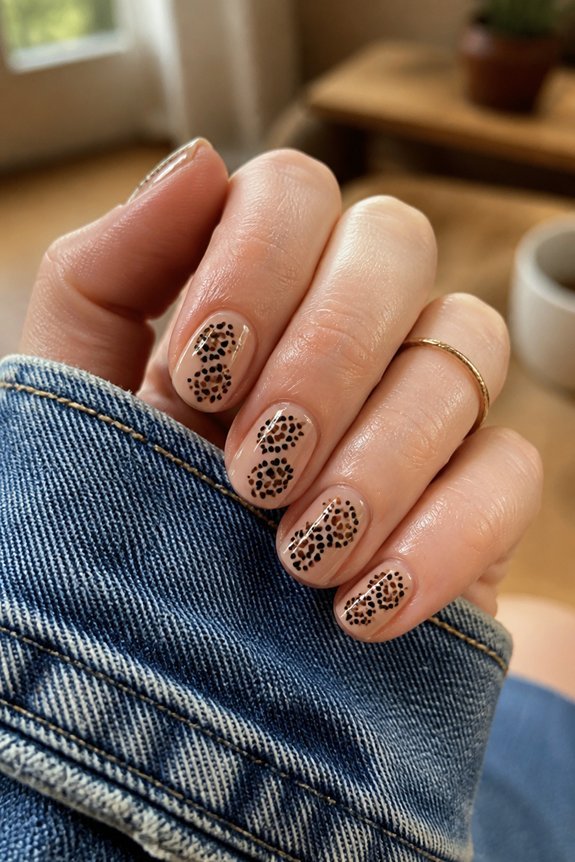
Three simple clusters of dots can mimic the wild spirit of leopard print without any freehand painting skills. Using a medium dotting tool, place three or four dots in an irregular circle, then add a smaller offset dot beside each cluster in dark brown or black. Try Sally Hansen’s Insta-Dri in caramel as a base. It’s texture without technique. We can’t get enough.
Galaxy Nails With Scattered Dots
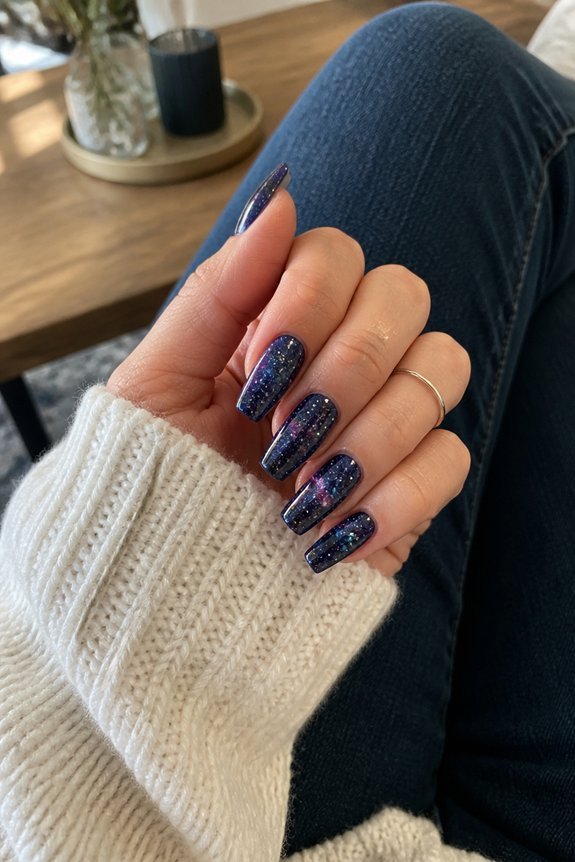
From leopard spots to celestial ones, the shift is mostly about color choice and spacing. Layer a navy or black base, then scatter white and silver dots in random clusters. Vary sizes for depth. Randomness reads as galaxy, symmetry reads as pattern. Add a touch of iridescent polish for shimmer. We can’t get enough of that cosmic effect.
Dotted Swirls and Spiral Patterns
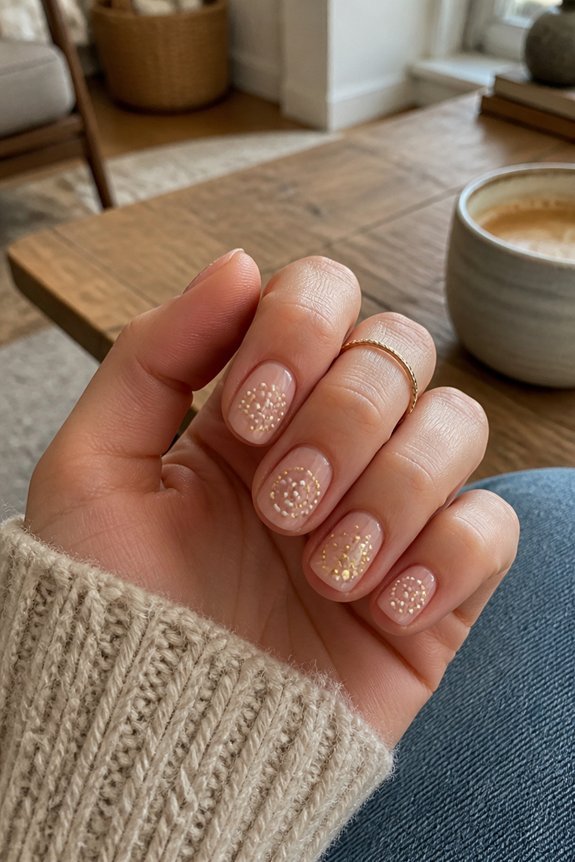
Curving a dotting tool through wet polish creates a swirl instead of a static circle. Drag the dot gently before it dries, pulling color into a comma shape. Repeat in rows for a spiral cuticle accent. Essie’s Base Coat keeps polish workable longer for cleaner drags.
Honestly, we can’t get enough of this technique.
Gradient Dot Waterfall Design
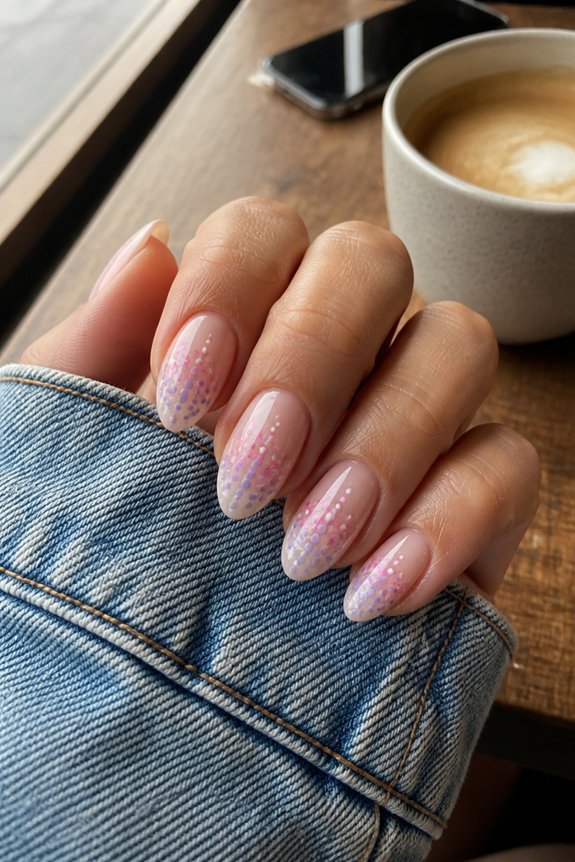
After mastering swirls, the next step is layering dots so they fade from one shade into another, mimicking a cascading waterfall down the nail. Start dark near the cuticle, lightening toward the tip. Essie or OPI polish trios work well here.
Blending while wet is key, notes one nail artist. Overlap dots slightly for smooth changes, we can’t get enough of this dimensional effect.
Mandala-Inspired Dot Art
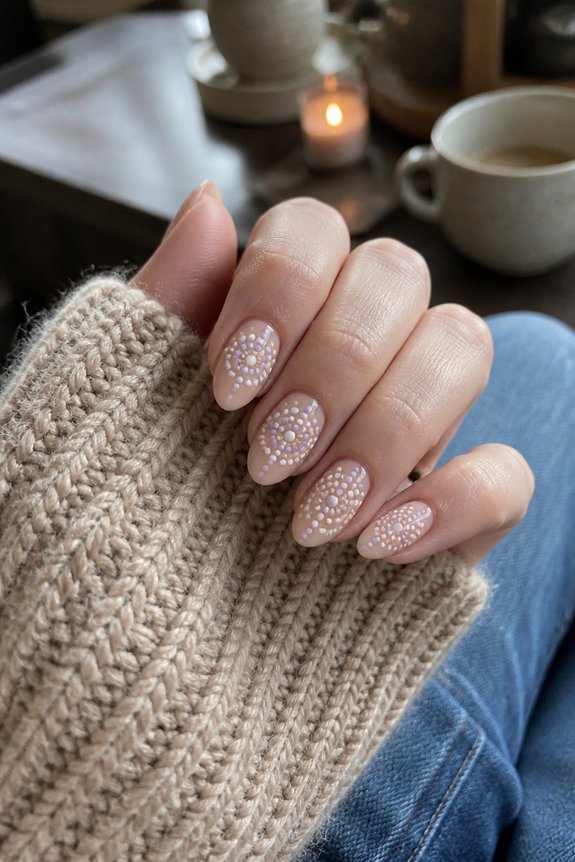
Mandalas bring symmetry to the nail bed, radiating outward from a central point like tiny stained-glass windows. Start with one dot in the center, then build rings using tools of varying sizes. Precision beats speed here, notes one nail artist.
Try Kiara Sky dotting sets for consistent circles. It’s detailed work, but honestly, we can’t get enough of the payoff.
Dotted Lace Nails for Elegant Style
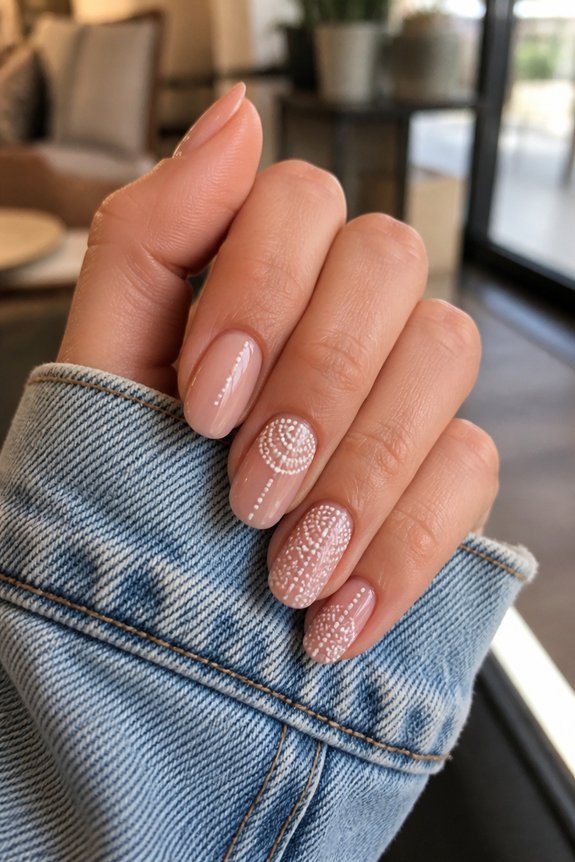
Where mandalas radiate outward, lace patterns weave a quieter kind of intricacy, one that leans on negative space and delicate linework instead of bold symmetry. Using a small dotting tool, curve rows of tiny dots along the cuticle line, mimicking scalloped lace edges.
A fine-tip tool like the Kupa dotting set adds refined texture, honestly, we can’t get enough.
Frequently Asked Questions
What Can I Use if I Don’T Have a Dotting Tool?
Bobby pins, toothpicks, or pencil ends with rounded tips work well as substitutes. Household items like paperclips, hair clips, or even the tip of a pen can create similar dotted effects when dipped in polish.
How Do I Keep Dots From Smudging or Losing Shape?
Dots hold their shape best when applied to fully dry base polish, using quick, single presses without dragging the tool. A thin topcoat, applied once dots are completely dry, locks everything in place without smudging.
What’s the Best Polish Consistency for Clean, Round Dots?
Medium-thick consistency works best—not too runny, not too thick. Fresh polish, never watery or gloopy, holds a rounded bead on the dotting tool, allowing controlled placement and preventing spreading, dragging, or flattening once it touches the nail surface.
How Long Does Dotting Nail Art Typically Take to Complete?
Typically, dotting nail art takes about 15 to 30 minutes per hand, depending on design complexity. Simple patterns with fewer dots finish faster, while intricate layered designs or multiple colors can extend the process further.
Can I Use Dotting Tools With Gel Polish or Only Regular Polish?
Yes, dotting tools work equally well with gel polish. Between each dot, the gel should be cured briefly if creating layered designs. Regular polish dries on its own, while gel requires UV or LED curing throughout the process.
Conclusion
Dotting tools prove that simple instruments can create a million different looks. From single accents to mandala-inspired designs, these fifteen ideas show that nail art doesn’t require a full studio setup. A few dotting tools, some patience, and quality polish are all that’s needed. As one nail artist puts it, precision matters more than fancy equipment. We can’t get enough of these versatile techniques, honestly. Grab a dotting tool set and start practicing today.