

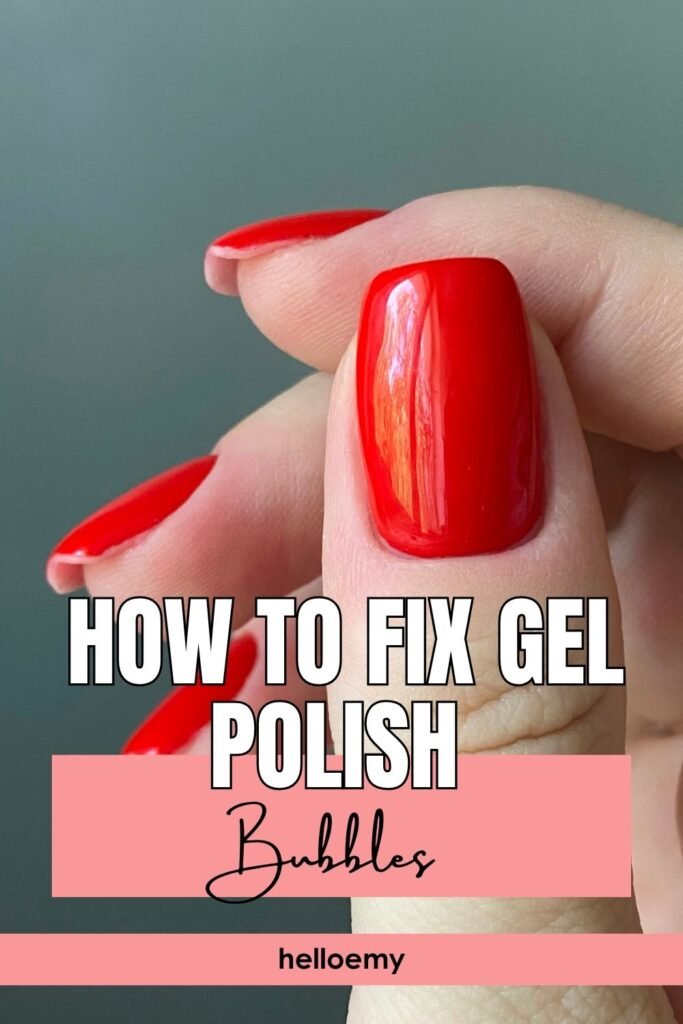
You cured the nail, wiped the sticky layer off, and there they are. Tiny domes scattered across one finger, or a cluster near the cuticle that catches the light every time you move your hand. Your first instinct is to press them, and that is the one thing that will not work.
Here is why. Cured gel is hardened plastic, and the air inside those bubbles is sealed in permanently. No amount of pressure, heat, or top coat will smooth them out. The real gel polish bubbles fix is subtraction: file the bubbled layer down until the surface is flat again, then put one thin coat back over it. Nobody can tell afterward.
It takes about 20 minutes for a few nails, and most of that is filing carefully rather than fast. You need a file, a buffer, alcohol, and whatever polish you used originally.
Two things this guide will tell you honestly. If the bubbles are only in your top coat, this fix is quick and nearly invisible. If they run all the way down into the base layer, filing will not reach them and that nail has to come off and start over. Step 2 shows you how to tell which one you are dealing with before you pick up a file.
Check whether the gel is still wet or already cured
Timing decides everything. Gel that has not been under the lamp yet is still liquid, and bubbles near the surface can be coaxed out by warming the nail with your hand for 30 seconds and drawing the brush slowly across the spot in one direction. Once the lamp has done its work, that window closes for good. Cured gel means filing, which is what the rest of this guide covers.
Look at the nail from the side to find how deep the bubbles sit
Hold your hand at eye level with a lamp behind you and tilt the nail slowly. Depth is what you are judging, not quantity. Bubbles sitting right at the surface look sharp and glassy. Ones buried lower look soft and blurry, as if they are underwater. Blurry bubbles are in the color or base layer, and filing that far down removes the color along with them.
Bubbles down in the base layer are not worth chasing with a file. Air trapped against the nail plate means the gel is not bonded there, and that nail will lift and peel within a few days no matter how smooth you make the top. Soak that one off with acetone and redo it properly rather than spending 20 minutes on a fix that fails by the weekend.
Wipe the sticky layer off so you can see the damage clearly
That tacky film left after curing scatters light and hides small bubbles, which is how people end up filing the wrong spot. Soak a lint-free wipe in alcohol, drag it across the nail once, then flip to a clean section for the next nail. Reusing the same face just smears residue back on. Let each nail dry for 20 seconds and look again under direct light.
File the bubbled area flat with a 180 grit file
Lay the file flat against the nail rather than angling the edge into it. Short, light strokes in one direction, working across the bubbled patch until the raised domes disappear and the surface stops catching light unevenly. You will see the gloss vanish first, then the bubbles. Check every few strokes by tilting the nail toward a lamp, because it is far easier to file a little more than to put gel back.
Stop the moment your natural nail color starts showing through. That means you have filed past the color layer and are about to reach the nail plate itself, which cannot repair the damage. Heat building under the file is the other warning sign. If either happens, stop, soak that nail off with acetone, and start it fresh.
Buff the surface until it looks evenly matte
Filing leaves fine scratches, and fresh gel poured over scratches ends up cloudy. Two or three light passes with the buffer smooths those out. What you want is a surface with no shiny patches anywhere, since a shiny spot means an untouched dip that the new coat will sit unevenly over. Feel it with your fingertip as well as looking at it.
Blend past the edges of the filed patch by about 3mm in every direction. A hard border between filed and unfiled gel shows up as a visible line once the glossy top coat goes on, even though it feels flat. Feathering the edge outward makes the repair disappear completely.
Wipe the dust away with alcohol and let it dry
Filing dust is the reason a lot of repairs bubble again, because each speck holds a pocket of air under the new coat. Brush the nail off first with a dry brush, then wipe with alcohol on a fresh lint-free pad. Run the pad around the cuticle line and the side walls too, where dust collects and hides. Give it 30 seconds to dry fully before any polish touches it.
Paint one thin recoat over the filed area
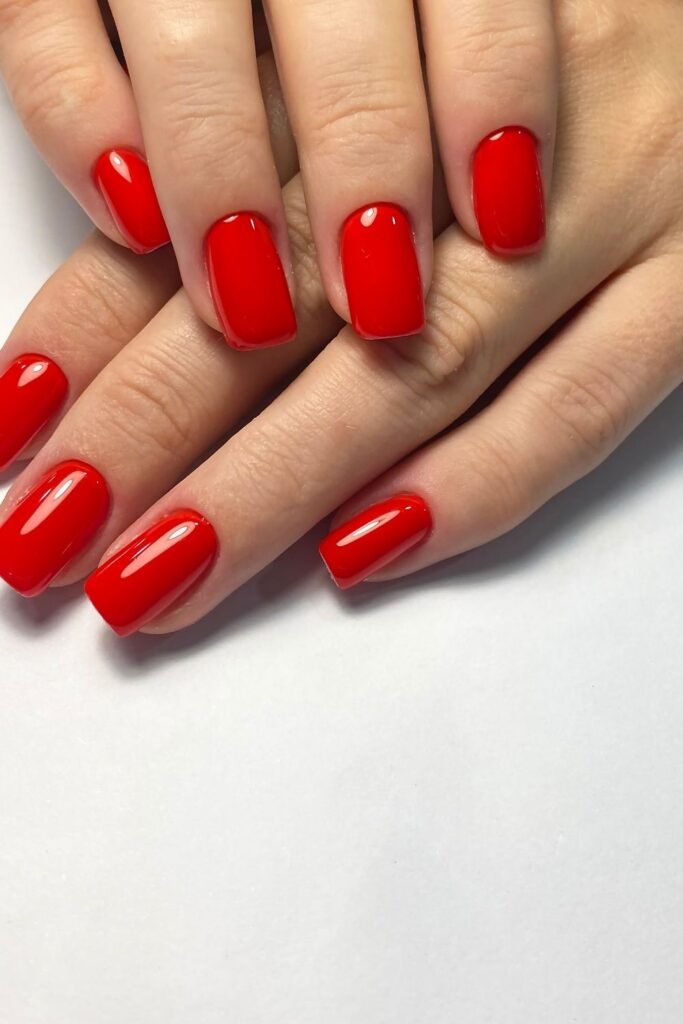
If you filed only into the top coat, one layer of top coat is all this needs. If the color faded or went patchy while filing, put a thin coat of the original color down first, cure it, then top coat over that. Wipe the brush almost dry against the neck of the bottle and float the polish across the nail in one pass. Going back over a spot twice while it is still wet is what pushes air in and starts the whole problem again.
Warm the bottle in your hand for 60 seconds before you open it. Cold gel is thick and drags air along with the brush, which is why bubbles turn up more often in winter or when the bottle has been sitting near a window. Never shake it to mix, since shaking whips air straight into the product. Roll it slowly between your palms instead.
Cure the full time, then wipe and check under bright light
Give it the same 60 seconds in an LED lamp or 2 minutes in a UV lamp that the original coat got, even though the layer is thinner. Wipe the sticky film off with alcohol, then hold the nail under a bright overhead light and tilt it slowly through several angles. A flat surface reflects the light in one clean sweep. Any leftover dome shows up immediately as a break in that reflection.
Finish with cuticle oil once you are happy with it. That completes all eight steps.
Fixing bubbles is worth doing once. Not having them appear again is better, and nearly every case traces back to one of five habits. Here is what causes them and what to do differently next time.
Shaking whips air through the gel and it stays suspended there for hours. Roll the bottle slowly between your palms instead, which mixes the pigment without adding air.
A thick layer traps air underneath and cures from the top down, sealing bubbles in place. Two thin coats always beat one heavy one, even though the first looks patchy.
Cold gel is thick and drags air with the brush. Warm the bottle in your hand for 60 seconds first. Gel that has thickened with age needs replacing, not thinning with acetone.
Gel cannot bond to an oily surface, so it beads slightly and leaves air gaps underneath. Wipe every nail with alcohol right before you start and skip hand cream until afterward.
Each extra stroke folds air into gel that has already started to level itself. Lay the coat down in two or three passes and leave it alone, even if it looks uneven.
Gel Polish Bubbles FAQ
These are the questions that come up most once someone spots bubbles and is deciding what to do about them.
Can I pop the bubbles with a pin or a needle?
No, and it makes things considerably worse. Cured gel is a solid layer, so a pin does not release anything. It punches a hole through the surface instead, breaking the seal that keeps moisture out. Water then works its way into that opening, sits between the gel and your nail plate, and lifts the whole coat within a few days. In some cases it also creates the damp, dark pocket where a green nail infection starts. Filing the layer down is slower than popping, but it leaves the surface intact, which is the entire point.
Will another coat of top coat hide the bubbles?
It hides them for about a minute, then makes them more obvious. Fresh gel poured over raised domes follows the shape underneath rather than levelling it, so you end up with the same bumps under a thicker, glossier surface that catches light even more. The added thickness also means longer curing and more chance of new bubbles forming. Flattening first and coating second is the only order that works, which is why filing comes before painting in this guide.
Why does only one nail bubble when the others are fine?
Usually because that nail got a heavier coat than the rest, and thumbs and index fingers are the common culprits since they are painted first when the brush is fully loaded. Uneven curing does it too, as nails at the edge of the lamp sit further from the bulbs than the ones in the middle. Skin oil is the third cause, especially on a hand you wiped less carefully. Watch how much product you carry on the brush for that finger next time, and rotate your hand halfway through curing.
Is it worth fixing bubbles or should I just soak the nail off?
Depends entirely on depth, which is what Step 2 helps you judge. Bubbles sitting in the top coat take about 5 minutes per nail to fix and end up invisible, so filing is clearly the better use of your time. Bubbles down in the base layer mean the gel never bonded to your nail properly in that spot, and no surface repair changes that. That nail will lift regardless, so soaking it off and redoing it saves you doing the work twice.
Do more expensive gel polishes bubble less?
Formula quality does play a part, since better gels are thinner, level more smoothly, and hold less air. That said, technique causes far more bubbles than price does. A cheap polish applied thin, warm, and in single strokes usually beats a salon-grade bottle shaken up and slapped on thick. If you are getting bubbles across several different brands, the habit list above is where the answer is, not the shopping list.
180 grit file, buffer, rubbing alcohol, lint-free wipes, dust brush, your original gel color, gel top coat, UV or LED lamp, cuticle oil, bright overhead light.
- Cured or still wet? Wet gel can still be smoothed out
- Tilt the nail sideways to judge how deep the bubbles sit
- Wipe the sticky layer off with alcohol
- File flat with 180 grit, light strokes, one direction
- Buff until no shiny patches remain
- Brush off dust, wipe with alcohol, dry 30 seconds
- Float one thin recoat, no going back over it
- Cure the full time, wipe, check under bright light
Never pin them. Surface bubbles get filed, base layer bubbles get soaked off. Total time 20 minutes.
Smooth Again
Tilt your hand toward the light and the surface comes back in one clean sweep. That is the whole repair done.
Next time, warm the bottle first and keep your coats thin enough to look streaky. Those two habits prevent most bubbles before they start.
Now you have a gel polish bubbles fix that works on any nail where the damage sits in the top layers, and you know when a nail is better off coming clean off instead.
Save this pin so the filing steps are on your phone the next time your manicure comes out bumpy, and follow along for more at-home nail repairs that skip the salon.
