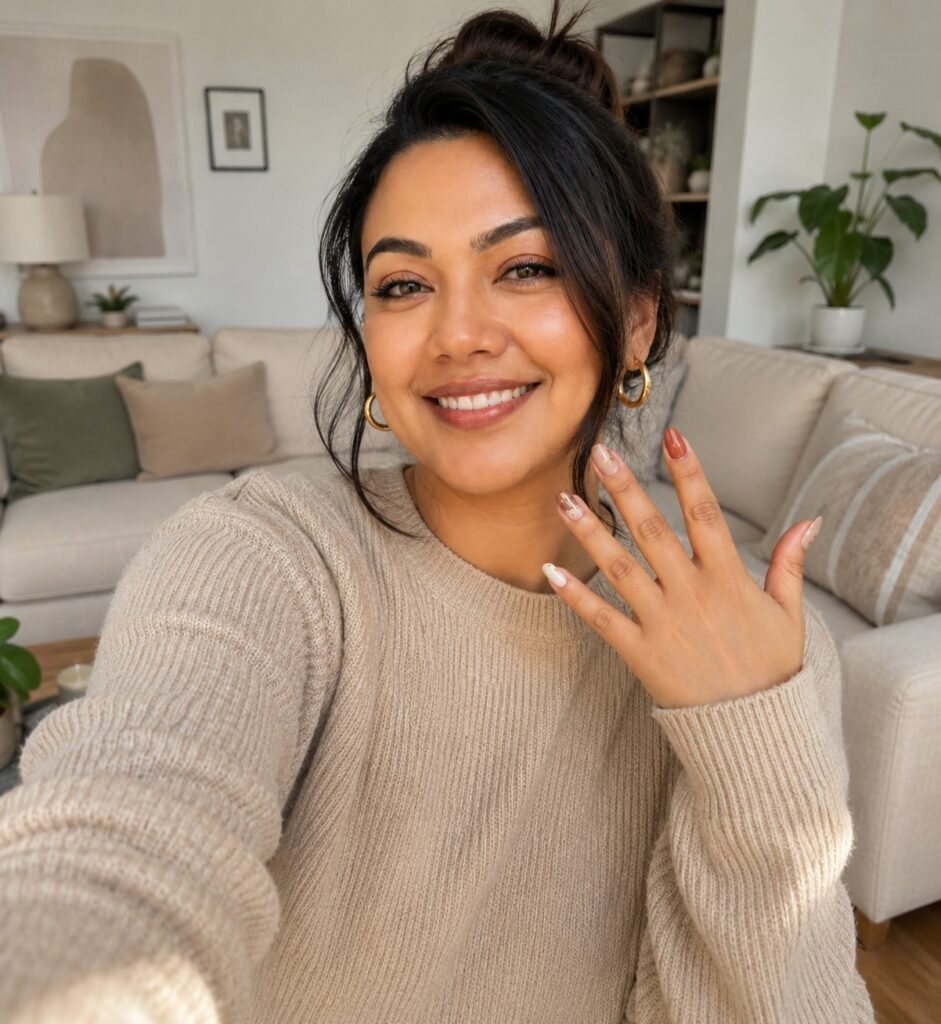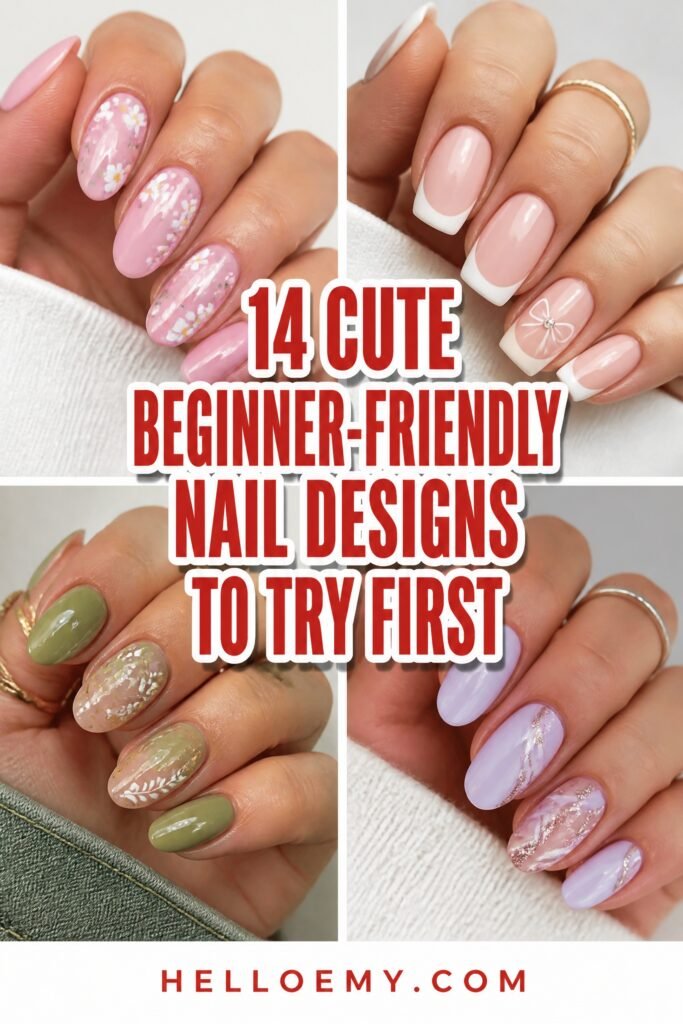
Nail art has a reputation for being complicated, but it really doesn’t have to be. These 14 beginner-friendly designs prove that simple techniques can still deliver seriously stunning results.
From dotting tools to two-tone lines, there’s something here for every skill level. Beauty editors and manicurists alike have given these looks their seal of approval, which says a lot.
Technique consistently matters more than experience when it comes to nail art. “Precision comes with practice, not perfection,” as one nail artist puts it, and that mindset makes all the difference.
There is one small detail, though, that changes everything about how these designs turn out. Before picking up a brush or dotting tool, getting that foundational step right is what separates a polished look from a frustrating one.
14 Easy Nail Art Designs for Beginners
Most of these rely on things you probably already own. Tape, a makeup sponge, a bobby pin, and one polish you like enough to build around.
The order runs roughly from forgiving to slightly fussier, so dots and accent nails come before water marbling for a reason.
Pick the one that uses the fewest tools you have to go buy.
Simple Dot Nail Art for Total Beginners
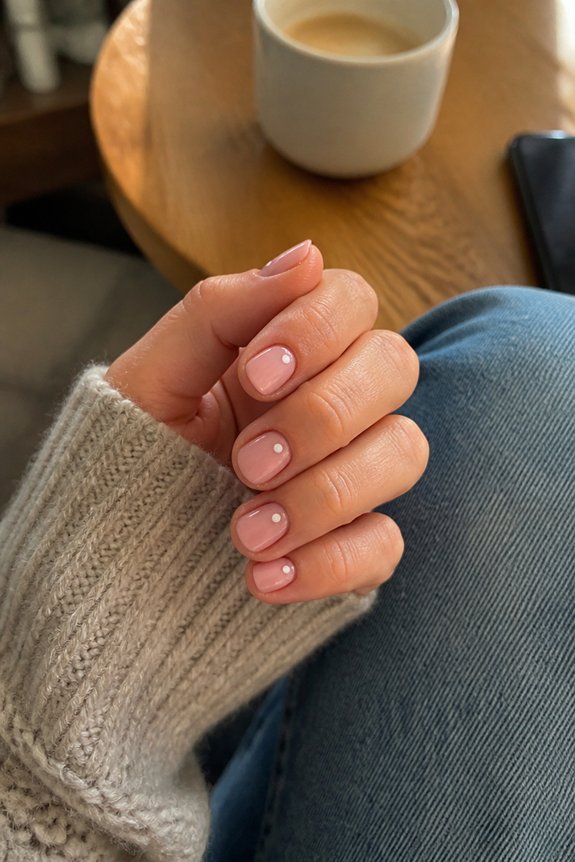
Few nail art techniques are as forgiving to newcomers as the classic dot design. Using a dotting tool or bobby pin tip, beginners can create polka dots, ombré clusters, or minimalist accents with ease. Essie’s “Blanc” pairs beautifully with darker bases for contrast.
Dots hide imperfections better than lines. Honestly, we can’t get enough.
Also read: 12 Elegant Short Nail Ideas for the Office
Classic French Tips With a Modern Twist
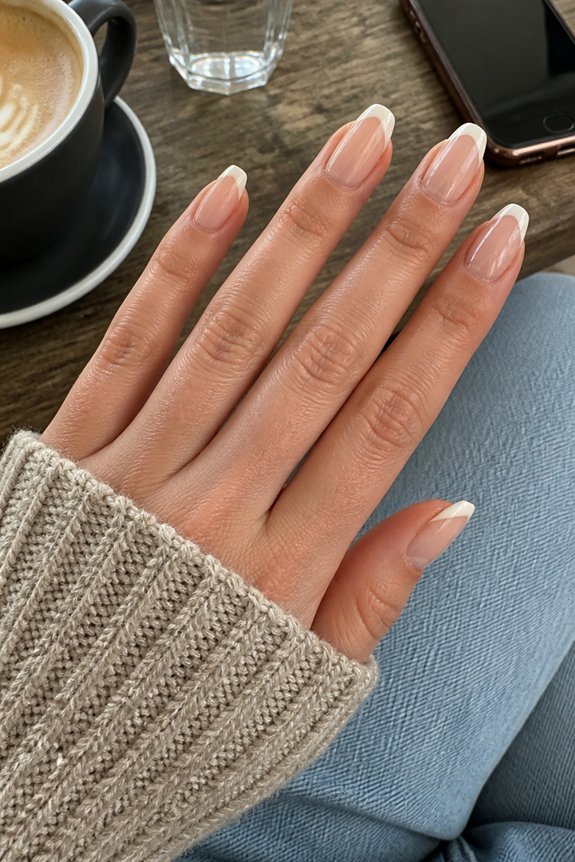
The tip line no longer has to be white or straight. Try colored tips, thin diagonal lines, or a barely-there nude edge for softer contrast. Essie’s Gel Couture in a milky beige pairs well with any accent shade. Skinny brushes make freehand application easier, and we can’t get enough of that update.
Single Accent Nail Designs for a Chic Look
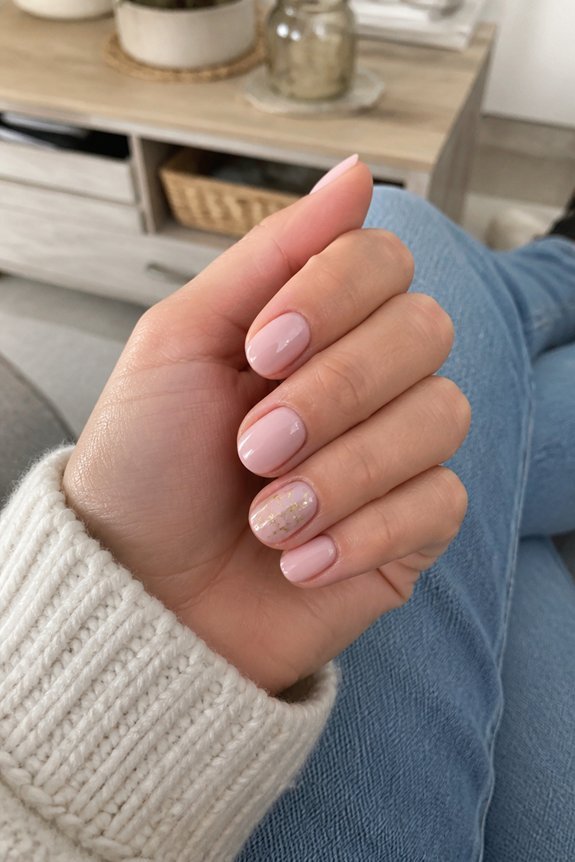
A single standout nail can do more for a manicure than ten matching ones ever could. Paint nine nails a soft nude, then add one gold-flecked accent for contrast. Try OPI’s chrome powders or a simple polka dot for texture. Understated, yet we can’t get enough of the effect.
Minimalist Line Art Nail Designs
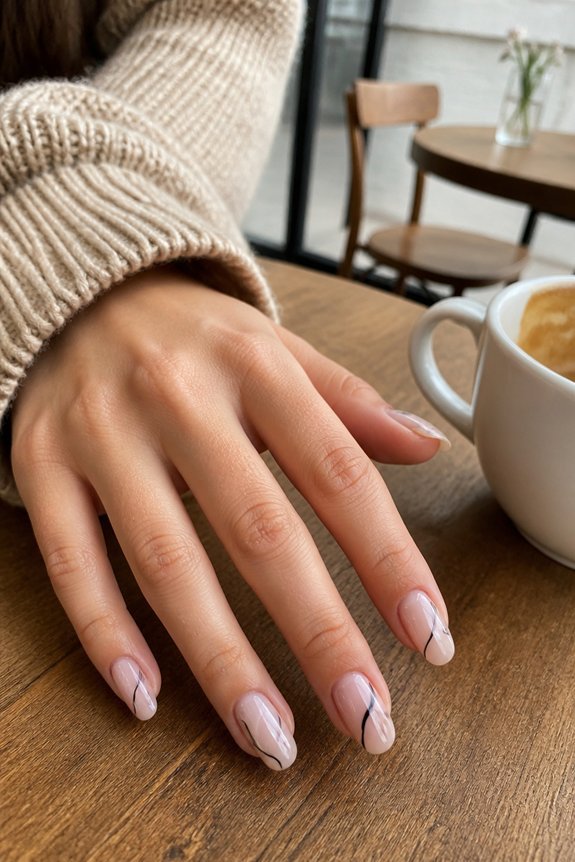
Sometimes less really is more, and that’s the whole philosophy behind minimalist line art. A fine-tip striping brush, like those from Mia Secret, creates clean geometric shapes or delicate waves. Precision matters more than pressure. Try thin gold lines on nude polish for subtle elegance. It’s simple, wearable, and honestly, we can’t get enough.
Two-Tone Nails Using One Straight Line
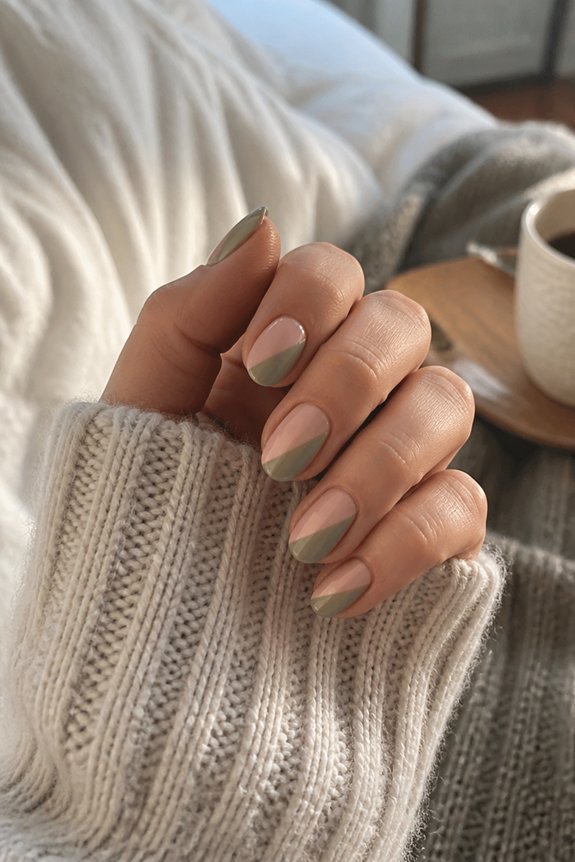
Splitting a nail into two colors with one clean line delivers maximum impact for minimal effort. A thin striping brush, like those from essie or Kiss Products, creates crisp division. Diagonal placement reads modern; straight-across placement feels classic.
Pair contrasting shades, nude and black, for example, and we can’t get enough of this graphic effect.
Pastel Color Blocking for Spring Nails
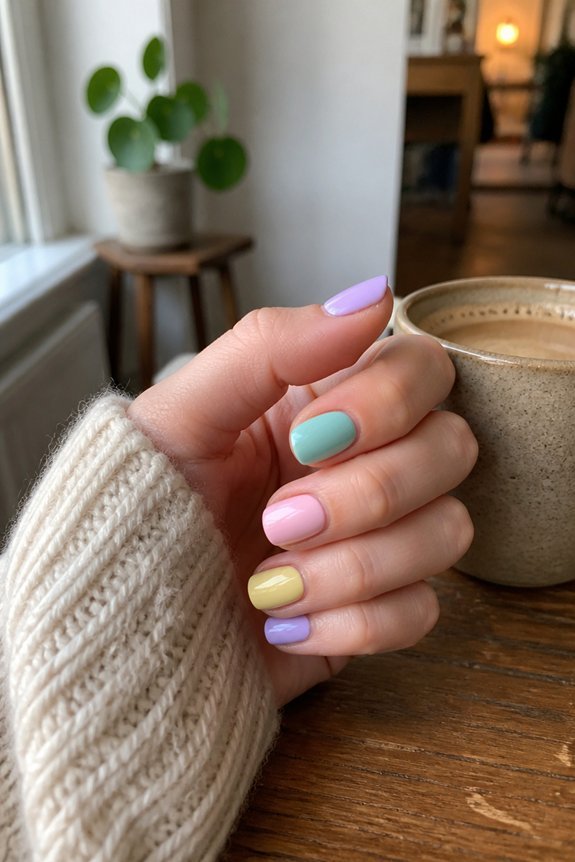
Soft, chalky hues assigned to different nails or sections create a color-blocked manicure that feels fresh without demanding advanced skill. Try lilac, mint, and buttercream using essie’s Spring Collection. Paint each nail solid, or split one nail diagonally with painter’s tape for crisp lines.
Simple, seasonal, we can’t get enough.
Polka Dot Nail Patterns for Practicing Precision
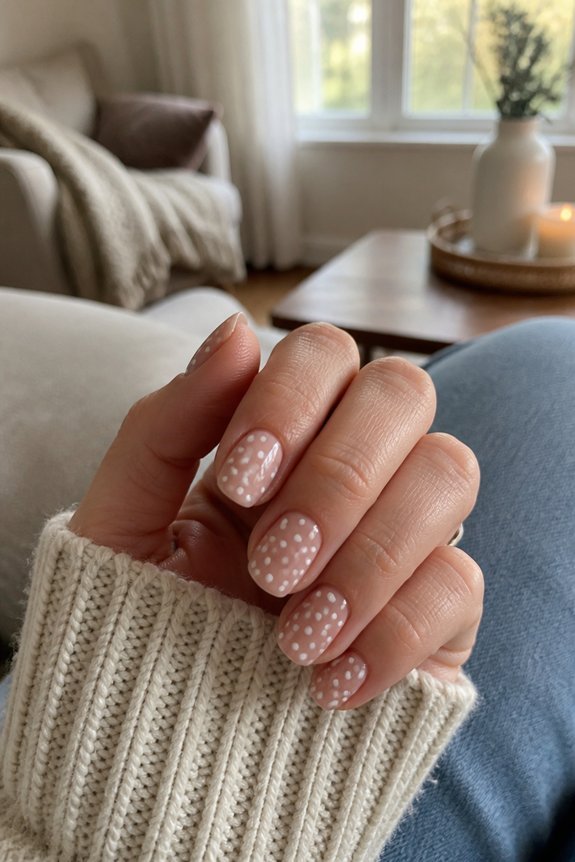
Because a steady hand matters more than a steady budget, polka dots make an ideal training ground for nail art beginners. A dotting tool, or even a bobby pin, creates uniform circles. Try Essie’s base with contrasting tips for classic charm.
Vary dot sizes for dimension, we can’t get enough of that playful texture.
Cute Half-Moon Manicure Nail Art
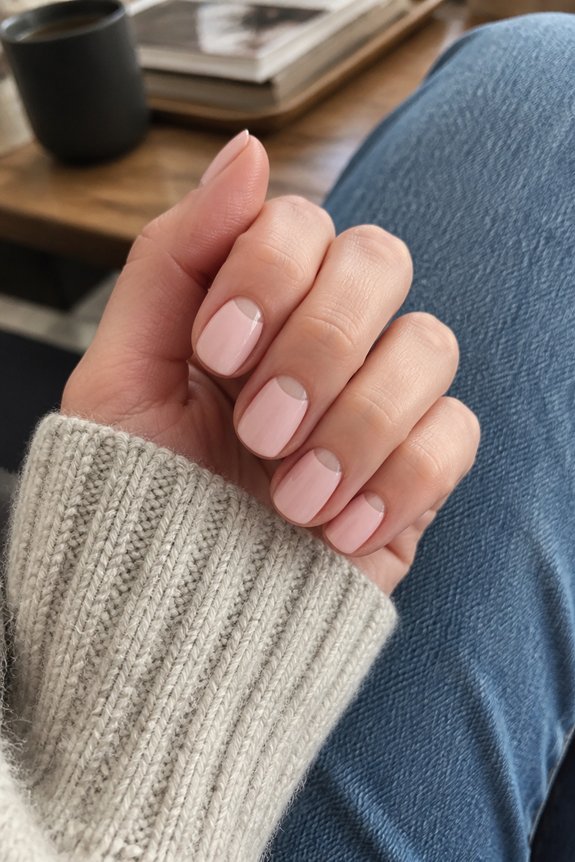
The crescent moon at the cuticle line defines this timeless manicure, offering a sophisticated alternative to standard polish application. Reinforced hole-reinforcement stickers, like those from Kiss, create clean curves without freehand struggle. Paint the tips first, then fill the base color.
We can’t get enough of this contrast technique, elegant, simple, endlessly customizable.
Easy Ombre Nail Design Using a Makeup Sponge
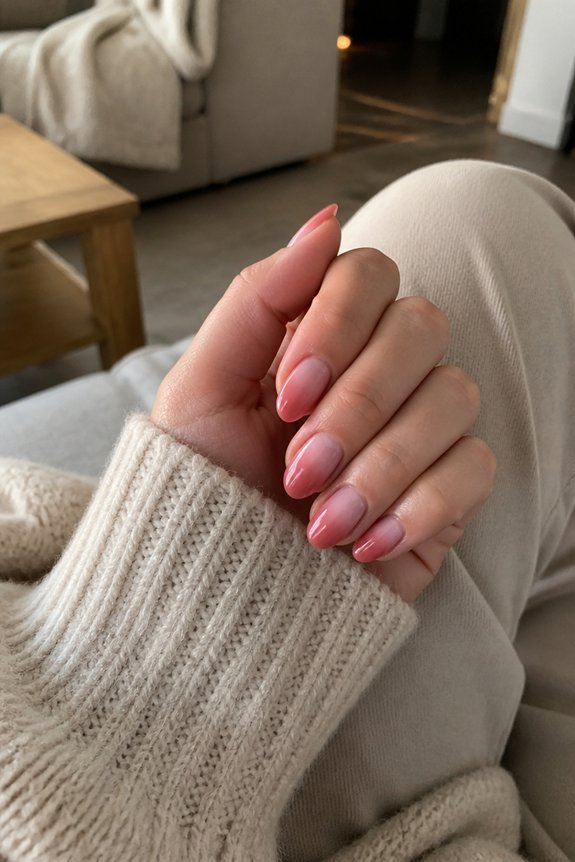
Achieving a seamless gradient once required an airbrush machine, but a simple makeup sponge now delivers the same blended effect at home. Apply two or three polish shades in stripes onto the sponge, then dab gently onto nails. Essie and Sally Hansen polishes blend smoothly for this technique.
Layering while slightly tacky creates softer shifts. We can’t get enough of this budget-friendly method.
Negative Space Nail Art for a Trendy Finish
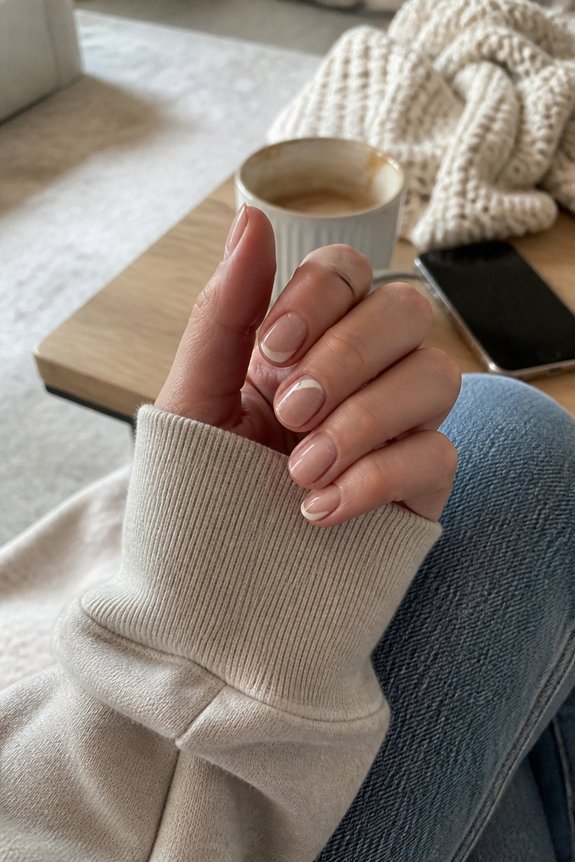
Once mastered, negative space design turns bare nail into part of the art itself. Simple geometric lines or crescent cutouts create dimension without heavy polish work. Use striping tape and a base like essie’s Good to Go for crisp edges. Pair with minimal gold accents for balance. We can’t get enough of this understated, modern finish.
Easy Floral Nail Art With a Dotting Tool
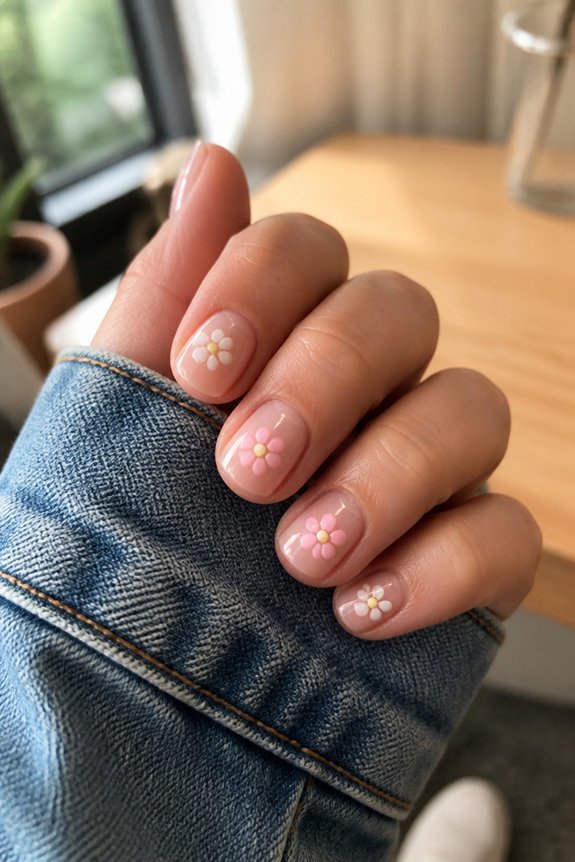
After perfecting clean lines, softer shapes offer a nice change of pace. A dotting tool, like the ones in the Kiara Sky Nail Art Kit, creates five-petal blooms in seconds. Dot a circle, add petals around it, then finish with a contrasting center. Symmetry isn’t required for charm. Pastel bases with white or gold florals keep things fresh, we can’t get enough.
Glitter Tip Nail Designs for Extra Sparkle
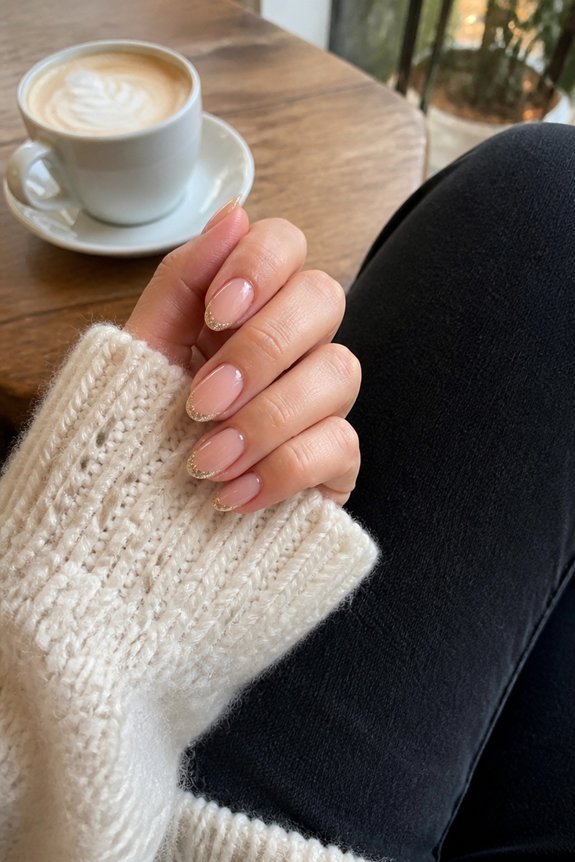
Sparkle, when placed with intention, turns a plain manicure into something special. Glitter tips offer a controlled way to experiment with shine without overwhelming the whole nail.
Apply a nude or sheer base, then dip tips into fine loose glitter or a chunky glitter polish like Sally Hansen’s “Gleam Team.” The tip is where sparkle reads best. We can’t get enough.
Geometric Nail Designs Using Tape Lines
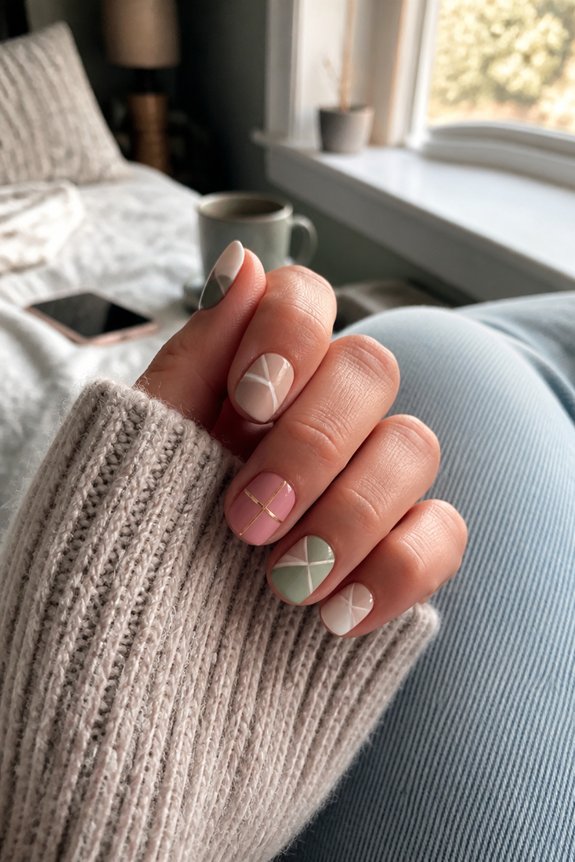
A few strips of ordinary tape can transform a manicure into something architectural. Paint a base coat, let it dry completely, then lay thin strips across the nail before adding a contrasting color. Peel slowly for crisp lines. Essie’s Good to Go top coat locks in edges nicely.
Triangles, chevrons, and color-blocked halves, we can’t get enough.
Marble Nail Art Using Water and Polish
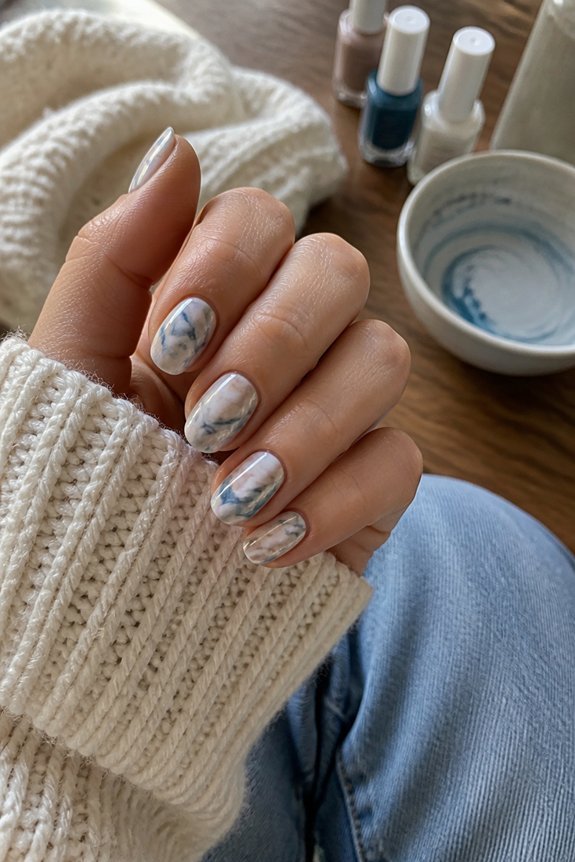
Straight lines have their charm, but marbling invites a looser, more fluid kind of artistry. Drop polish colors into room-temperature water, swirl with a toothpick, then dip. Essie and Sally Hansen shades blend smoothly for beginners.
Seal with top coat immediately. The organic swirls feel unpredictable yet elegant, honestly, we can’t get enough.
Frequently Asked Questions
How Long Does Beginner Nail Art Typically Last Before Chipping?
Beginner nail art typically lasts five to seven days before noticeable chipping occurs. Regular polish tends to wear faster, while designs sealed with a quality top coat and cured properly under gel systems can extend wear closer to two weeks.
What Tools Are Essential for Starting Nail Art at Home?
Essential tools include a base coat, quality polish, a top coat, thin nail art brushes, dotting tools, nail files, and cuticle sticks. Beginners often find that inexpensive starter kits provide sufficient variety for practicing basic designs.
How Do I Remove Nail Art Without Damaging My Natural Nails?
A beginner once soaked cotton in acetone, wrapped foil over each nail for ten minutes, then gently pushed off polish—no scraping. This method prevents thinning or peeling, keeping natural nails healthy, strong, and ready for the next design.
Can I Use Regular Polish Instead of Gel for These Designs?
Yes, regular polish works fine for beginner designs. It dries differently than gel, requiring more patience between coats, and lacks gel’s durability and shine, but remains perfectly suitable for practicing nail art techniques.
How Do I Fix Mistakes Made During Nail Art Application?
Small errors can be corrected using a clean brush dipped in polish remover, tracing along the mistake’s edge. For bigger fixes, one should wipe the nail clean and restart the design.
Conclusion
Nail art doesn’t have to be intimidating to look polished. From simple dots to marble effects, these 14 designs prove that beginners can achieve salon-worthy results with basic tools and a little patience. Why not start with one technique this weekend? Pick a dotting tool, some tape, or a favorite polish, and practice on a single nail first. Confidence builds with each attempt, and honestly, we can’t get enough of these approachable options.