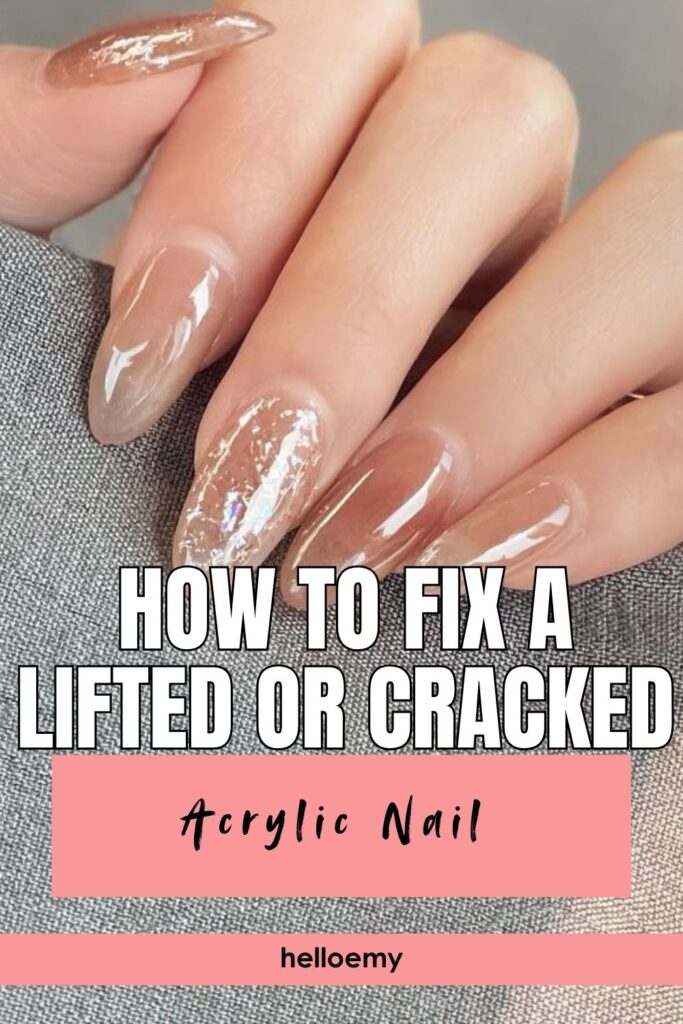
A cracked acrylic nail catches on your hair, your sweater, and every pocket you own. Your salon appointment is still days away, and it is tempting to pick at the loose edge. Please don’t. Picking pulls layers off your real nail.
Here is how to fix a cracked acrylic nail at home with nail glue and a thin patch. The same steps also work for a lifted acrylic nail, where the edge has pulled away from your natural nail. You do not need acrylic powder or a salon kit. Most of the supplies are cheap, and a tea bag from your kitchen can stand in for one of them.
This works because the glue fills the gap and the patch holds both sides together, so the crack cannot spread. Be honest with yourself, though. This is a temporary repair. It should get you through 1 to 2 weeks, until your nail tech can do a proper fix.
The hands-on work takes about 20 minutes. Wash your hands, find a bright spot, and let’s get that nail sorted.
Trying Press-On Nails Next?
Once you’ve found your perfect shade, press-ons are the easiest way to wear it without the salon trip. Here’s how to put them on so they last and take them off without damaging your natural nails.
- ☐ Nail glue (made for nails, not craft glue)
- ☐ A tea bag or a silk wrap sheet
- ☐ Small sharp scissors
- ☐ Nail clippers
- ☐ Nail file, 180 grit
- ☐ Buffer block
- ☐ 70% rubbing alcohol
- ☐ Cotton pads
- ☐ Acetone-free nail polish remover
- ☐ Clear top coat
- ☐ Tweezers
- Check the damage before you touch it
- Remove polish from the damaged nail
- Clip off any loose, peeling acrylic
- File the lifted edge flat
- Buff the shiny surface around the damage
- Wipe the nail with rubbing alcohol
- Dab one small drop of glue into the lift or crack
- Press and hold for 30 seconds
- Cut a small patch (cracks only)
- Press the patch flat over the crack (cracks only)
- Brush a thin layer of glue over the patch (cracks only)
- Buff the repair smooth
- Seal the nail with a clear top coat
1. Check the damage before you touch it
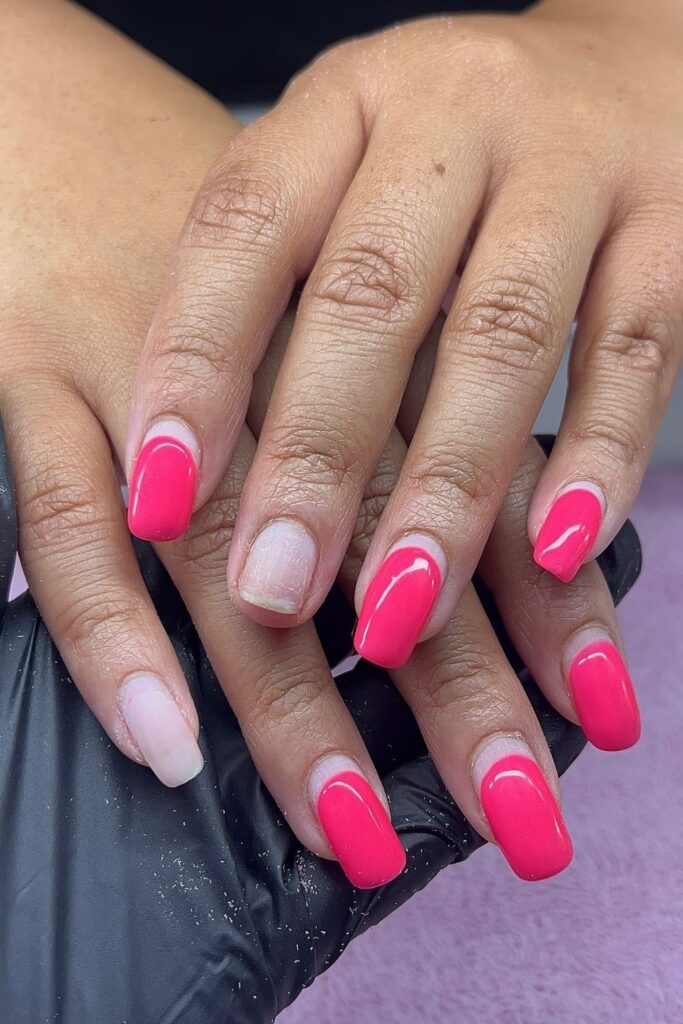
Bright light shows what your eyes miss, so turn your hand under a lamp. Look at the nail from the top, then from the side. A lift is a gap where the acrylic has pulled away from your natural nail, usually near the base or along the sides. A crack is a line through the acrylic itself, and it often starts at the free edge. Some nails have both. Notice which one you have, because Steps 9 to 11 are for cracks only.
2. Remove polish from the damaged nail
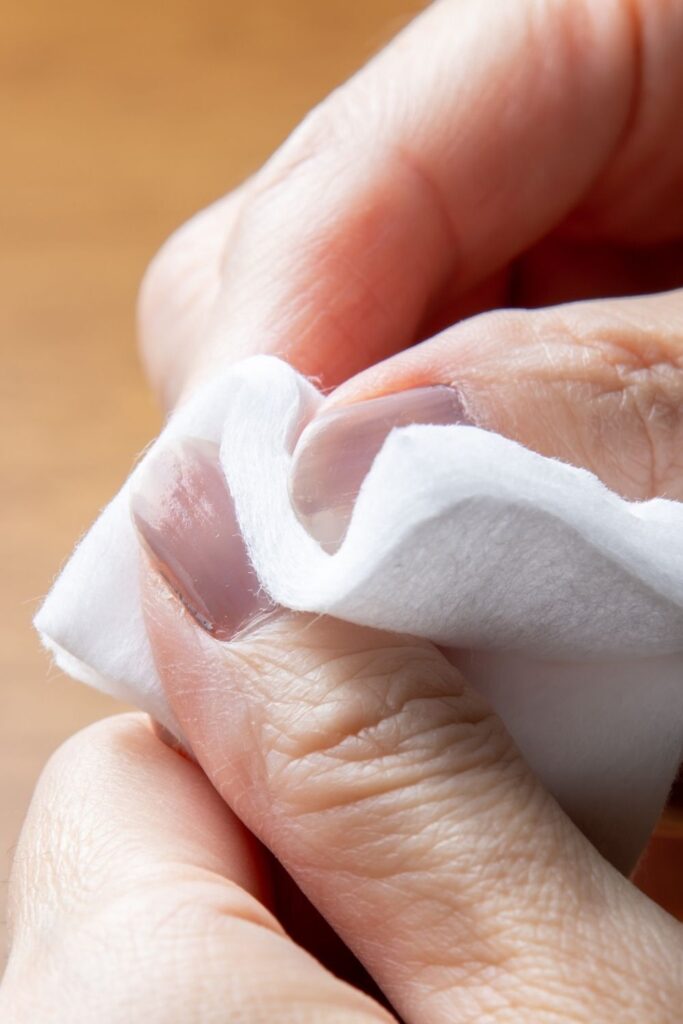
If your remover lists acetone, put it back. Acetone softens acrylic and can turn a small lift into a big one. Press a cotton pad soaked in acetone-free remover onto the nail for 5 seconds, then wipe once from the base toward the tip. Rubbing back and forth can snag the loose edge. No polish on the nail? Skip ahead to Step 3.
3. Clip off any loose, peeling acrylic
A firm edge stays. A moving edge goes. Touch the lifted spot with a fingertip, and if it wiggles, it will keep catching on things and the gap will keep growing. Take tiny bites with your nail clippers, about 1 to 2 millimeters at a time, and cut only the part that has fully come loose.
4. File the lifted edge flat
Five to eight light strokes is usually enough here. Hold your 180 grit file almost flat against the rough edge and glide it in one direction only, from the natural nail toward the tip. The goal is a smooth ramp with no ledge for a sweater to catch. Stop when your fingertip slides across the spot without snagging.
5. Buff the shiny surface around the damage
Ever tried sticking tape to a wet countertop? Glossy acrylic works the same way, and glue slides right off it. Take your buffer block and rub the area around the crack or lift, about the size of a dime, with 8 to 10 light passes. Buff until the shine turns to a dull, chalky look. Keep the buffer on the acrylic, because buffing your natural nail or skin thins it and stings. Pressing hard is the usual mistake. Light pressure does the job, and heavy pressure grinds a dent into the repair area.
6. Wipe the nail with rubbing alcohol
Nail dust and skin oil are invisible, and glue cannot bond to either one. Soak a cotton pad in 70% rubbing alcohol until it is damp but not dripping, since extra liquid can seep into the gap. Wipe the buffed area once, then let the nail air dry for 30 seconds. Keep your fingers off it after that. One touch puts the oil right back.
7. Dab one small drop of nail glue into the lift or crack
One drop is the whole job. For a lift, touch the glue tip to the edge of the gap and let it creep underneath by itself. For a crack, run a thin line along it. Glue pulls itself into tiny spaces, so extra only oozes out and dries into a bump you will have to file off later. Work in bright light, and rest your hand flat on the table so it stays steady.
8. Press and hold for 30 seconds
If the acrylic springs back up, press harder and hold longer. Push the lifted edge down with the flat side of your tweezers, not your fingertip, so the glue never touches your skin. Count the full 30 seconds in your head. Leave any glue that squeezes out alone. Wiping it with a cotton pad is a bad idea, because cotton and wet nail glue can heat up fast. Fixing a lift only? Skip to Step 12 after this.
9. Cut a small patch to fix a cracked acrylic nail (cracks only)
Cracks need a bridge, and a thin piece of silk wrap is that bridge. Cut it so it reaches about 3 millimeters past each end of the crack. Anything smaller lets the crack creep out from under the patch. Then prep it:
- Cut a rectangle from the silk wrap
- Round all four corners
- Set it on a clean spot of your table, using tweezers to move it
Round corners matter because square ones catch on fabric and start to peel.
10. Press the patch flat over the crack (cracks only)
Three things should be true before you move on: the patch covers the crack with 3 millimeters to spare at both ends, it lies flat, and no corner sticks up. Set it down with your tweezers, then press from the center outward with their flat side, pushing wrinkles toward the edges. Nothing is sticky yet, so if it lands crooked, lift it and try again.
11. Brush a thin layer of glue over the patch (cracks only)
Worried the patch will look thick? A thin layer soaks straight through the silk or tea bag paper, so the weave almost disappears. Load the brush lightly and stroke from the base toward the tip. Go over each spot once, because brushing back and forth drags the patch out of place. If your bottle only has a nozzle, squeeze a tiny bead at the base of the patch and pull it across with the tip. Keep the glue off your cuticle and skin. Then hold your hand still for 1 minute and let the glue set.
12. Buff the repair smooth
Glue that feels dry can still be soft underneath, so wait 2 minutes before you touch the buffer. Then make 10 to 15 light passes over the repaired spot, moving toward the tip. On a cracked nail, you are done when the edges of the patch fade into the acrylic. On a lifted nail, you are smoothing any glue bump that dried on top. Slide a fingertip across the area to check for ridges. If you see the crack or the weave getting fresh scratches, ease off. Too much pressure grinds through the patch.
13. Seal the nail with a clear top coat
One thin coat is all this nail needs. Brush it from the base toward the tip, then run the brush along the free edge so the tip is sealed too. That edge is where cracks start, so do not skip it. Want color back? Paint a thin coat of polish first and let it dry for 2 minutes before the top coat. After sealing, let the nail dry for 10 minutes. Keep it out of hot water for the next hour, since heat can weaken fresh glue.
| If This Happens | Try This |
|---|---|
| The glue dries white and cloudy | Too much glue was used, or fumes settled on the wet glue. Buff the white spot lightly with 5 to 8 passes, then seal with top coat. Use one drop next time and keep your face away from the nail. |
| The patch has bubbles or wrinkles | Air got trapped under it. If the glue is still wet, lift the patch with tweezers and press it down again from the center outward. If it has already set, file the bump flat and brush on one thin layer of glue. |
| The crack opens again after a few days | The patch was probably too short, or the nail flexed too much. Redo Steps 9 to 11 with a patch that reaches 3 millimeters past each end. Book your nail tech soon, since a repeat crack needs a proper fix. |
| The lift comes back within a day or two | Oil or shine was left on the surface. Repeat Steps 5 and 6 with extra care, especially the 30-second dry time after the alcohol wipe. If it keeps returning, moisture may be trapped underneath, so see a nail tech. |
| The repair still snags on clothes | A ridge is left at the edge of the patch or glue. File it in one direction from the natural nail toward the tip, then add one more thin coat of top coat. |
Questions Beginners Ask
How long will this repair last?
Plan on 1 to 2 weeks. This is a temporary fix to protect your nail until your nail tech can repair or replace the acrylic properly.
Can I use regular super glue instead of nail glue?
It is best to use nail glue. It comes in a small bottle with a brush or a fine tip, so you can control the amount, and it is made for use near skin. Hardware store super glue is harder to control and more likely to irritate skin.
Can I get the nail wet after fixing it?
Yes, after the first hour. Quick hand washing is fine. Long soaks in hot water or a bath can loosen the repair, so wear gloves for dishes.
What if the acrylic snapped off completely?
If the break goes down to your natural nail, or the nail is bleeding or sore, do not glue it. Cover it with a bandage and see a nail tech or doctor. Gluing over an open or painful spot can trap bacteria.
Do I still need to see my nail tech?
Yes. This repair gets you through the gap, but it does not rebuild the strength of the nail. A tech can fix the crack properly and check that no moisture is trapped under the acrylic.
- Check the damage under a bright lamp
- Remove polish with acetone-free remover
- Clip loose acrylic in 1 to 2 mm bites
- File the lifted edge flat, one direction
- Buff the shine, 8 to 10 light passes
- Wipe with alcohol, dry for 30 seconds
- Dab 1 small drop of glue
- Press and hold for 30 seconds
- Cut a patch, 3 mm past the crack (cracks only)
- Press the patch flat with tweezers (cracks only)
- Brush 1 thin layer of glue over it (cracks only)
- Buff smooth after 2 minutes
- Seal with clear top coat, no hot water for 1 hour
Conclusion
You did it. You can now fix a cracked acrylic nail at home, and your nail no longer snags on every sleeve.
Book your nail tech within the next 1 to 2 weeks. They can rebuild the nail so the repair does not have to carry it for long.
Save this pin to your nail board so it is ready the next time a nail cracks. It always happens at a bad time.