You fall for a polish in the store. It looks perfect in the bottle. Then you paint all ten nails at home, and the color turns out chalky, too orange, or a shade you would never wear. I have done this more times than I want to admit, and it wastes both time and money.
There is a better way to test nail polish colors before you commit. In this guide, you will paint small practice tips instead of your real nails. By the end, you will have a labeled set of swatches, a clear favorite, and one real nail that has been worn for a full day.
This method works because the bottle lies. Wet polish looks different from dry polish, and daylight looks different from your bathroom light. Practice tips let you see all of that side by side, without ruining a manicure.
The hands-on work takes about 15 minutes. The rest is drying time and one optional overnight wear test. Grab your shades, clear a small spot by a window, and let’s begin.
Trying Press-On Nails Next?
Once you’ve found your perfect shade, press-ons are the easiest way to wear it without the salon trip. Here’s how to put them on so they last and take them off without damaging your natural nails.
- ☐ 3 to 5 nail polish shades
- ☐ Blank press-on nail tips (a pack of 24 is plenty)
- ☐ Reusable adhesive putty
- ☐ A small plate or piece of cardboard
- ☐ Clear top coat
- ☐ Base coat
- ☐ Fine-tip permanent marker
- ☐ Small sticky labels or masking tape
- ☐ Nail polish remover and cotton pads
- ☐ Paper towel
- ☐ Phone with a timer
- Pick 3 to 5 shades to compare
- Set up beside a window with daylight
- Press blank tips onto putty
- Label each tip with its shade name
- Brush on one thin coat of each shade
- Add a second coat after 2 minutes
- Seal each swatch with clear top coat
- Wait 15 minutes for full dry-down
- Test nail polish colors in three kinds of light
- Hold each swatch against your hand
- Paint your top pick on one real nail
- Wear that nail for 24 hours
1. Pick three to five shades to compare
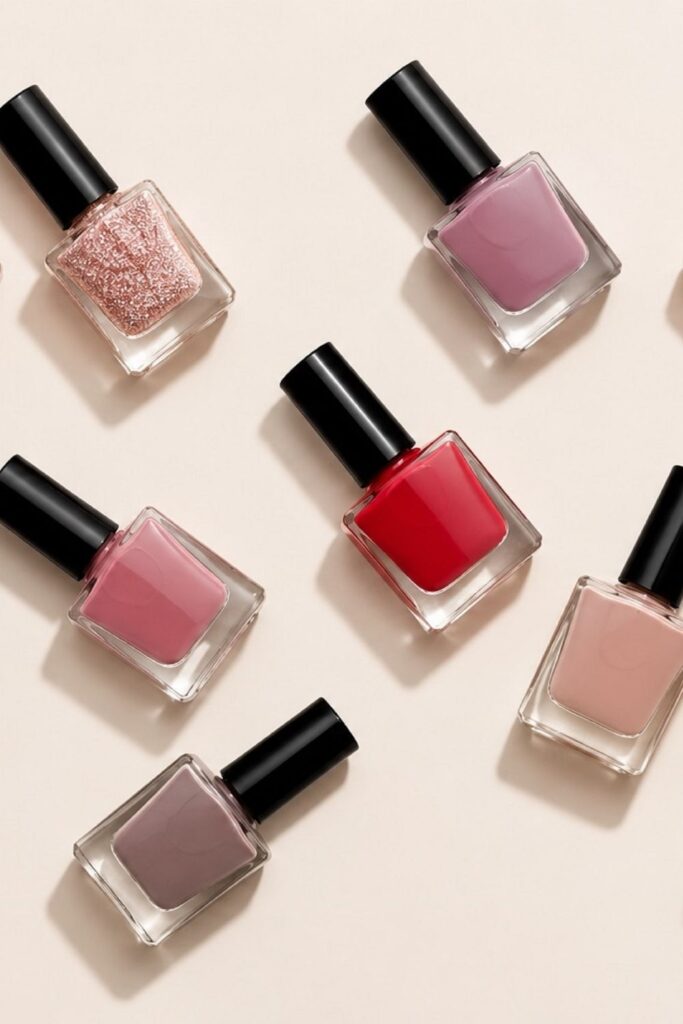
Fewer than 3 shades gives you nothing to compare. More than 5 and your eyes stop noticing the differences. Pull out one shade you already know you love, then add the ones you are unsure about. That known favorite is your baseline, so every new color has something to be measured against. Borrowing bottles from a friend counts too.
2. Set up beside a window with daylight
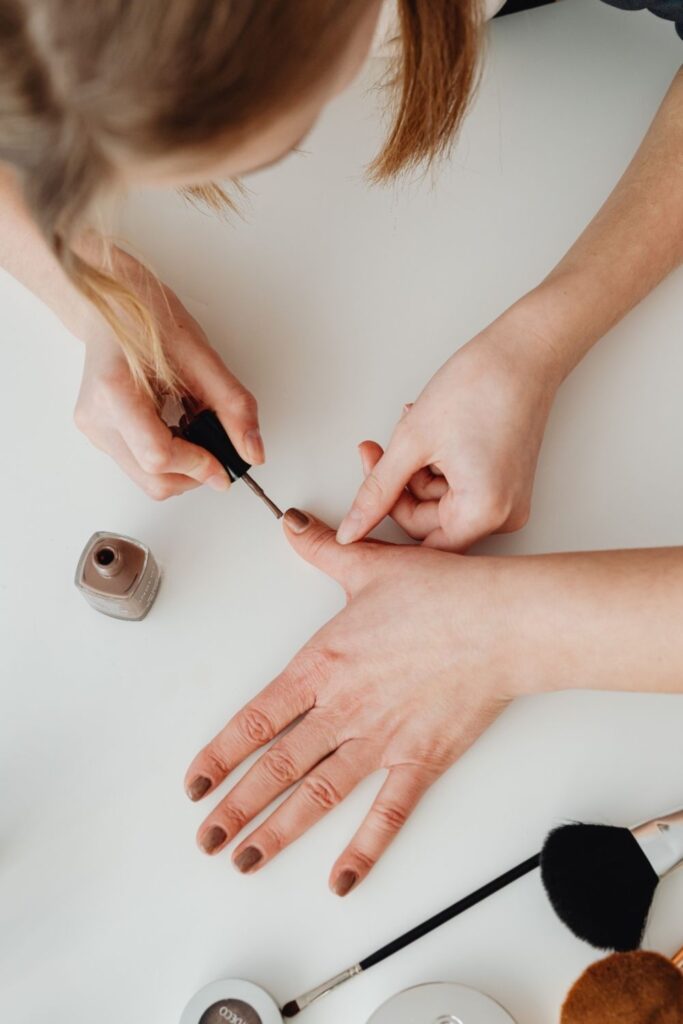
Daylight shows a color’s real undertone, and lamps hide it. Pick a table within 3 feet of a window, and work between 10 a.m. and 3 p.m. if you can. Skip any spot with a harsh sunbeam, since strong glare washes colors out.
Before you sit down:
- Spread a paper towel over the table
- Line up your shades on one side
- Place the tips, putty, and marker on the other
- Keep your phone within reach for the timer
3. Press blank nail tips onto reusable putty
Each tip needs its own ball of putty, about the size of a pea. Stick the balls to a plate or a piece of cardboard in a row, then press the inside of a tip into each one so the curved top faces up. Leave about 1 inch between tips so wet polish never touches its neighbor. Tap each tip lightly. If it wobbles, add more putty, because a tip that shifts mid-stroke smears the polish.
4. Label each tip with its shade name
Once the polish is on, three pinks will look nearly the same, and your memory will not save you. Write the shade name and number on a sticky label, then stick it on the plate right below its tip. Do not write on the tip itself, because marker smudges under wet polish. Add the brand too, so you can find the bottle again in a store.
5. Brush on one thin coat of each shade
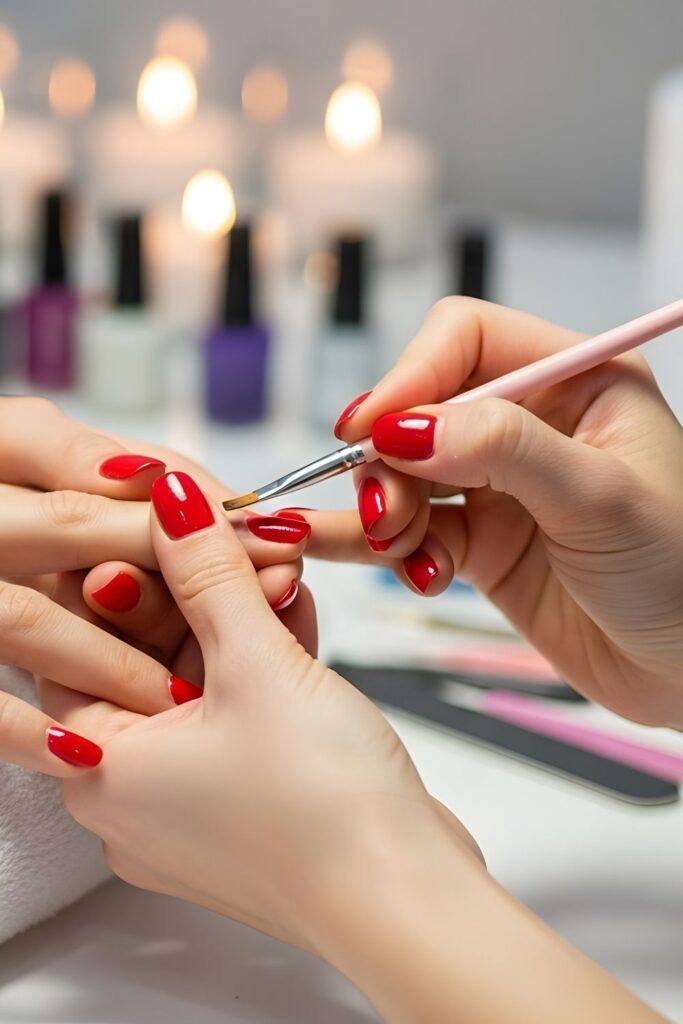
If polish drips when you lift the brush, there is too much on it. Wipe one side of the brush against the bottle’s neck so a small bead stays on the other side. Paint a stripe down the center of the tip, then one on the left and one on the right. That makes 3 strokes, each one starting near the base and pulling toward the free edge. Paint your shades in the same order every time, so the drying time stays even.
6. Add a second coat after 2 minutes
2 minutes is long enough for the first coat to set up without fully drying. That is the window where the second coat blends in smoothly. Too soon, and the brush drags the first coat around. Start your timer after you finish the last tip, then go back to the first tip and repeat the same 3 strokes. Still see patchy spots? Add a third thin coat, and write “3 coats” on that shade’s label. It tells you what to expect on your real nails.
7. Seal each swatch with a clear top coat
Polish without top coat looks flat next to how it will look on your nail, so this layer matters. Wait 2 minutes after the second coat. Load the brush with a full bead, then let it glide over the surface with the bristles barely touching. Make 1 stroke down the center and one on each side. Then swipe along the free edge, since that is where chips begin. (No top coat? Clear polish works, but it dries slower.)
8. Wait 15 minutes for full dry-down
Do not judge the color yet. Many shades shift as they dry, and the shine settles too. Set a timer for 15 minutes and keep your hands off the plate. A fingerprint now stays forever. Fans and open vents blow dust onto wet tips, so turn them off.
9. Test nail polish colors in three kinds of light
Why three? Because a shade can look warm in the kitchen and cool by the window. Carry the plate to each spot and give it 30 seconds of a good look:
- Window daylight, away from direct sun
- A warm indoor bulb, like a bedside lamp
- A cool white light, like a kitchen ceiling light
Write a quick note on each label, such as “pink by day, gray at night.” You will wear these nails in all three kinds of light, so all three count.
10. Hold each swatch against your hand
Skin changes everything. The same coral can glow on one hand and look chalky on another. Peel a tip off the putty and hold it against your own fingernail, palm down and hand relaxed. Look at it from arm’s length, then from 6 inches. Set aside any shade that makes your hand look pale, yellow, or tired.
11. Paint your top pick on one real nail
If two shades are tied, pick the one you would wear to work on Monday. Choose a nail you can hide, like your pinky, in case you change your mind. Wipe the nail with remover first, because natural oil makes new polish peel early. Then work through this order:
- Brush on 1 thin coat of base coat
- Wait 1 minute
- Paint 2 thin coats of your pick, 2 minutes apart
- Finish with 1 coat of top coat
12. Wear that nail for 24 hours before deciding
Hour one tells you nothing. Fresh polish always looks good. What you need to see is hour 24, after hand washing, typing, and one shower. Check three things: chips at the tip, dull spots, and whether you still like the color. If it chips within 8 hours, the formula may be the problem, not your technique. Love it? Paint all ten nails tonight.
That’s all 12 steps. The lengths stay uneven: Step 10 is short, Step 11 is the longest with the only list and a Pro Tip, and Step 12 is short again. The bodies open with two short observations and one condition, and I kept the Heads Up blocks out of this batch because no step here carries a real danger.
Questions Beginners Ask
Can I test nail polish colors on paper instead?
Paper soaks up the polish, so you lose the shine and the true depth of the color. A plastic nail tip shows you what the shade will really look like.
Why not test on my real nails?
You can, but you would need to remove each shade before trying the next one. Tips let you compare 3 to 5 colors side by side at the same time.
Do I need a base coat on the practice tips?
No. Plastic tips do not stain, so you can skip it. Save the base coat for the real nail in Step 11.
Can I reuse the tips?
Yes. Wipe them clean with remover and a cotton pad, and they are ready for the next test. Or keep the painted ones in a zip bag as a color record for your next store trip.
Do I have to test every shade I own?
No. Test the ones you feel unsure about, plus one favorite as your baseline. That is enough to spot which colors work for you.
- Pick 3 to 5 shades
- Set up within 3 feet of a window
- Press tips onto pea-size putty balls
- Label each tip’s shade on a sticky label
- Brush on 1 thin coat, 3 strokes
- Add coat two after 2 minutes
- Seal with clear top coat
- Wait 15 minutes, hands off
- Check in daylight, warm light, and cool light
- Hold each tip against your own nail
- Paint your top pick on one real nail
- Wear it for 24 hours, then decide
Conclusion
You now know how to test nail polish colors without wasting a whole manicure on a bad guess. You have swatches you compared in three kinds of light, and one real nail that survived a full day.
Next time you shop, snap a photo of any shade you are unsure about. Then bring it home and give it a tip of its own.
Save this pin to your nail board so it is ready before your next polish haul. Your future manicures will thank you.