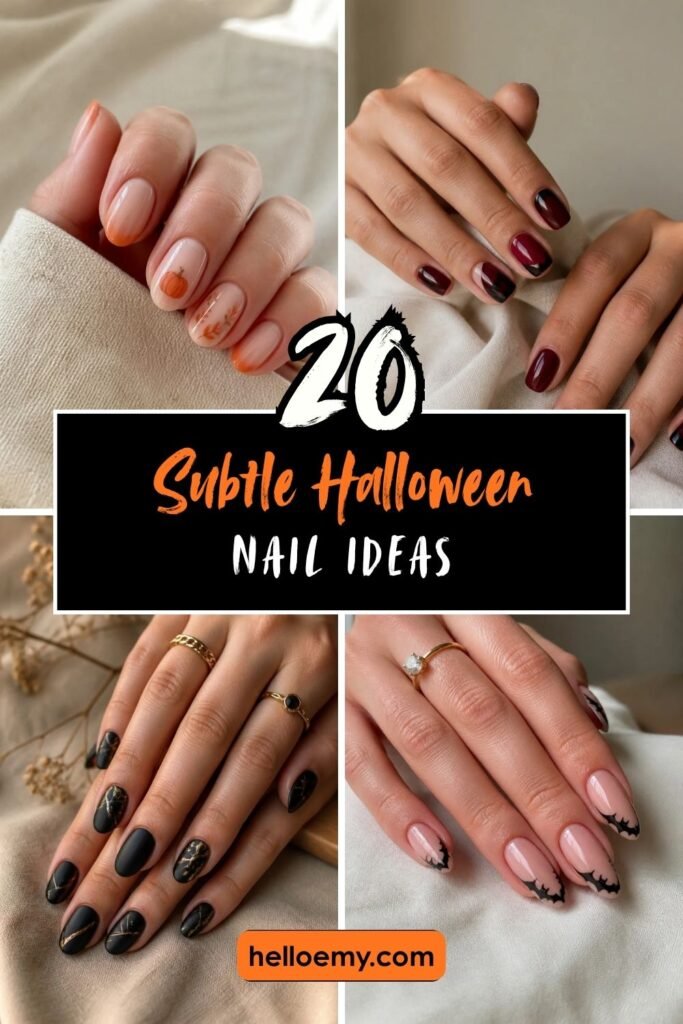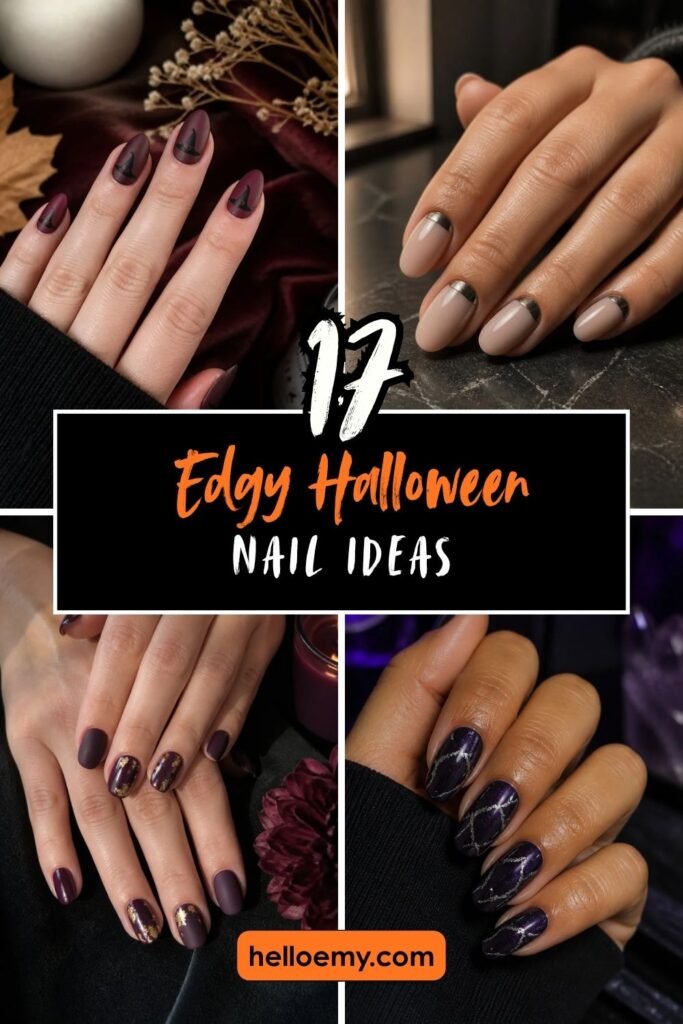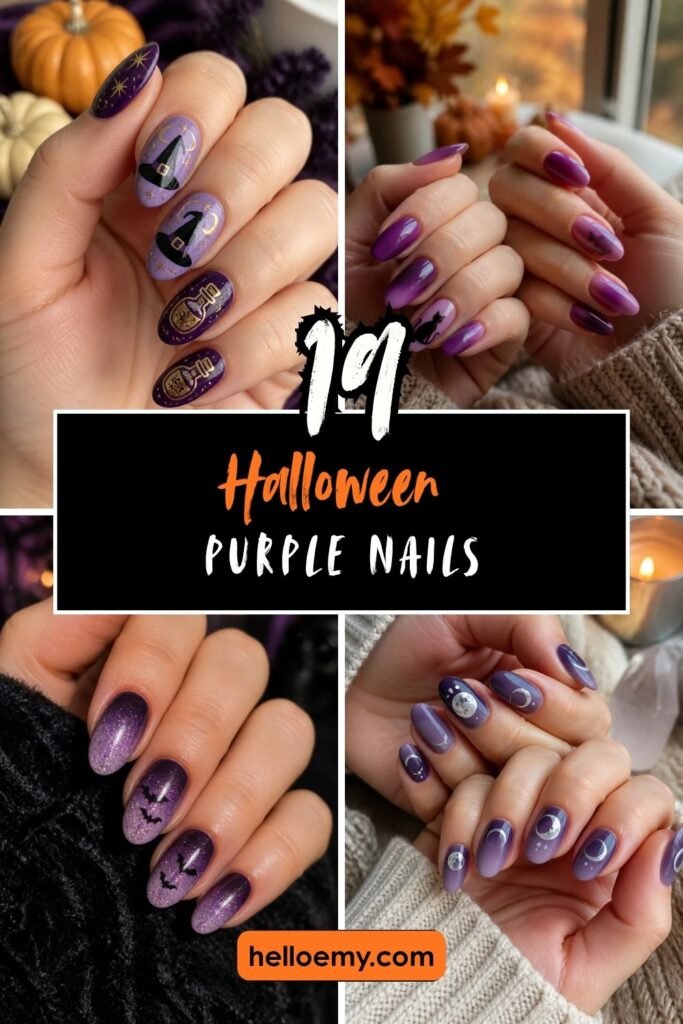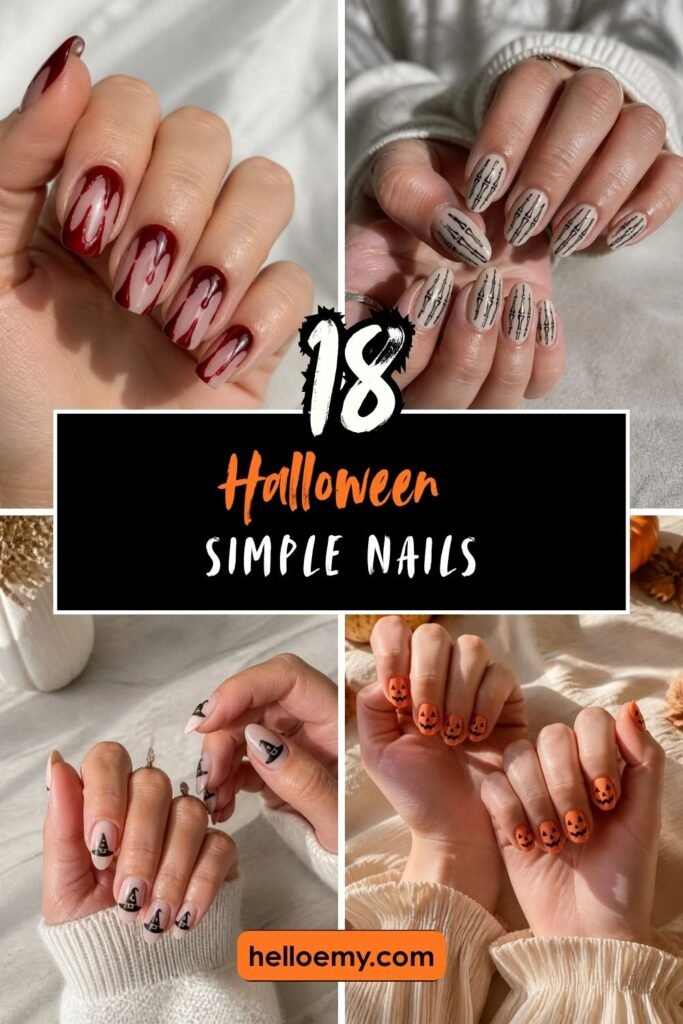
Halloween nails don’t have to be intimidating, even for beginners working with limited tools at home. Simple designs like ghost faces, black cats, and candy corn stripes deliver instant festive impact without requiring professional skills.
Nail artist Sarah Chen suggests sticking to bold shapes and a limited color palette to keep things manageable. Fewer colors actually work in your favor, since they reduce complexity while keeping the overall look sharp and intentional.
These foundational styles also work as great starting points for something more creative. Strategic layering and unexpected color pairings can completely transform a basic design into something that looks far more advanced.
Small details make a surprisingly big difference too. A tiny orange dot, a thin white line, or a simple spider outline can take a plain black nail from basic to genuinely eye-catching.
More Halloween Nail Ideas You’ll Love
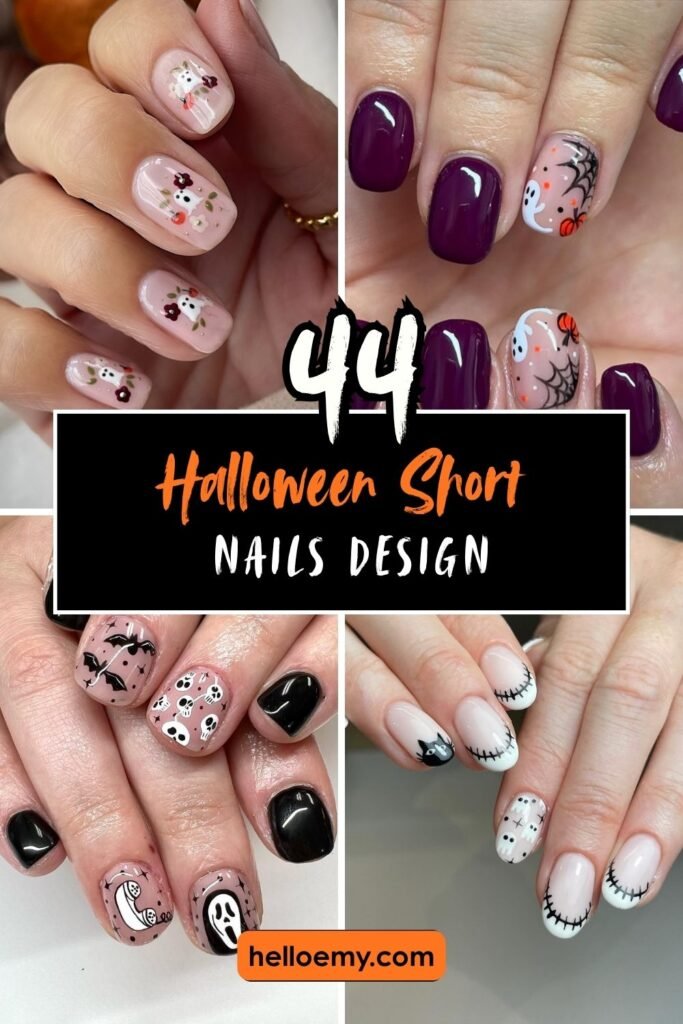
Simple Ghost Faces With Dotted Eyes
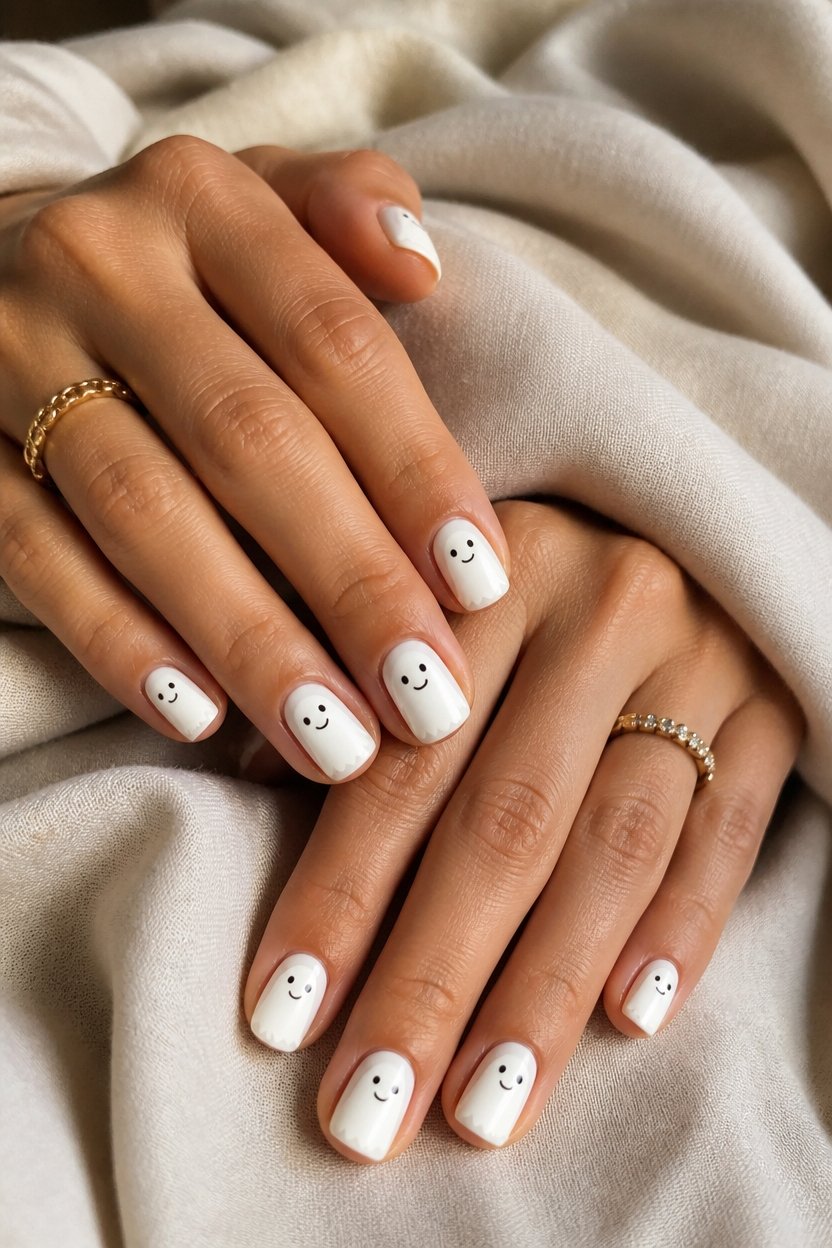
Several nail artists have embraced ghost faces as a Halloween staple that works beautifully on any nail length or shape.
Start with a crisp white base coat, then add two black dots for eyes and a small curved line for the mouth. This minimalist approach requires only basic tools and polish.
The design translates easily across different nail sizes, making it accessible for home manicurists seeking understated Halloween elegance.
Easy Black Cat Silhouettes
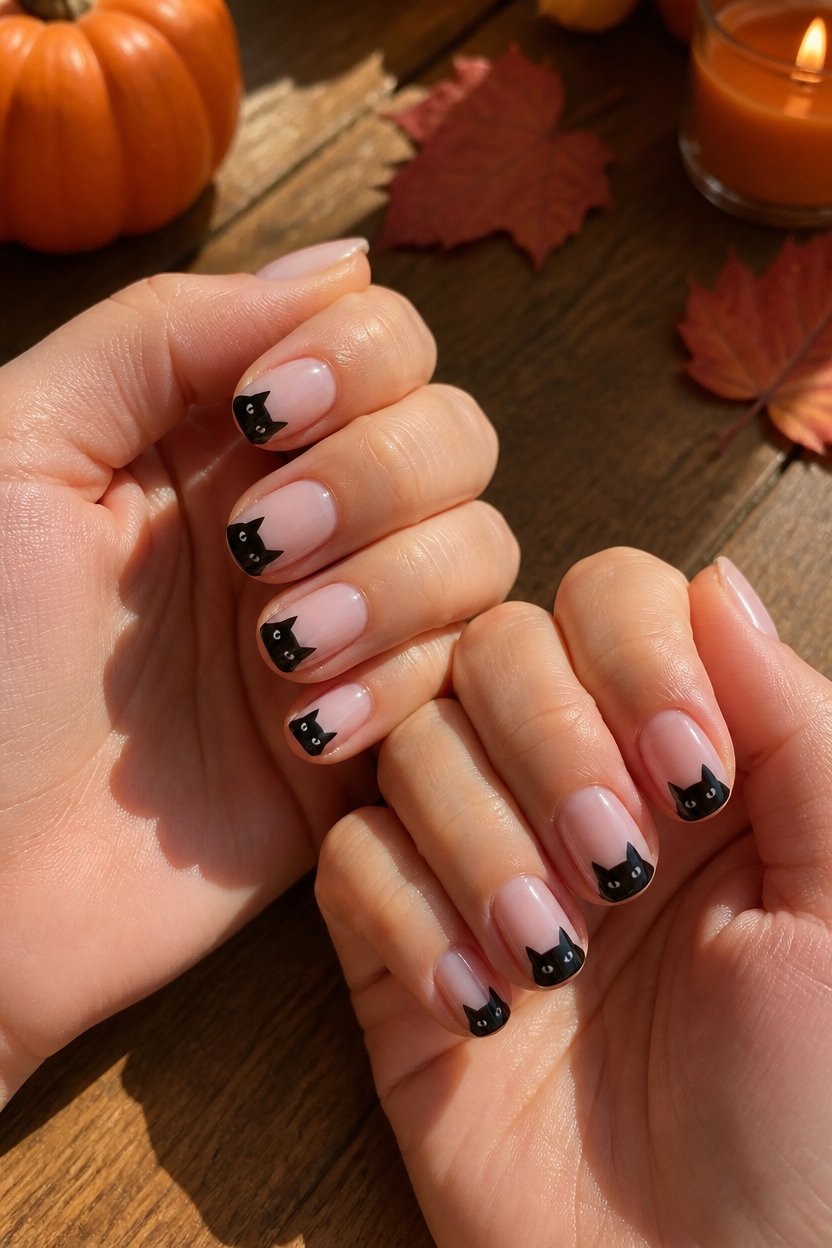
Black cat silhouettes offer a timeless Halloween nail design that combines sophistication with simplicity.
Apply a cream base coat, then use a thin brush or nail art pen to sketch elegant cat profiles. Finish with glossy topcoat for dimension.
This design works on any nail length.
Professionals recommend Sally Hansen Insta-Dri for quick drying between layers, ensuring clean silhouette edges remain sharp and polished.
Basic Candy Corn Stripes
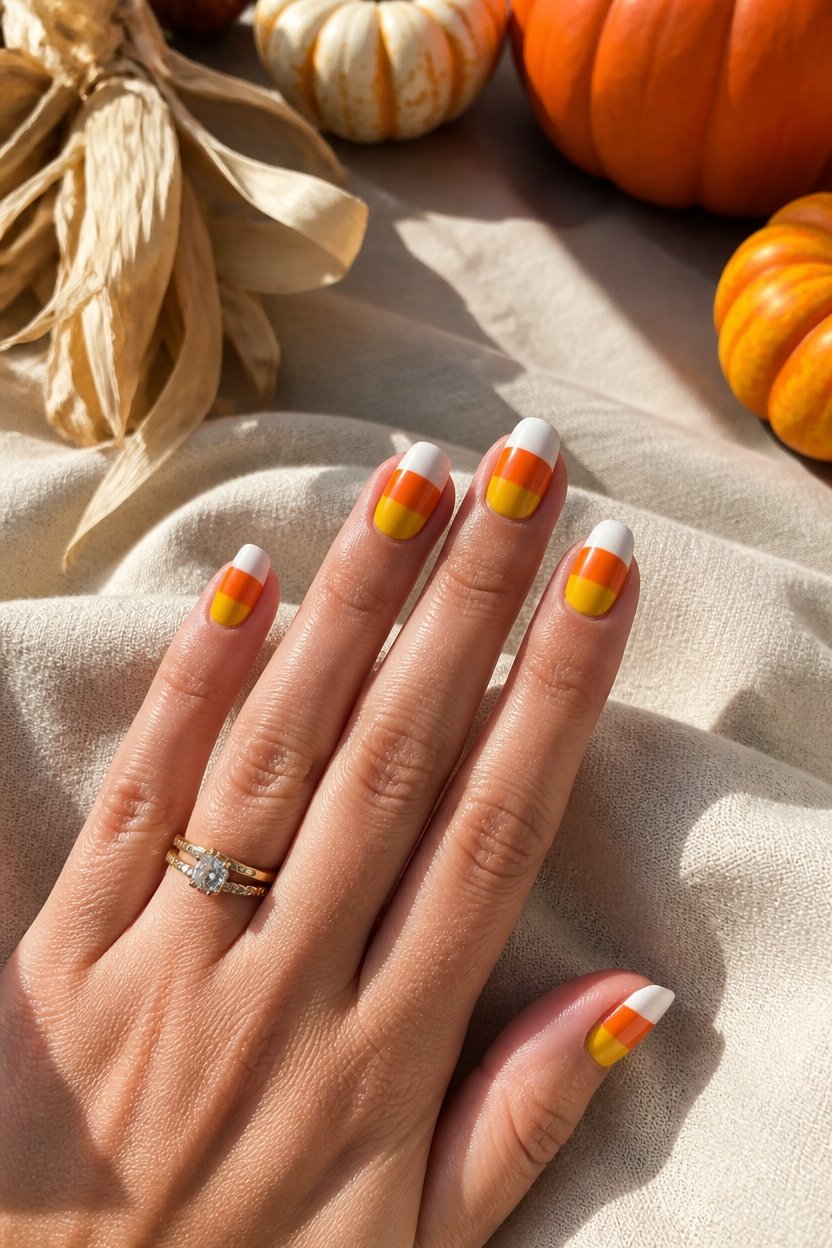
Candy corn stripes deliver iconic Halloween appeal through bold, tricolor design.
Paint yellow as the base coat, then layer orange and white stripes horizontally. Use thin brushes for crisp lines.
Sally Hansen’s Color Therapy polish provides excellent opacity in these classic shades.
Seal with glossy topcoat for dimensional shine. This straightforward technique transforms nails into recognizable candy corn treats within minutes, requiring minimal skill.
Minimalist Spider Webs
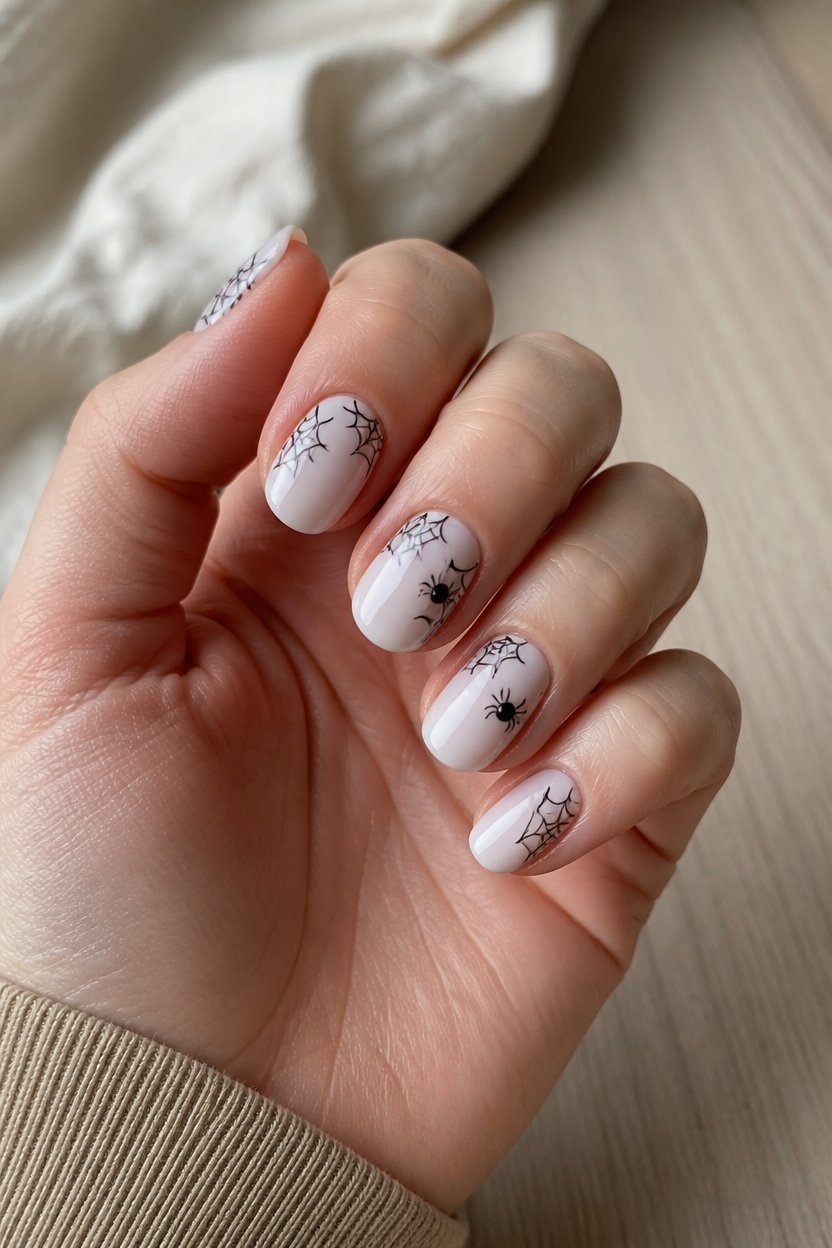
While candy corn dominates the Halloween nail aesthetic, minimalist spider webs offer a sophisticated alternative for those seeking understated elegance.
Using a fine-liner brush or thin striping tool, artists create delicate web patterns across nude or soft gray bases. Apply thin black lines in interconnected angles. A single rhinestone accent serves as the spider.
This design balances spooky intent with refined restraint, appealing to professionals seeking festive nails without bold statements.
Mummy Wraps With Googly Eyes
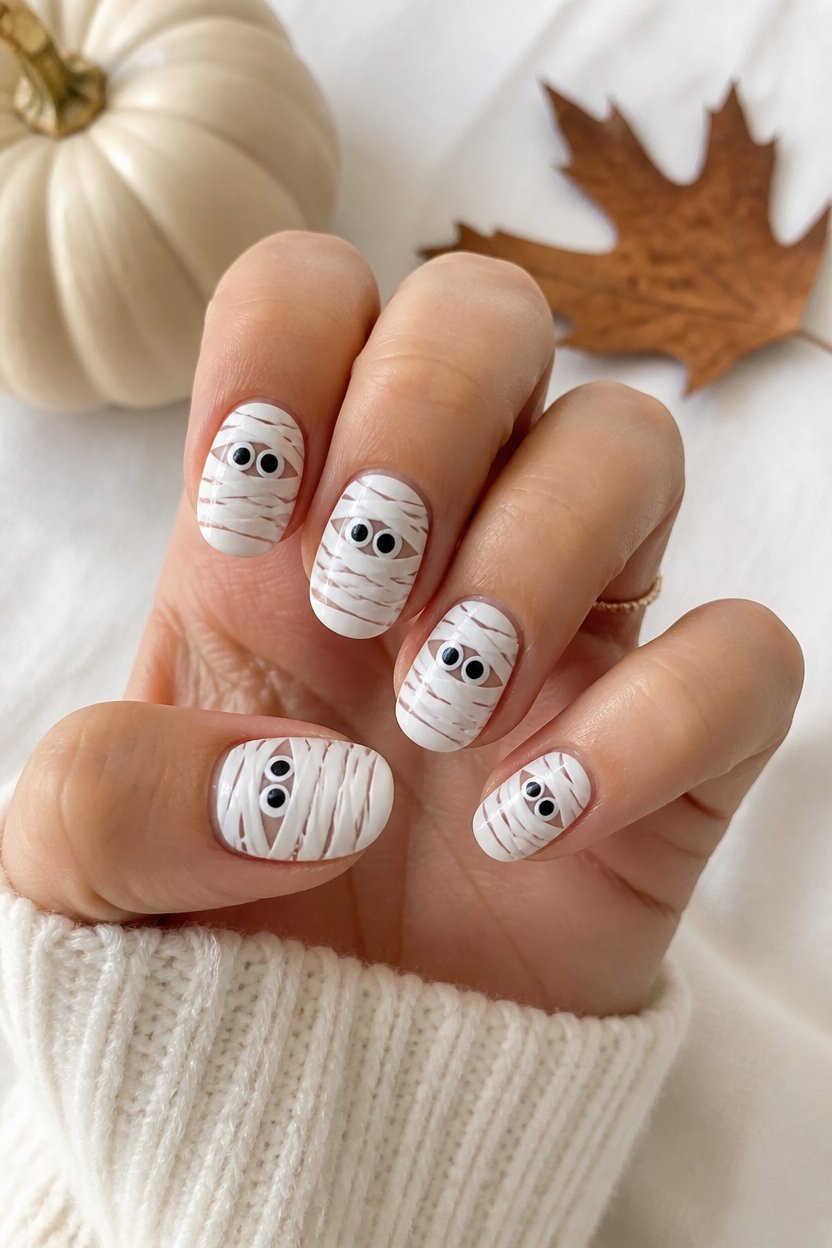
Layered white strips mimicking ancient bandages create the foundation for this playful yet elegant design.
Thin lines of white gel polish wrap around each nail in staggered patterns. Small googly eyes, secured with clear topcoat, complete the mummy effect.
This dimensional approach transforms nails into miniature Halloween characters with personality and charm.
Blood Drip Effect
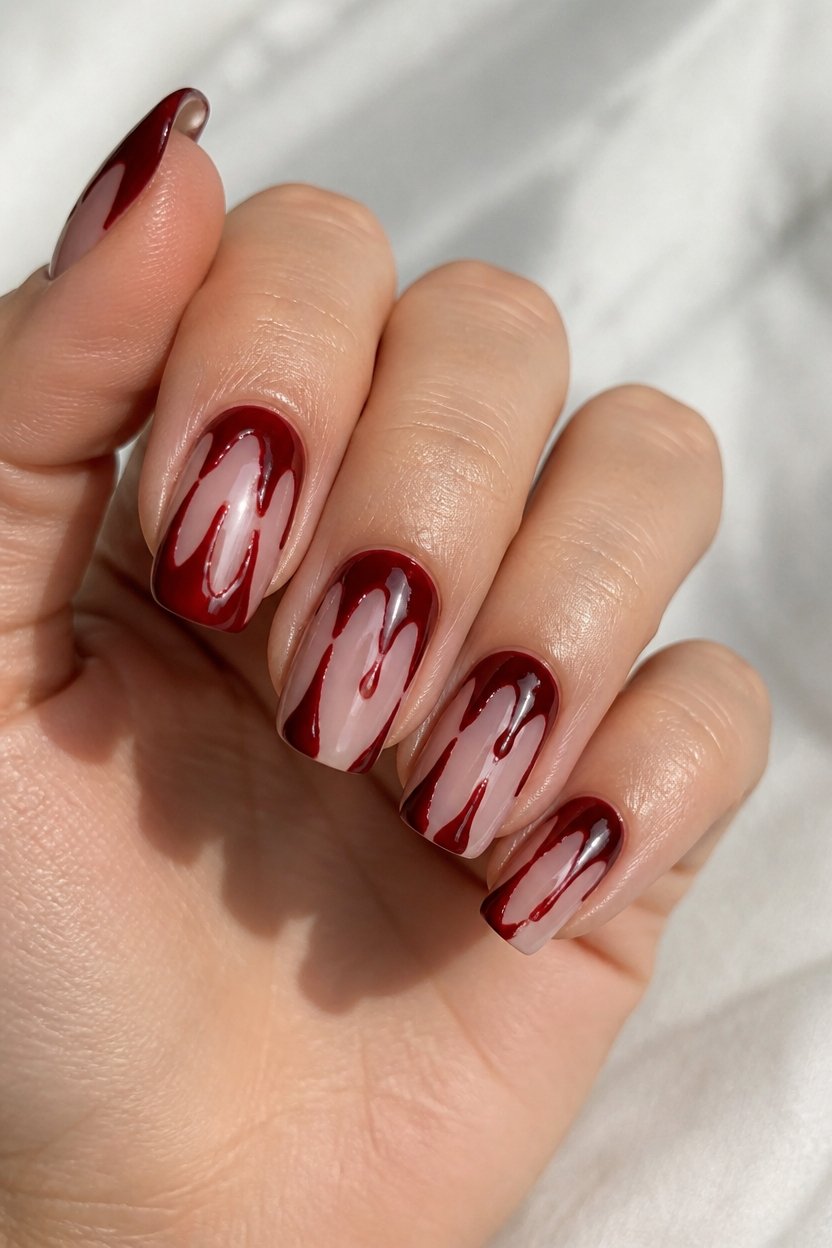
For those seeking drama beyond mummy charm, the blood drip effect delivers spine-tingling sophistication on a smaller canvas.
Apply a crisp white or nude base coat. Using a thin brush and deep red polish, create controlled drips from the nail tip downward.
Layer glossy topcoat for dimension.
This technique transforms any nail design into gallery-worthy Halloween art requiring minimal supplies and maximum impact.
Skeleton Fingers on a Neutral Base
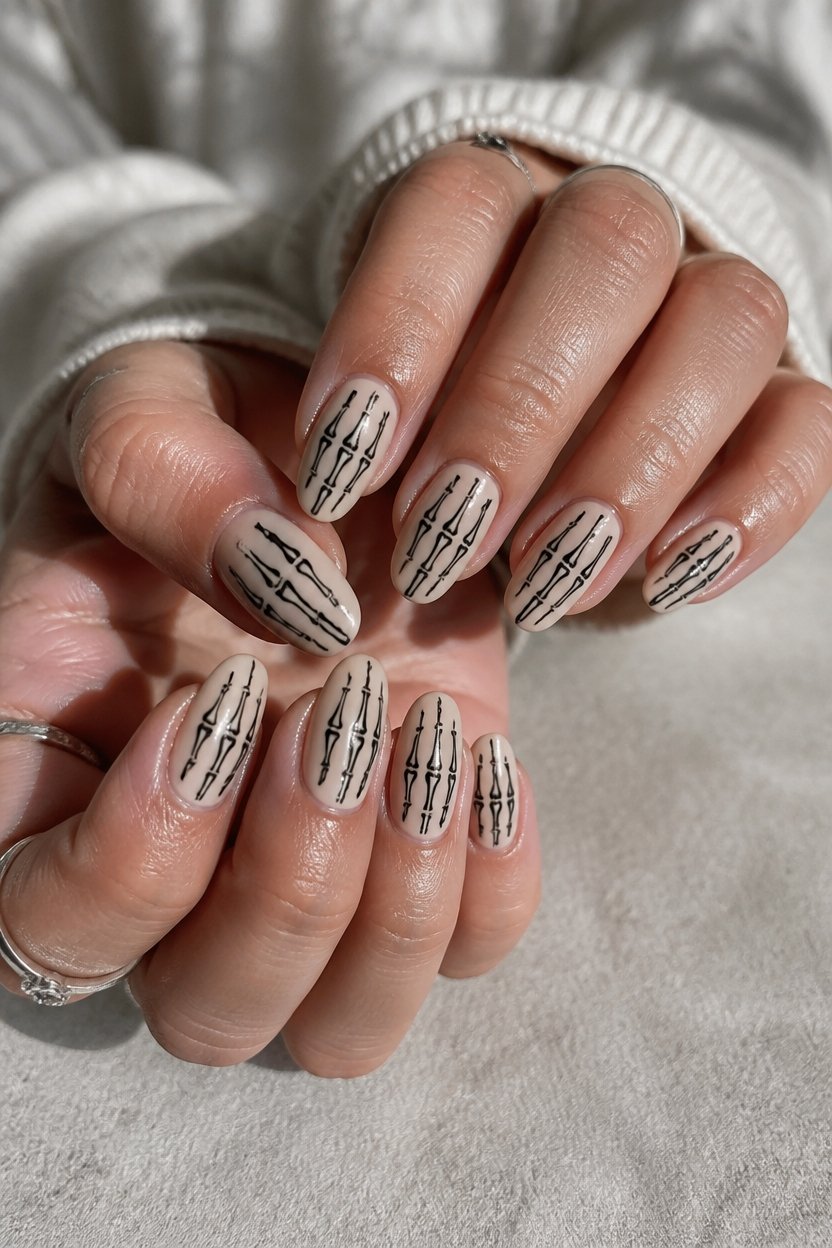
Skeleton fingers demand precision and a steady hand, but the payoff delivers instant Halloween credibility.
Apply a nude or soft beige base coat across all nails.
Using black gel or acrylic paint, sketch bone segments with fine detail brushes.
Add delicate black lines between segments for authentic skeletal definition.
Seal with glossy topcoat for durability and dimensional contrast that elevates the manicure considerably.
Witch Hat Nail Tips
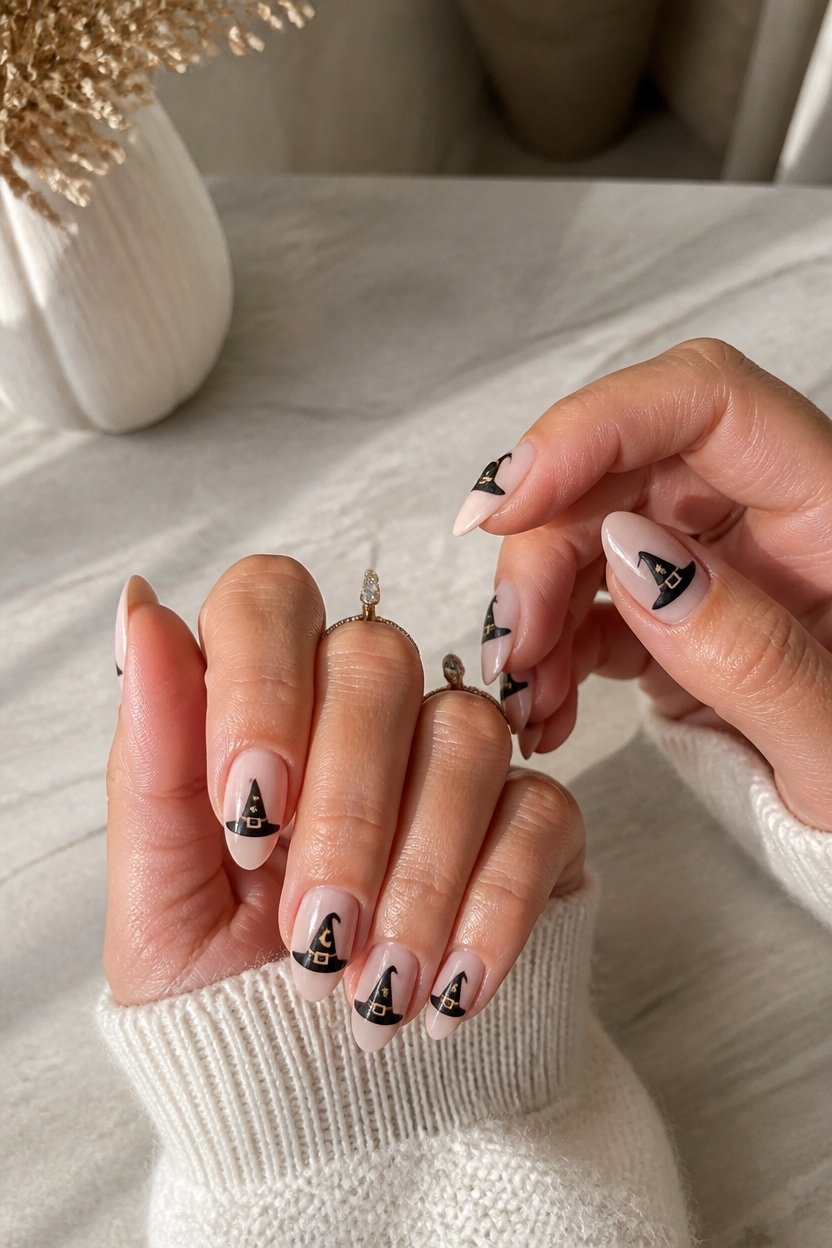
Every Halloween manicure deserves a bold statement piece, and witch hat designs deliver exactly that with dramatic flair.
Paint a deep purple or black base on each nail. Use a thin brush to create a pointed hat silhouette. Add a small band detail near the nail base using gold or silver metallic polish.
Layer matte top coat for authentic texture. This design transforms simple nails into recognizable Halloween art.
Haunted Jack-O’-Lantern Faces
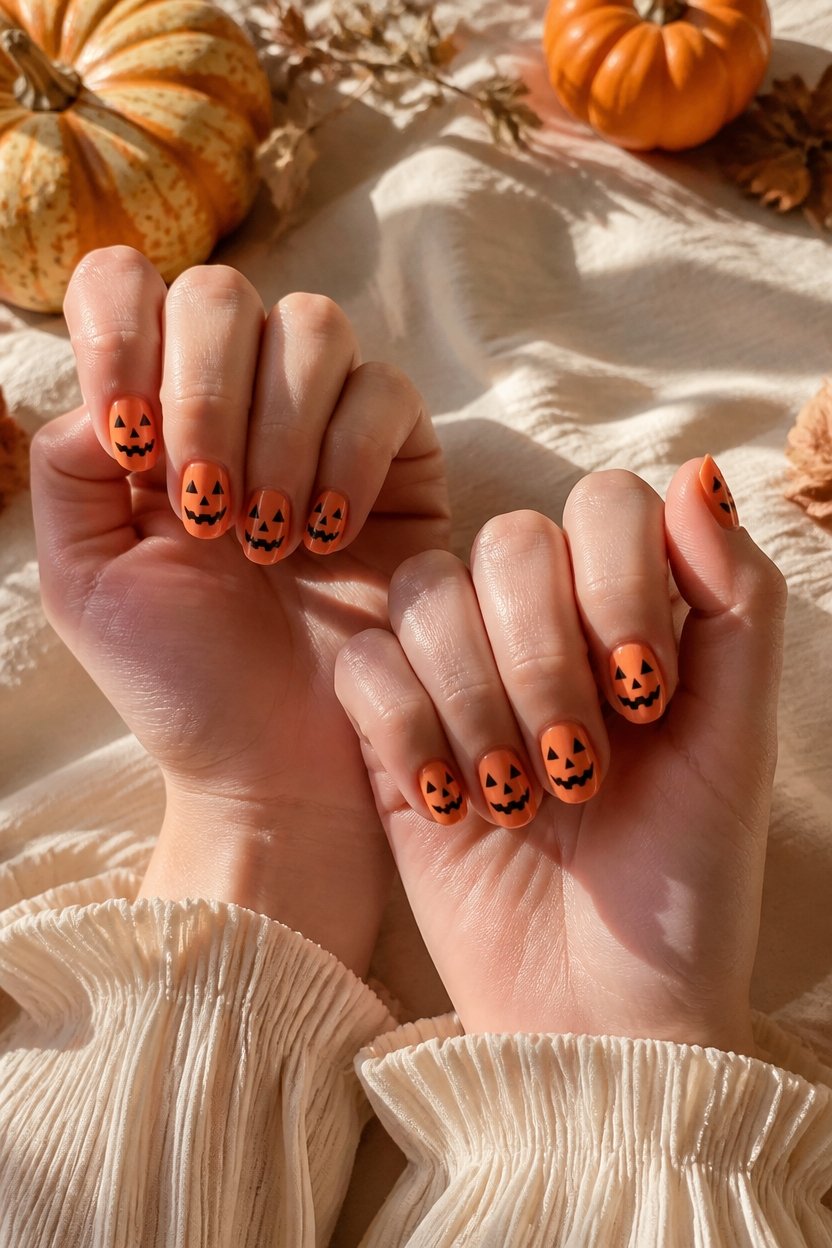
A carved pumpkin’s iconic grin translates beautifully onto nail canvas with this classic Halloween design. Apply an orange base coat, then use a thin black brush to paint triangular eyes and a menacing smile.
Add dimension with matte topcoat on the face details, keeping the base glossy.
This straightforward design delivers maximum impact with minimal precision required, making it perfect for home manicurists seeking seasonal flair.
Bat Wing Details
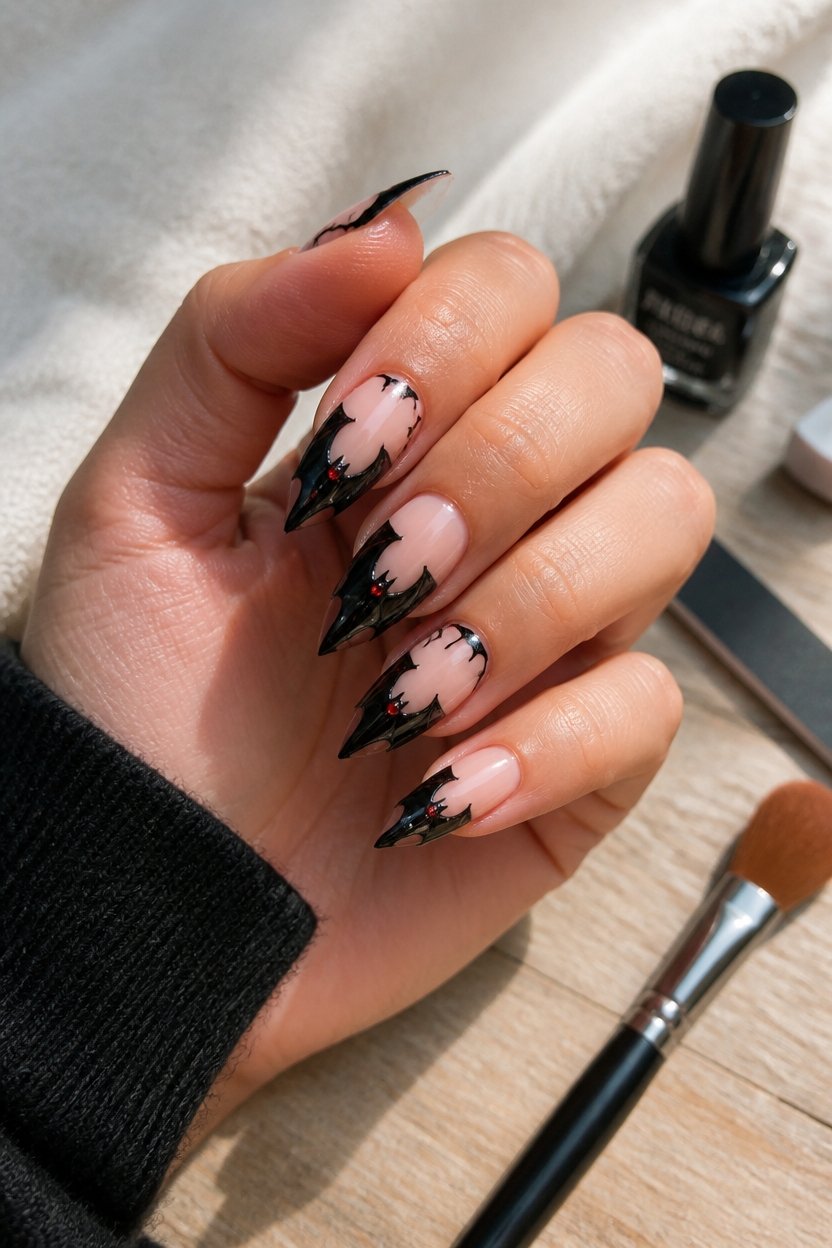
Delicate silhouettes of bat wings create an elegant Halloween statement that elevates nail art beyond typical seasonal designs. Using thin brushes and black gel polish, artists paint symmetrical wings across the nail base.
Layering matte top coat over glossy details adds dimension. Wing placement near the nail edge creates visual movement.
This technique transforms simple manicures into sophisticated seasonal art.
Gravestone Ombré With Sponging
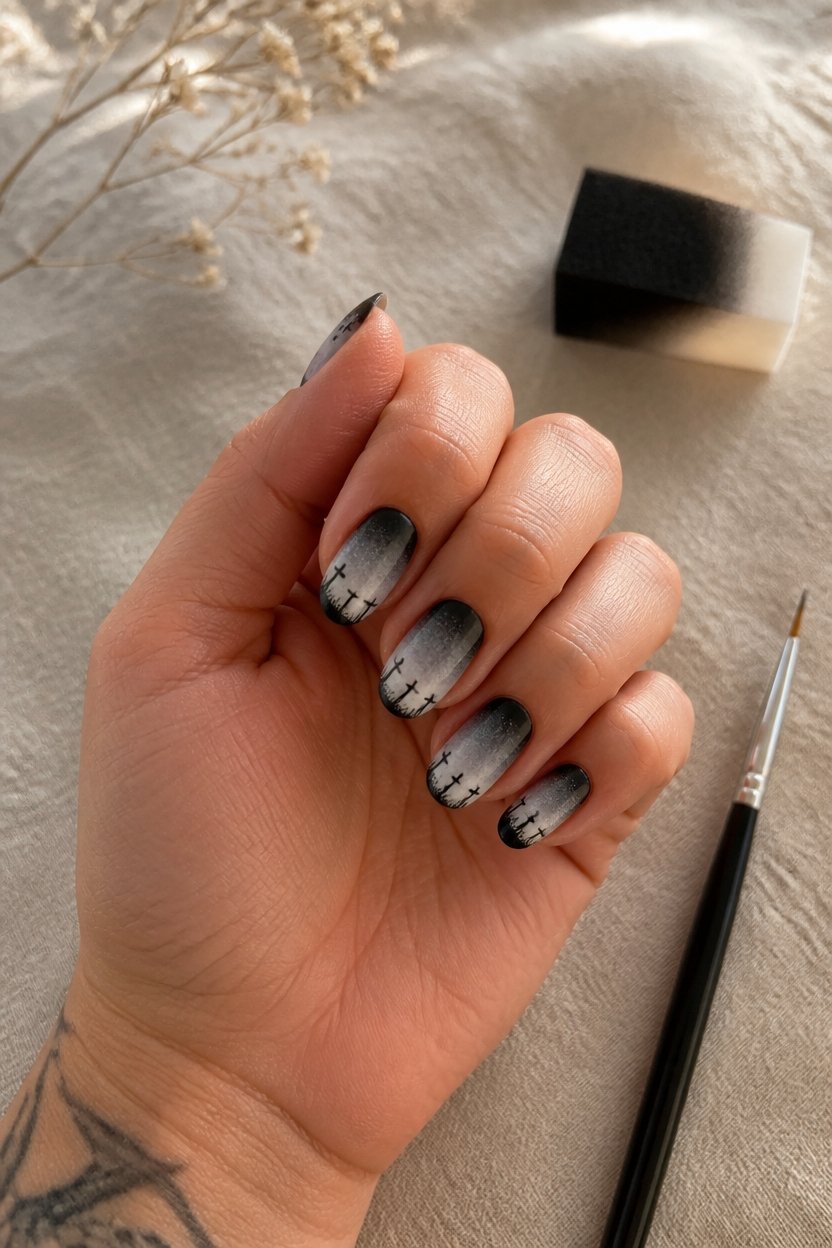
Tombstone silhouettes gain haunting depth when artists blend gray and black polish using the sponging technique.
Apply base coats in light gray. Dab a makeup sponge across darker charcoal shades for dimensional gradients. Layer matte topcoat for authentic stone texture.
This approach creates sophisticated cemetery vibes.
Professional nail artists recommend OPI’s “Dark Side of the Mood” for rich ombré effects.
Zombie Bite Marks
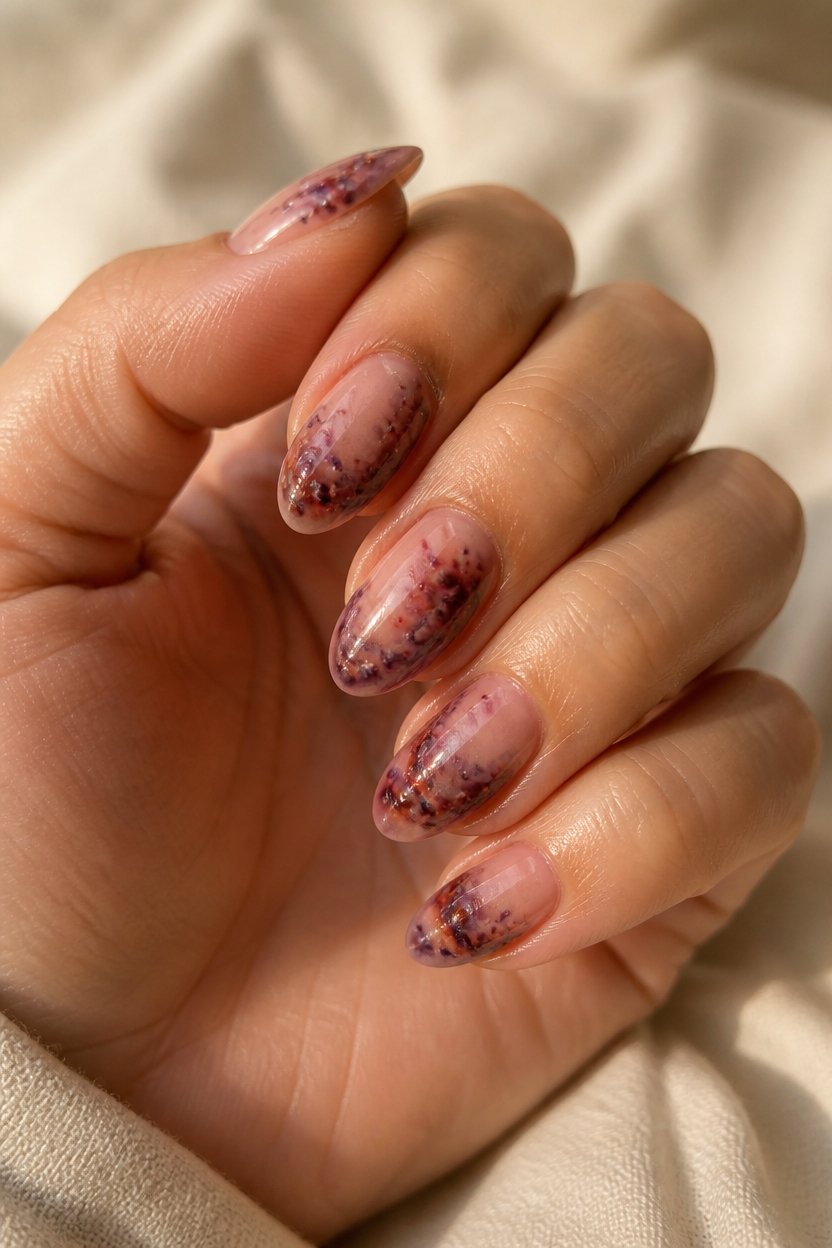
For those seeking edgier Halloween nail designs beyond cemetery aesthetics, zombie bite marks deliver theatrical gore with surprising elegance.
Apply a nude base coat. Using a thin brush and deep burgundy or black polish, create two curved puncture marks on each nail.
Layer translucent red polish around the marks for depth. This design translates horror into wearable art.
Orange Pumpkins With Stems
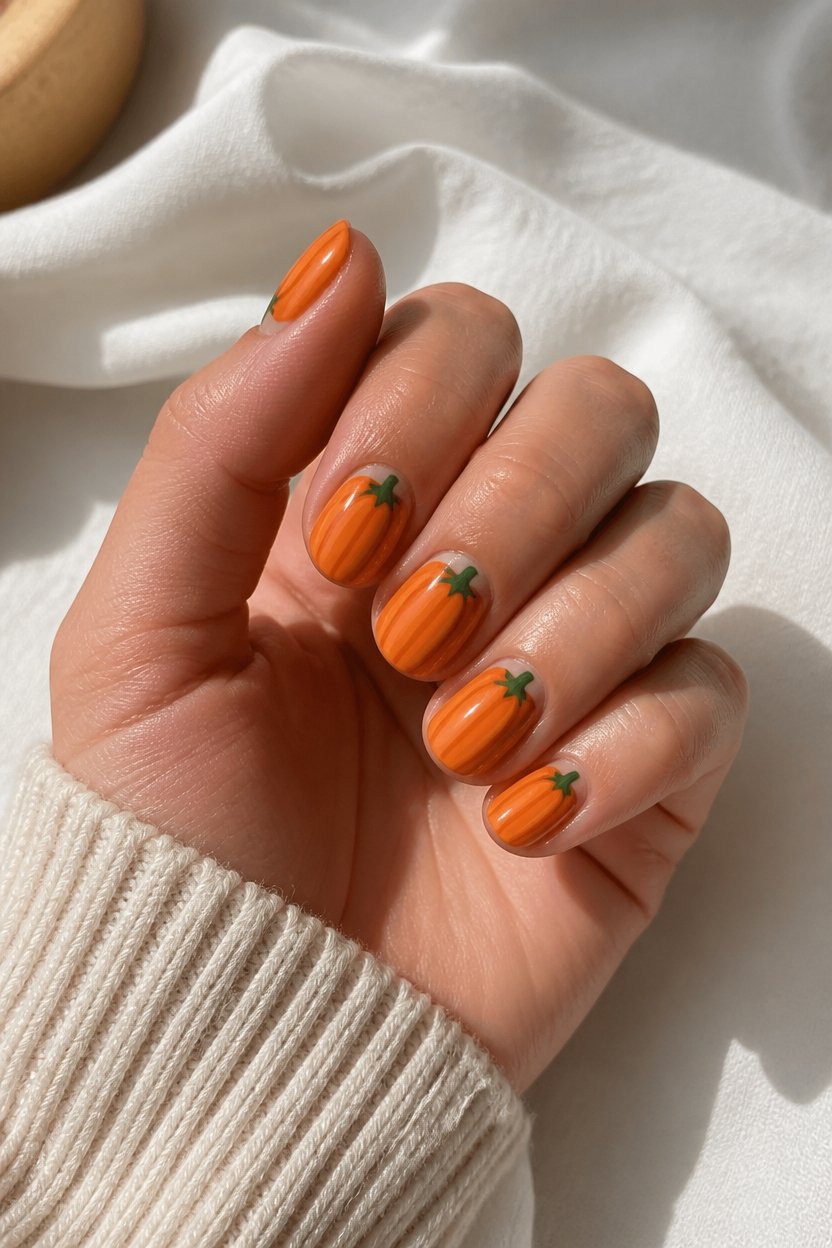
A classic Halloween staple transforms nails into miniature autumn gourds. Apply vibrant orange base polish across the nail bed.
Using a thin liner brush, paint curved green stems at the nail tips. Add dimensional ridges with darker orange shading along the sides.
This design requires steady hands and quality acrylic brushes for precision. The finished look captures seasonal charm effortlessly.
Creepy Eyeballs on White
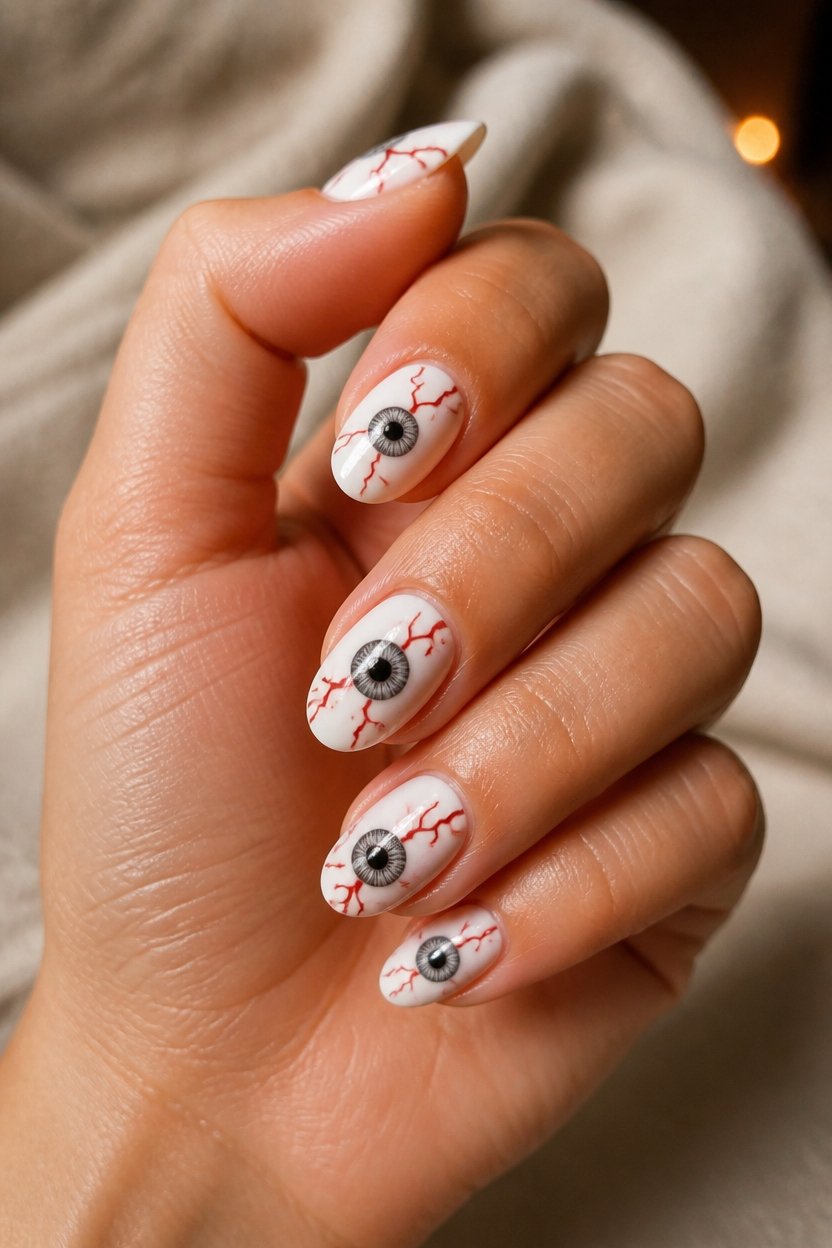
Eyeballs staring from a pristine white canvas deliver instant Halloween impact. Apply white base coat, then use black gel polish for iris and pupil details. Add crimson veins using a thin liner brush for realism. Seal with glossy topcoat.
This design requires steady hands but rewards with striking drama.
Professional nail technicians recommend practicing on paper first for precision placement and confident execution.
Frankenstein Neck Bolts
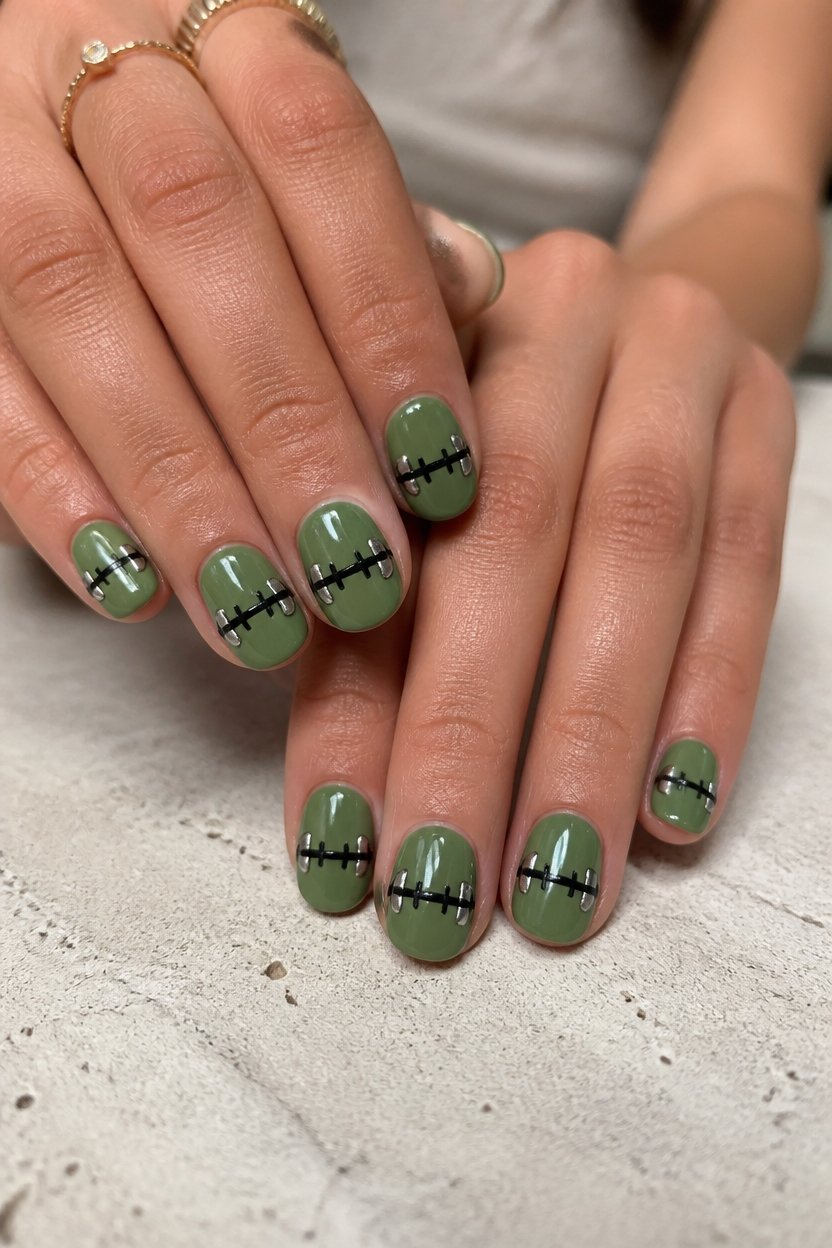
This iconic monster-inspired design brings theatrical flair to Halloween manicures through metallic dimension and structured geometry.
Paint nails black as a base. Add gray or silver bolt shapes on each side using a thin brush or striping tool. Apply metallic top coat for dimensional shine.
The contrast between matte black and gleaming bolts creates striking visual impact that captures Frankenstein’s essence perfectly.
Purple Potion Bottle Base
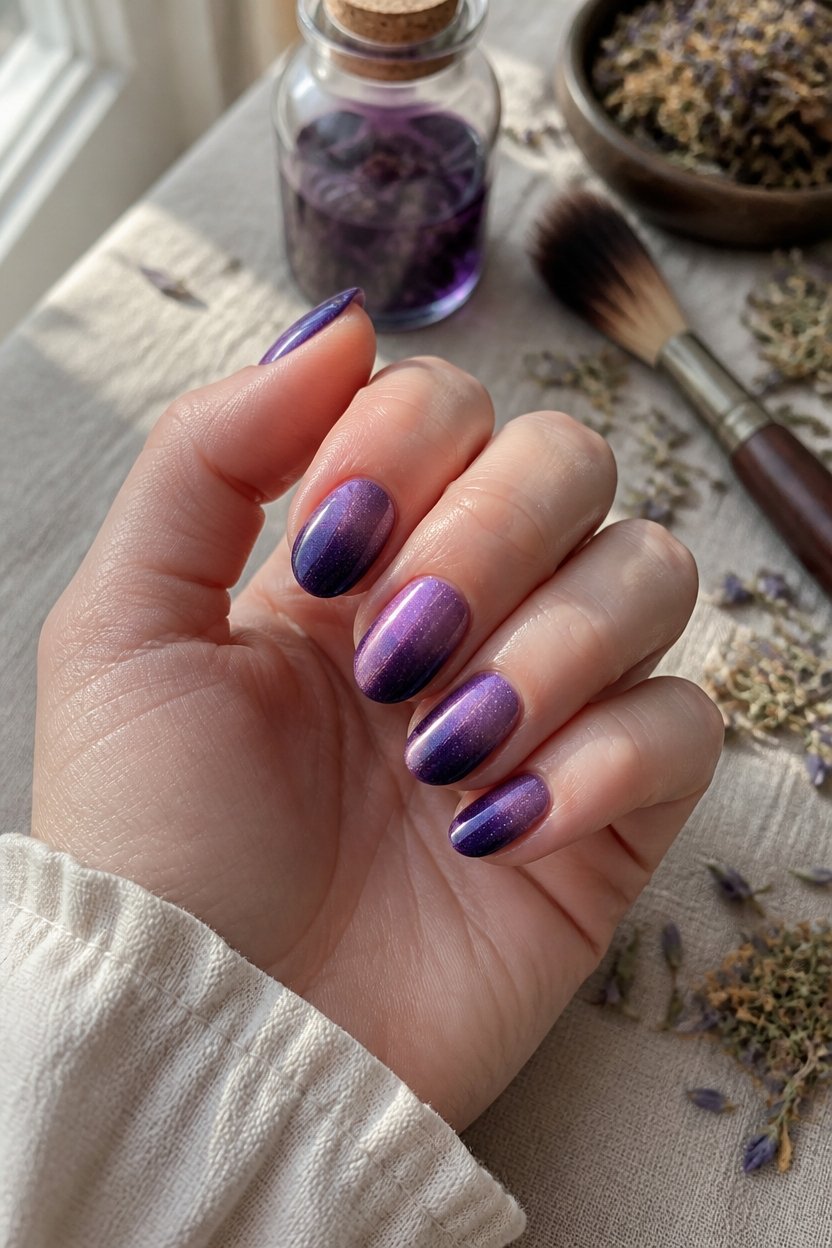
Moving beyond monster-inspired designs, nail artists discover enchanting possibilities through mystical potion aesthetics. A deep purple base creates the perfect foundation for magical nail art.
Apply two coats of OPI’s Do You Have This Color in Stock-holm for rich, opaque coverage.
The saturated hue mimics authentic potion bottles, offering dimension and sophistication that elevates simple designs into enchanting manicures.
Black Cat Paw Prints
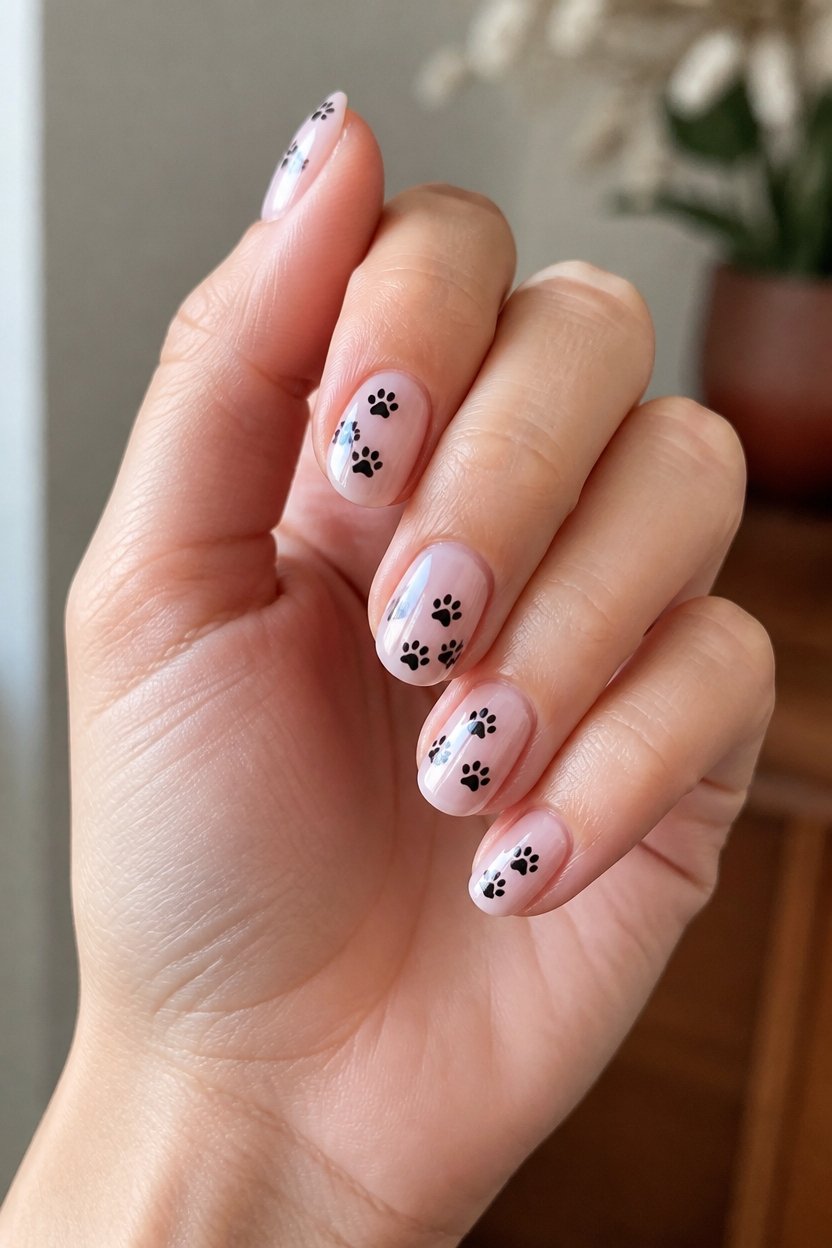
Feline-inspired nail art brings playful sophistication to Halloween manicures. Using a fine-tipped black brush, paint small oval pads on each nail’s base. Add four tiny dots above each pad for claws.
Sally Hansen Black Onyx polish provides excellent opacity. Layer matte top coat for authentic paw texture.
This design works beautifully over nude, white, or pastel bases, creating charming contrast that catches attention.
Frequently Asked Questions
How Long Do Halloween Nail Designs Typically Last Before Chipping?
Halloween nail designs typically last between seven to fourteen days before chipping occurs. The longevity depends on factors such as polish quality, application technique, nail growth rate, and daily activities. Regular wear and water exposure accelerate deterioration.
What Type of Base Coat Prevents Halloween Nail Polish From Staining?
A protective base coat serves as a guardian between one’s nail bed and vibrant pigments. Professionals recommend utilizing white or clear base coats formulated with stain-resistant properties, which effectively shield nails from unwanted color transference and maintain their natural appearance.
Can I Use Regular Polish Instead of Gel for These Designs?
Yes, regular polish works for these designs. However, gel polish offers superior longevity and chip resistance, lasting two to three weeks compared to regular polish’s seven to ten days. Regular polish remains a budget-friendly alternative for temporary designs.
How Do I Remove Glitter and Embellishments Without Damaging My Nails?
One should soak nails in acetone for 10-15 minutes to soften polish, then gently roll off glitter and embellishments using a cuticle stick. This method prevents scratching and breaking nails during removal.
What’s the Best Nail Shape for Intricate Halloween Design Details?
Almond and stiletto shapes dominate 60% of intricate nail art designs. These elongated forms provide maximum surface area for detailed Halloween patterns, allowing artists to paint fine lines, gradients, and embellishments with greater precision and control.
Conclusion
Like seeds planted in autumn soil, these nail designs represent transformation—each stroke a promise of creativity blooming from ordinary supplies. The canvas becomes a mirror reflecting inner artistry. Whether ghost faces or glowing skulls emerge, the act of painting nails transcends decoration, becoming meditation. This Halloween season, hands become storytellers, each design whispered proof that beauty flourishes when we nurture our own vision with patience and intention.